Origami is very easy hobby and it’s a lot of fun. All you need is paper. This guide will show you the basic bases and main folds.
Kite Base
This is the most simple base in origami and it looks like a kite which is where the name comes from.
.webp)
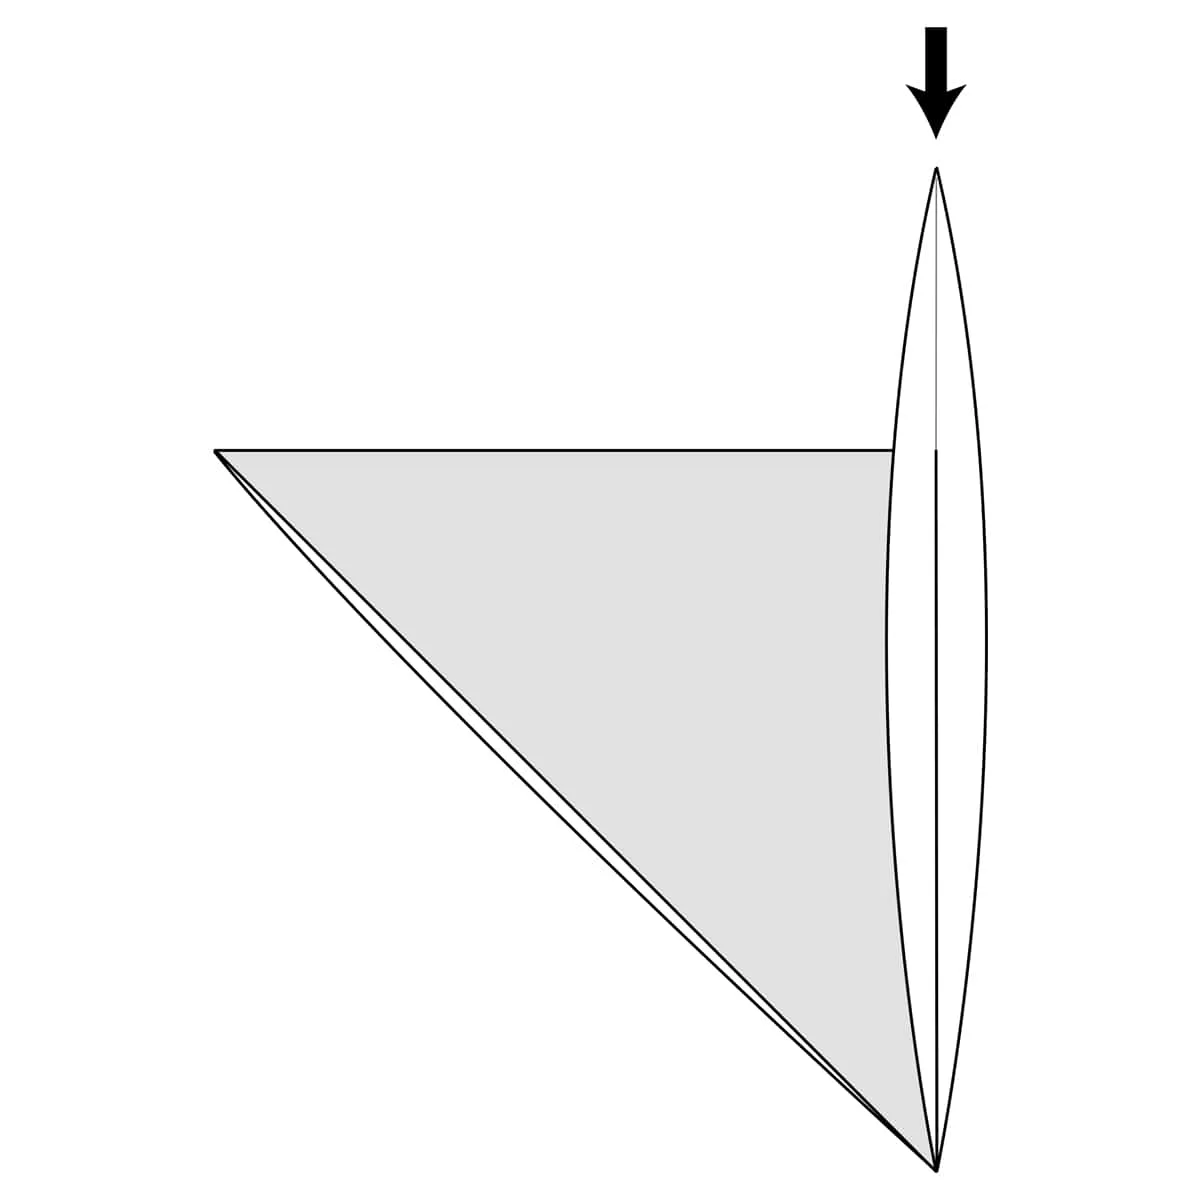
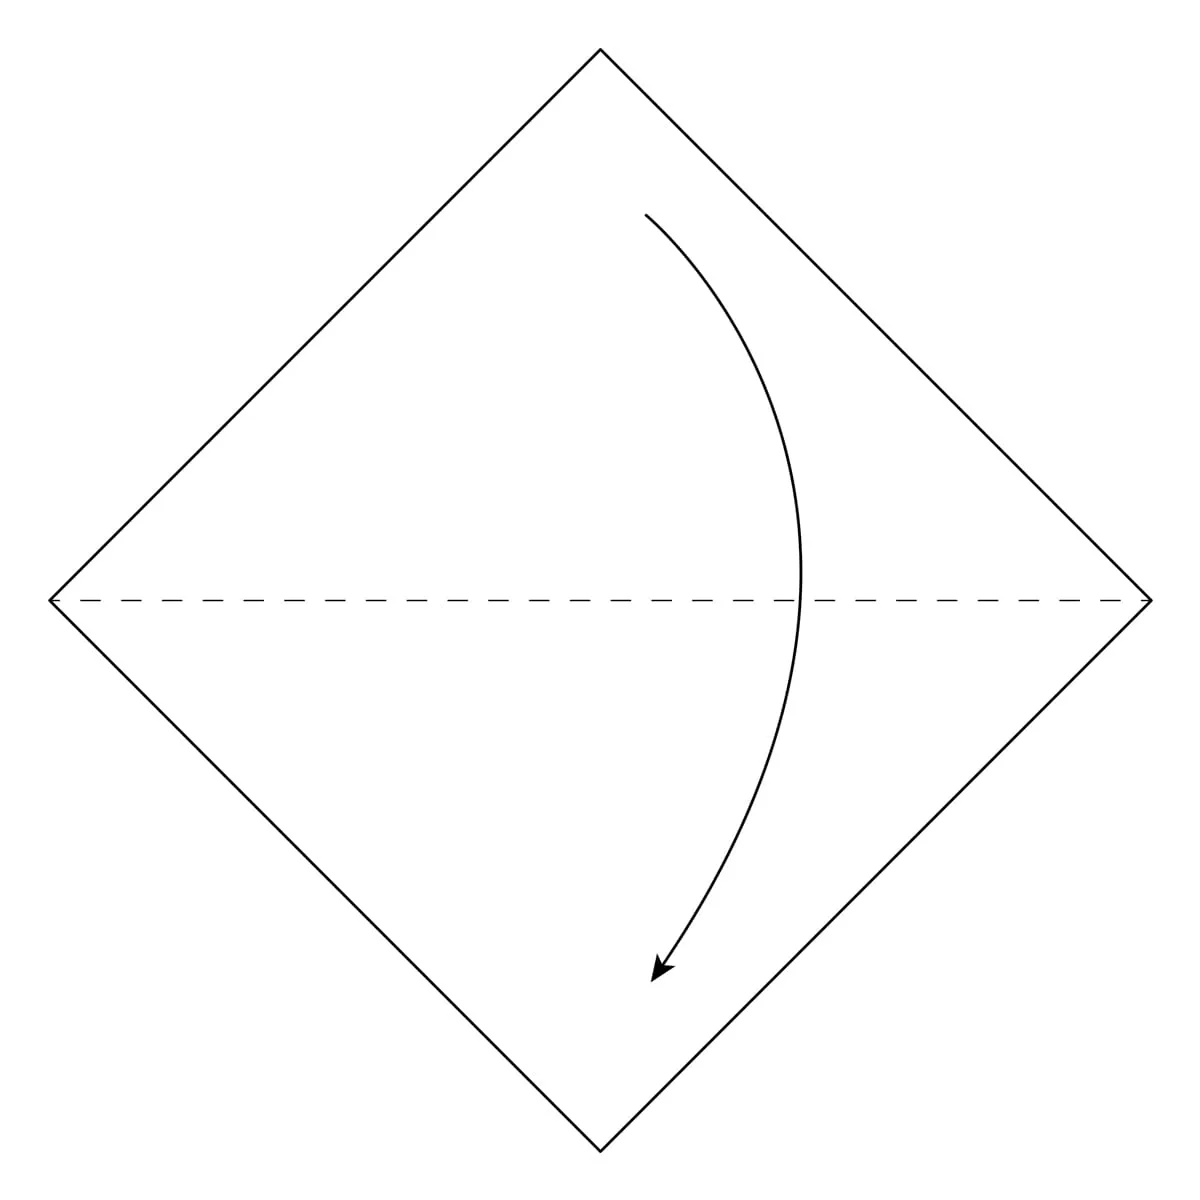
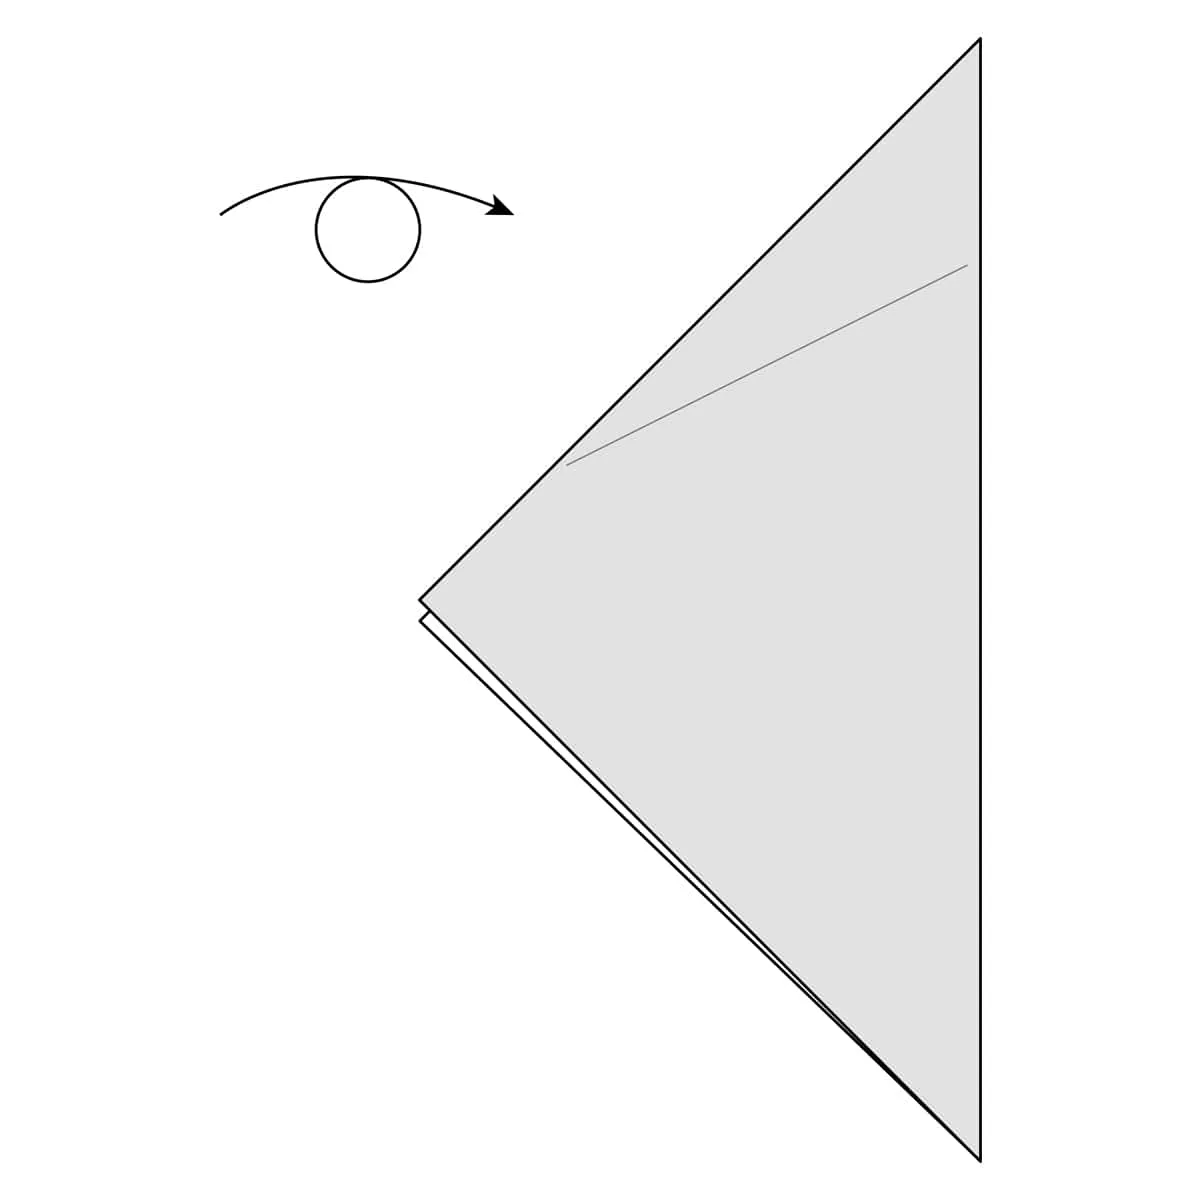
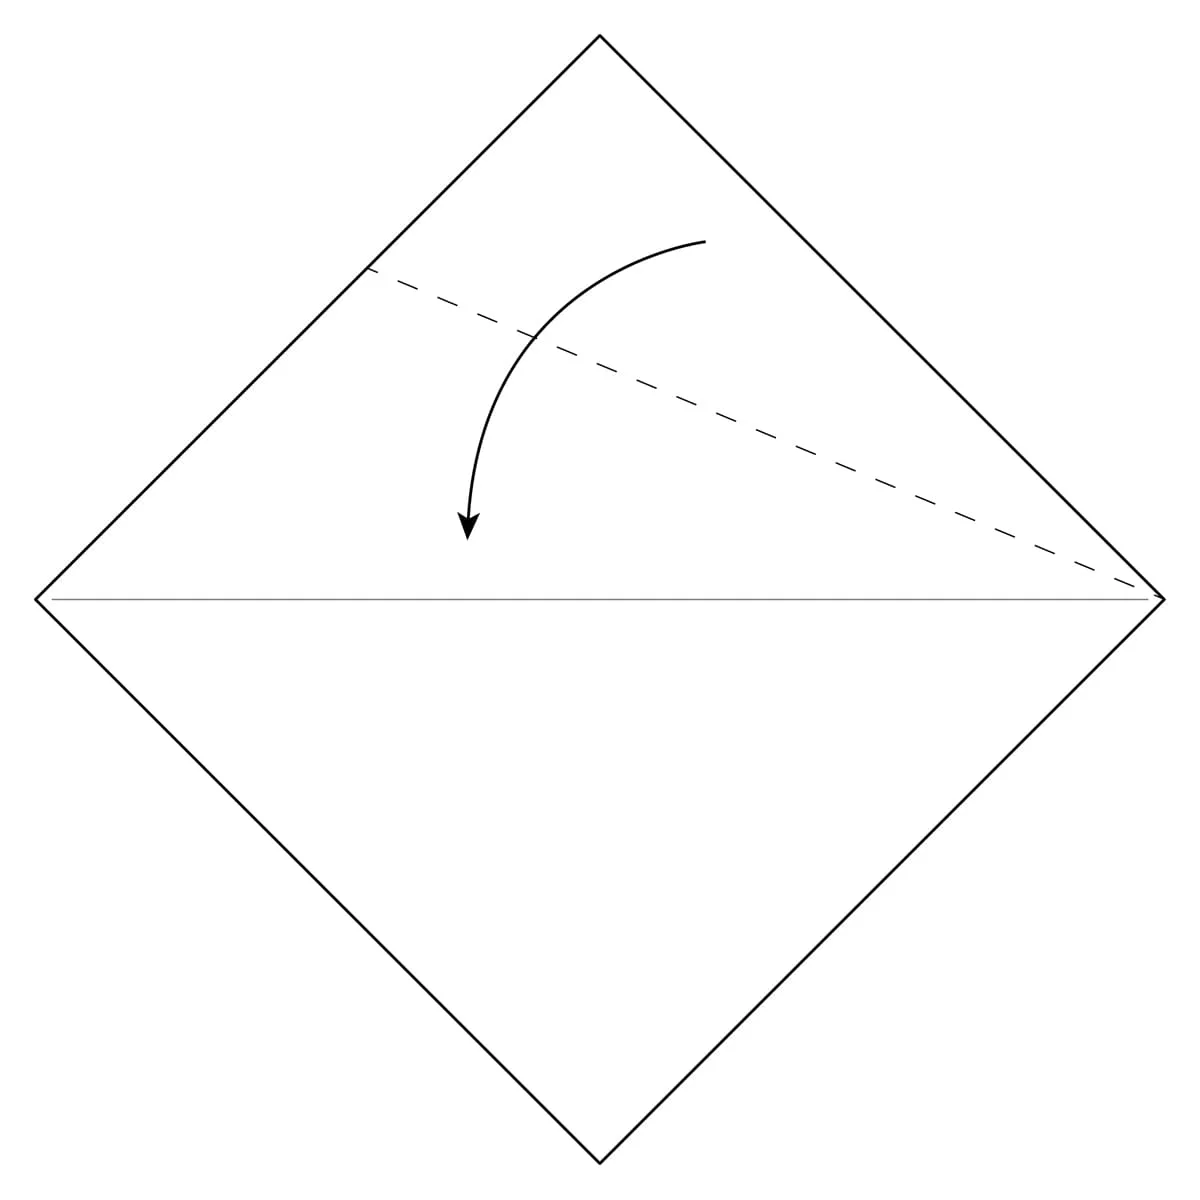
Step 1) Start with a square sheet of paper. Fold it in half along the dotted line and unfold.
.webp)
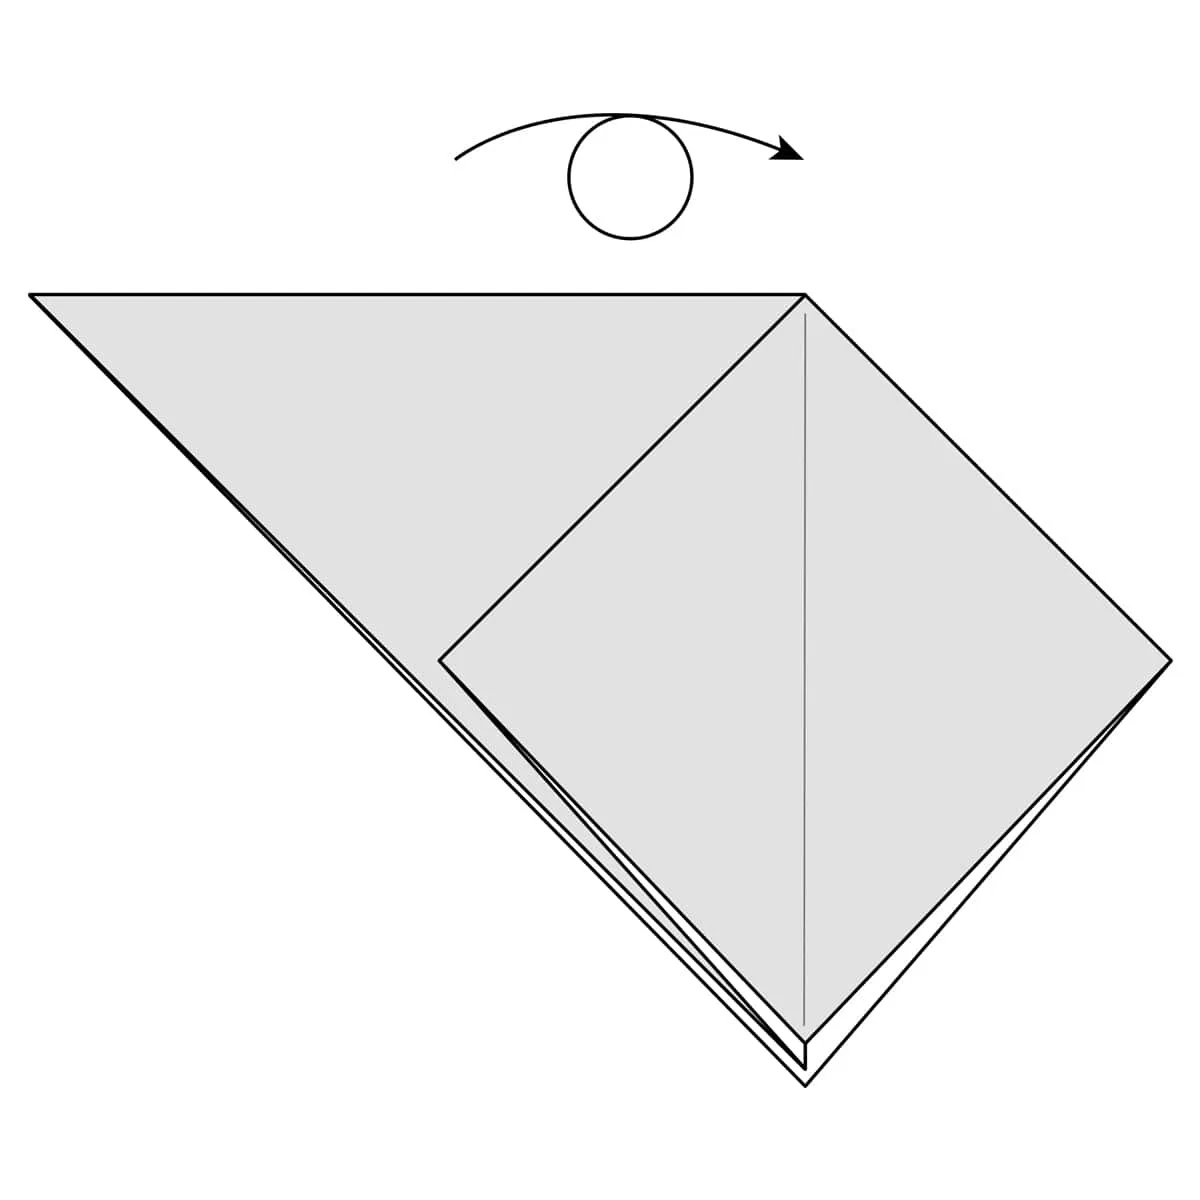
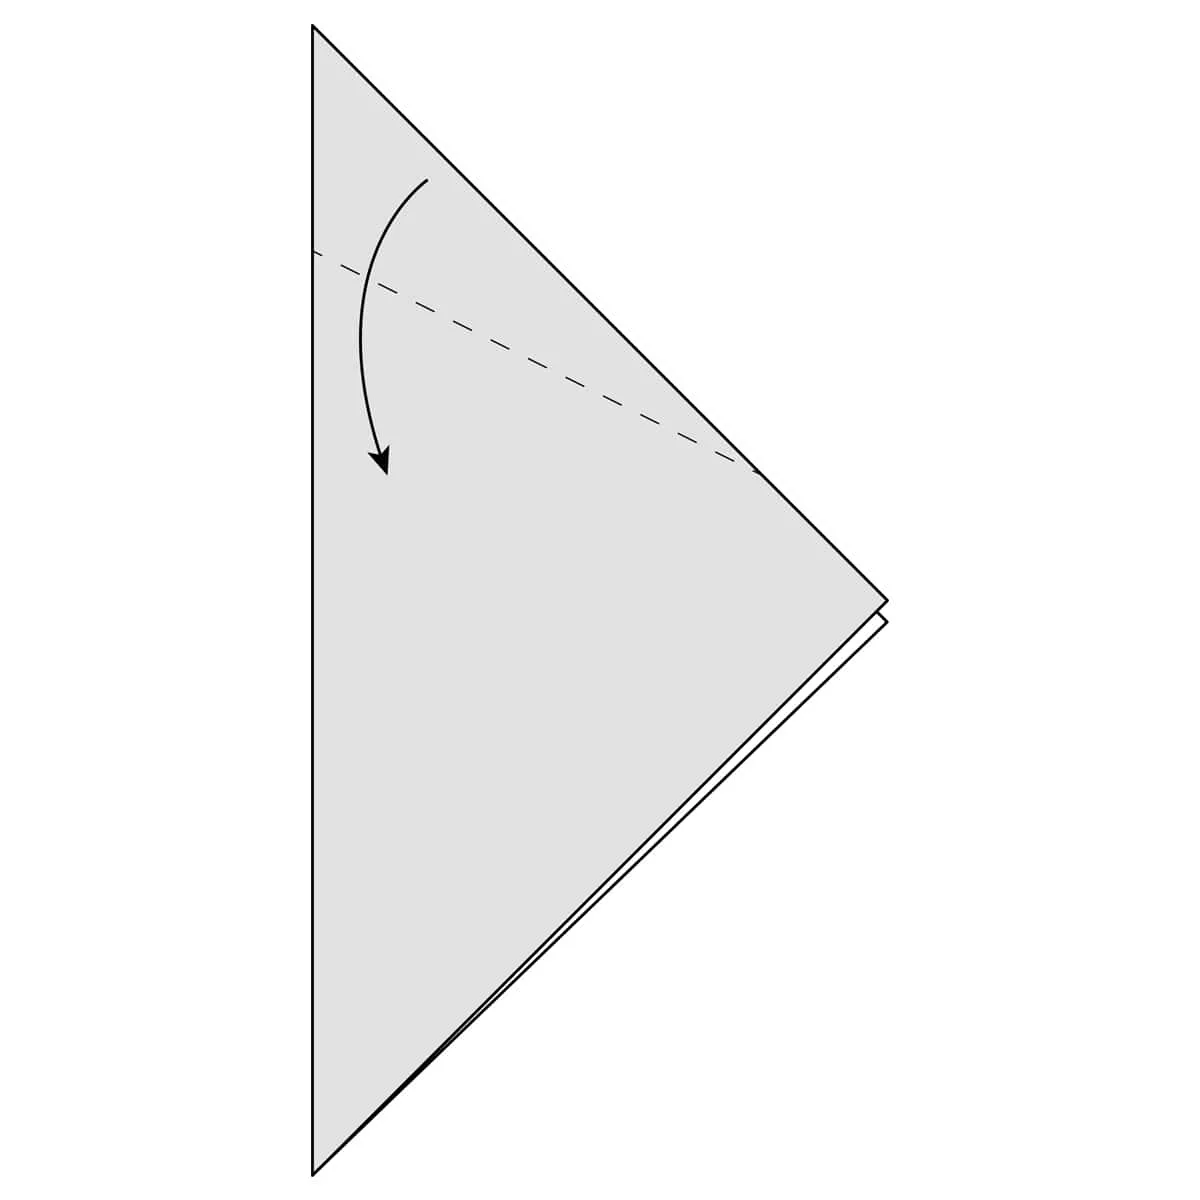
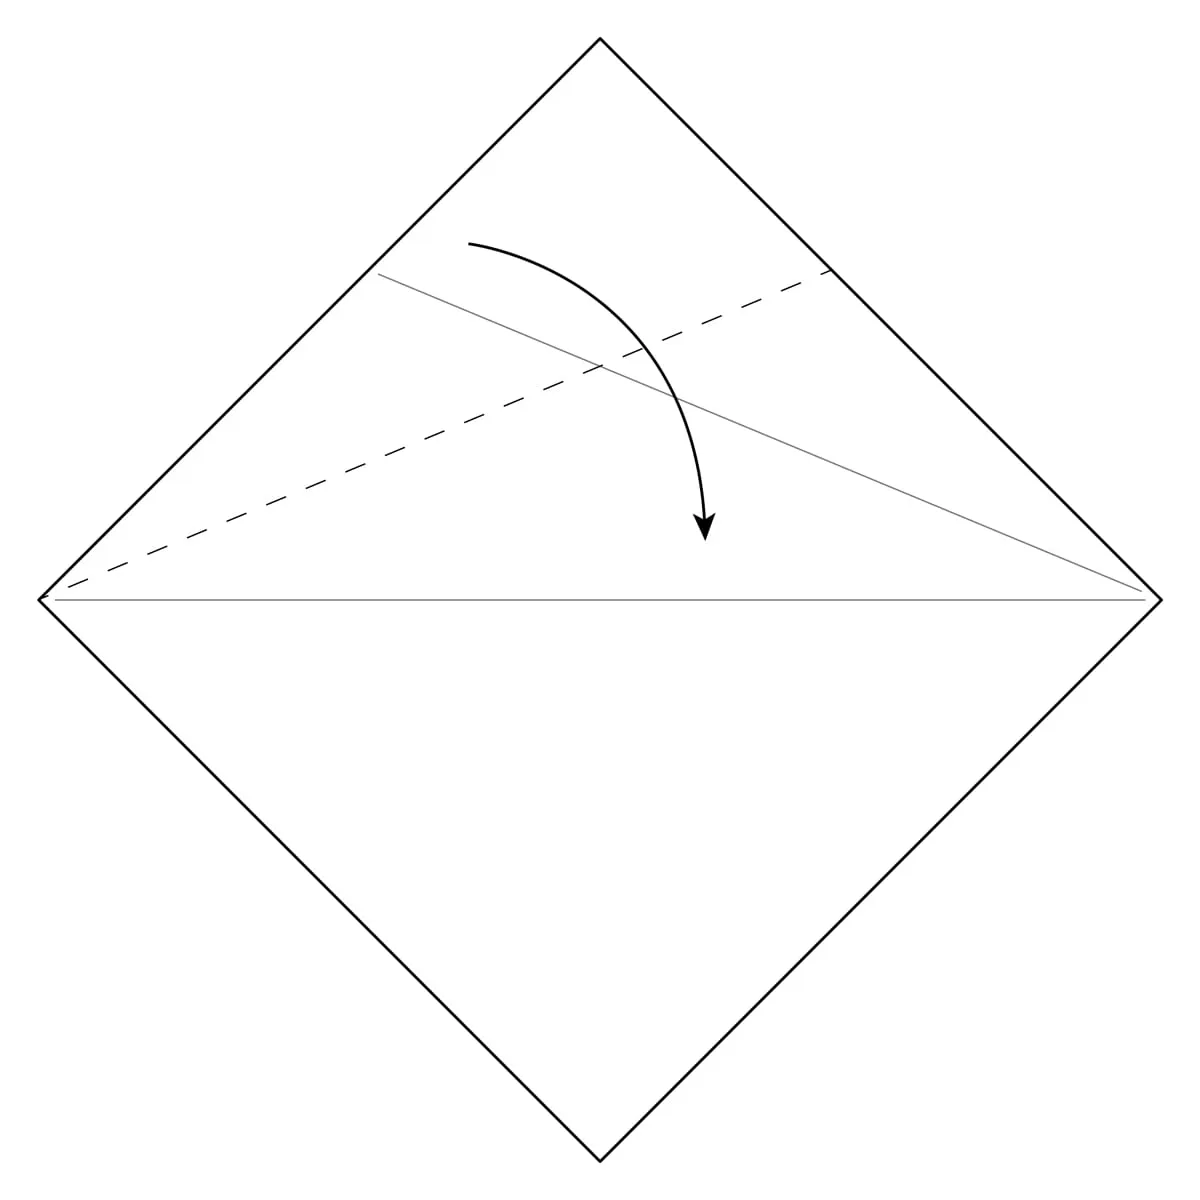
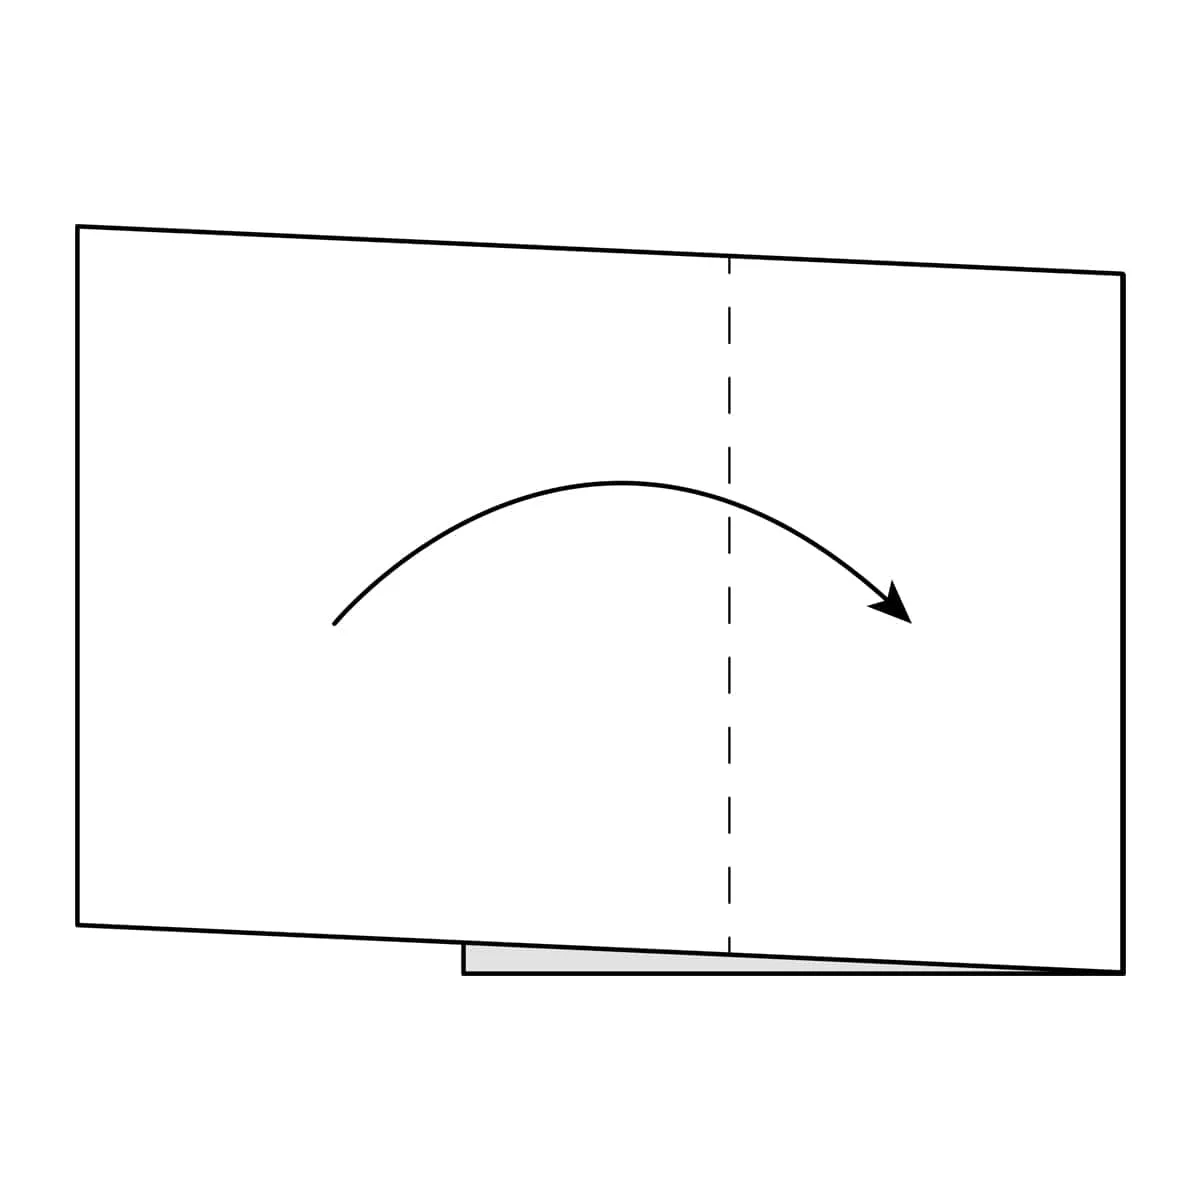
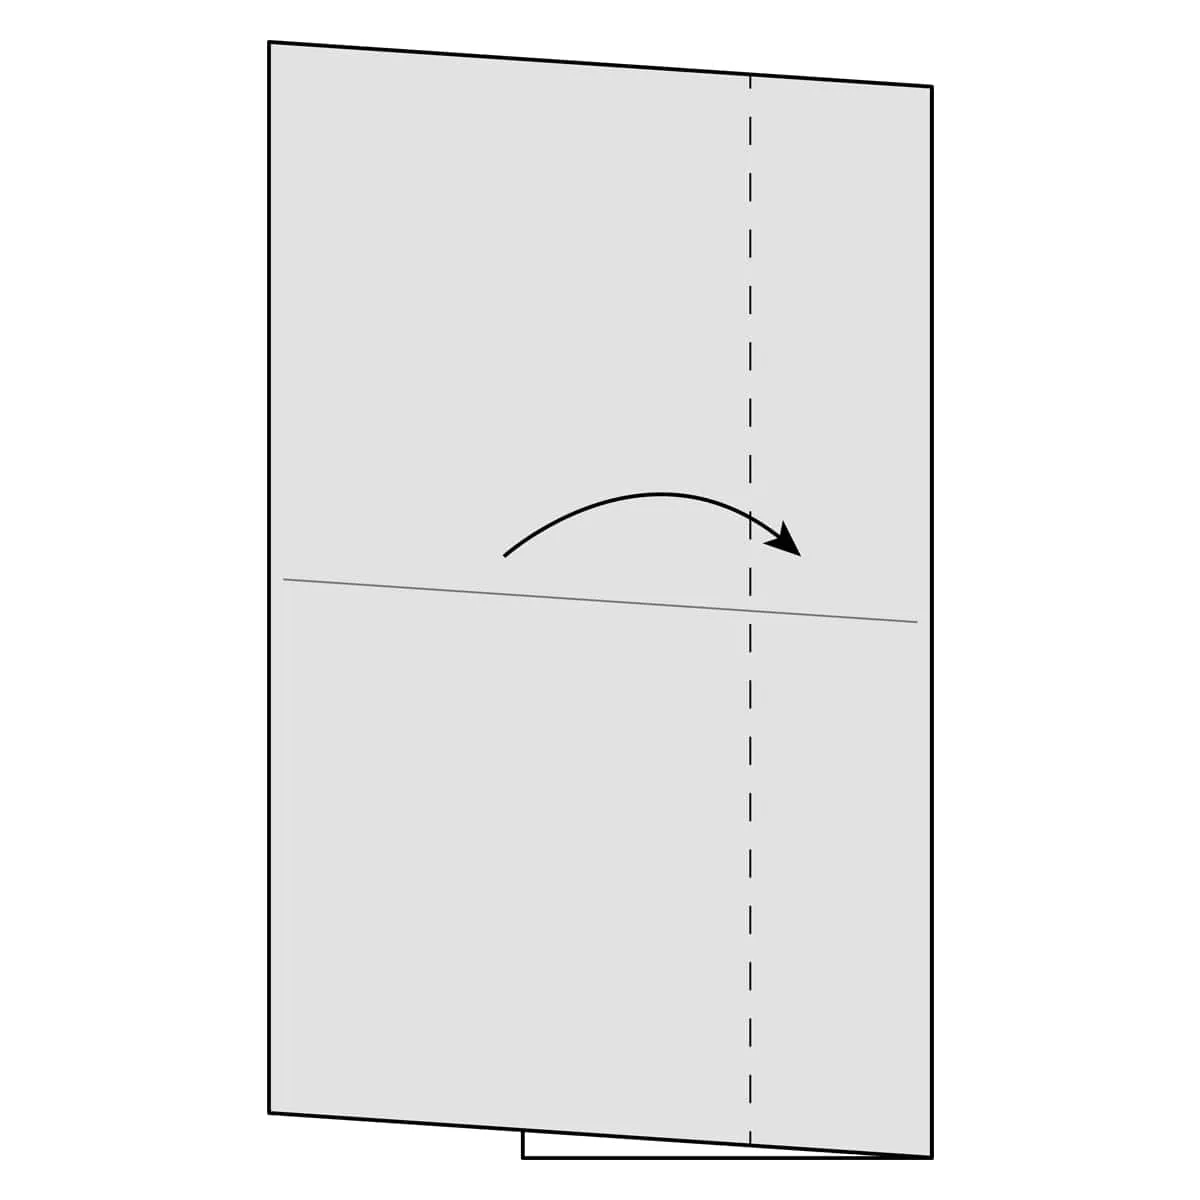
Step 2) Fold the right side of the paper along the dotted line to the center.
.webp)
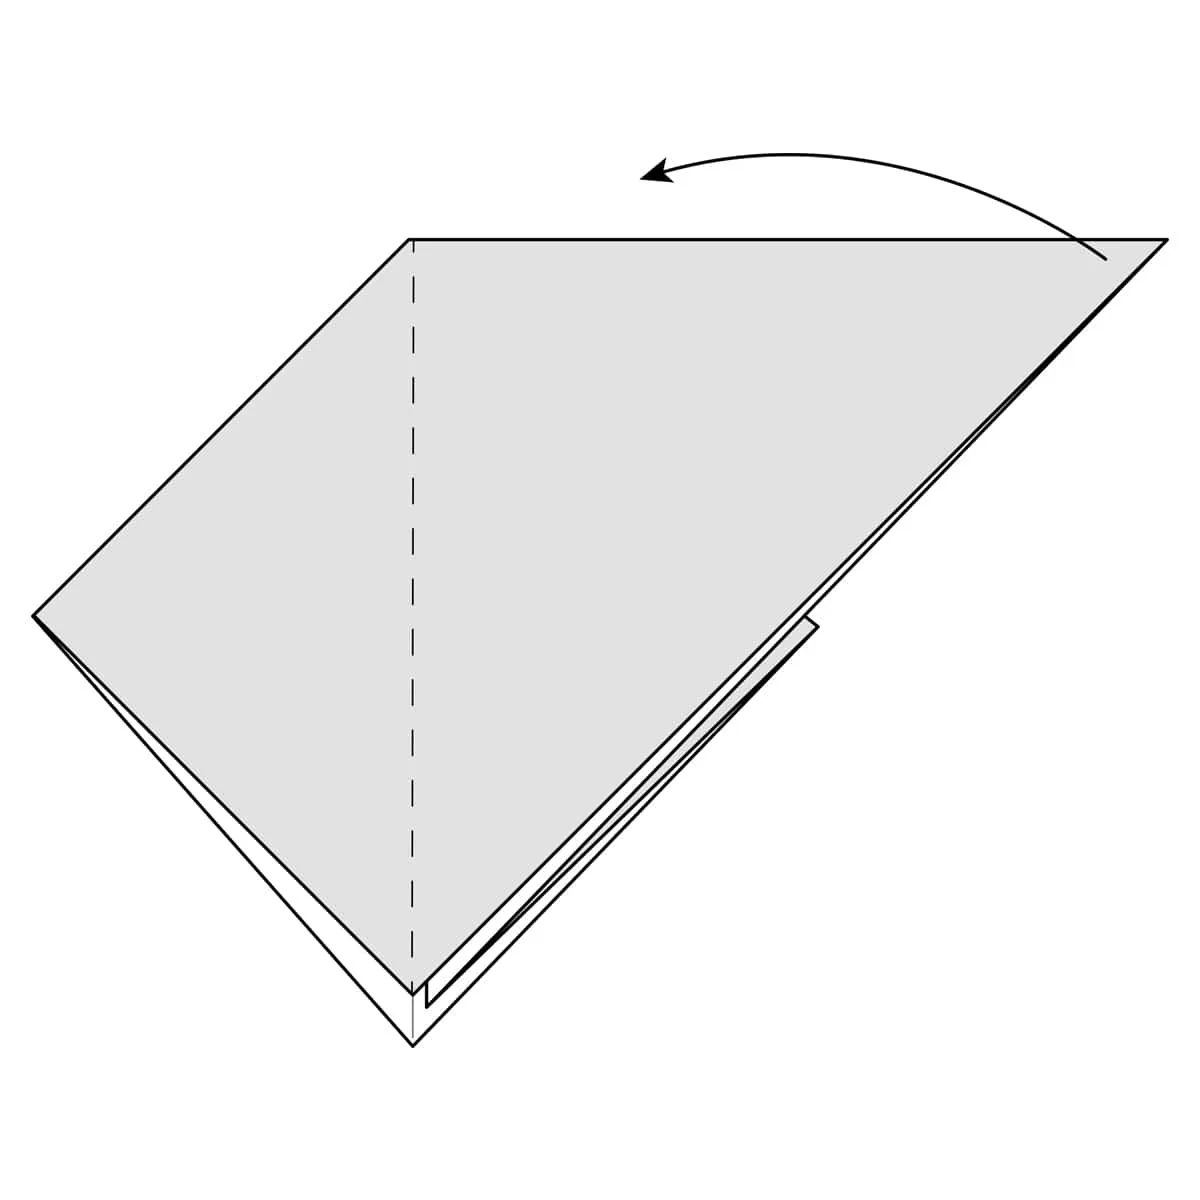
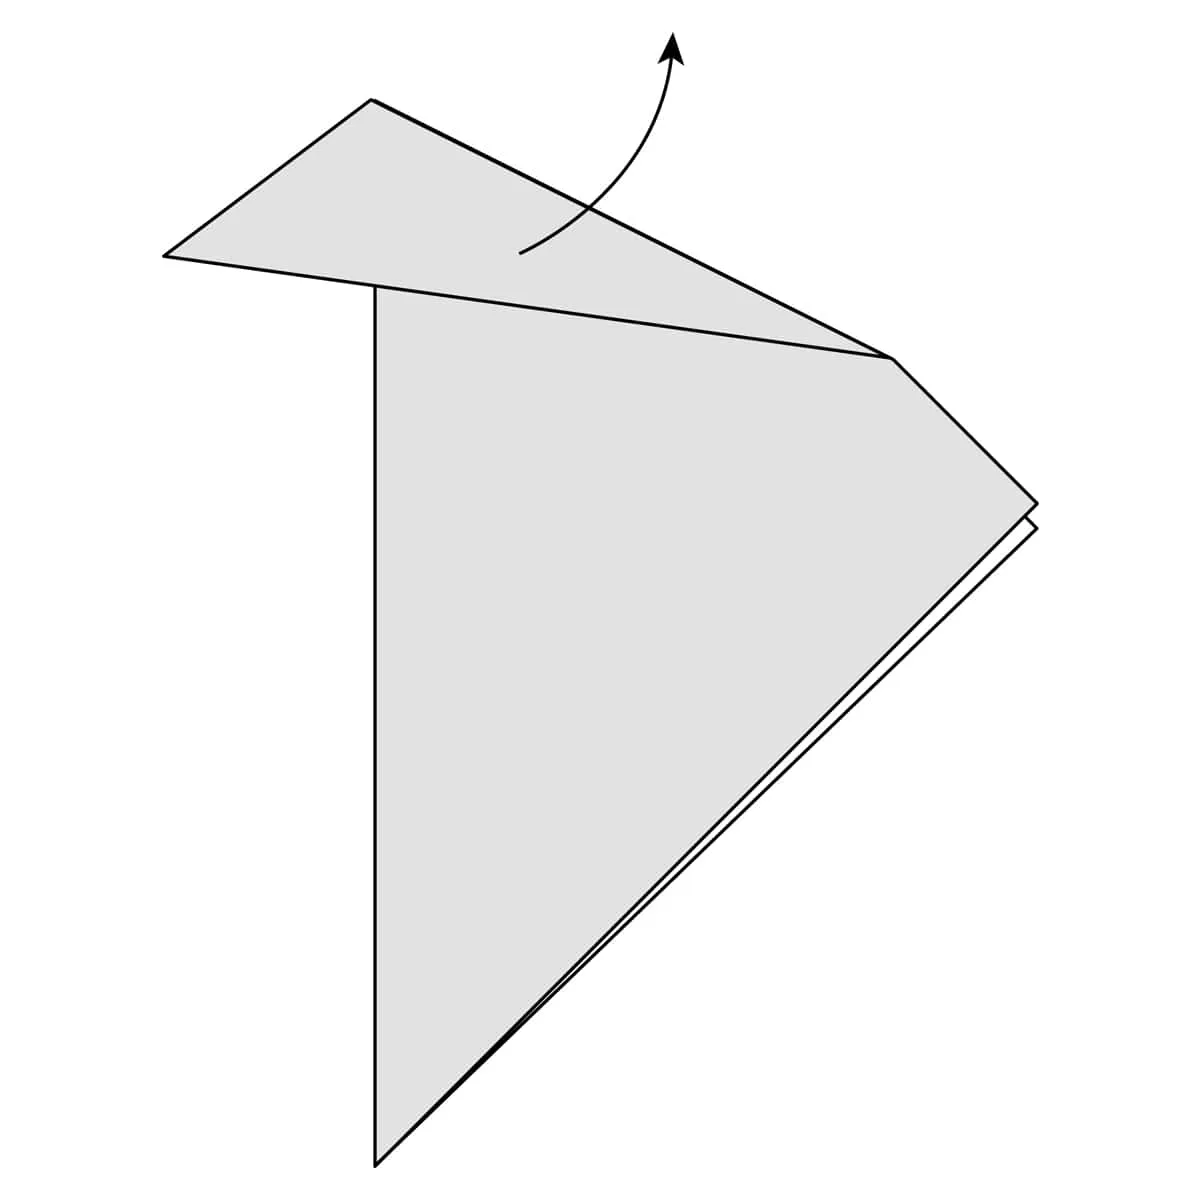
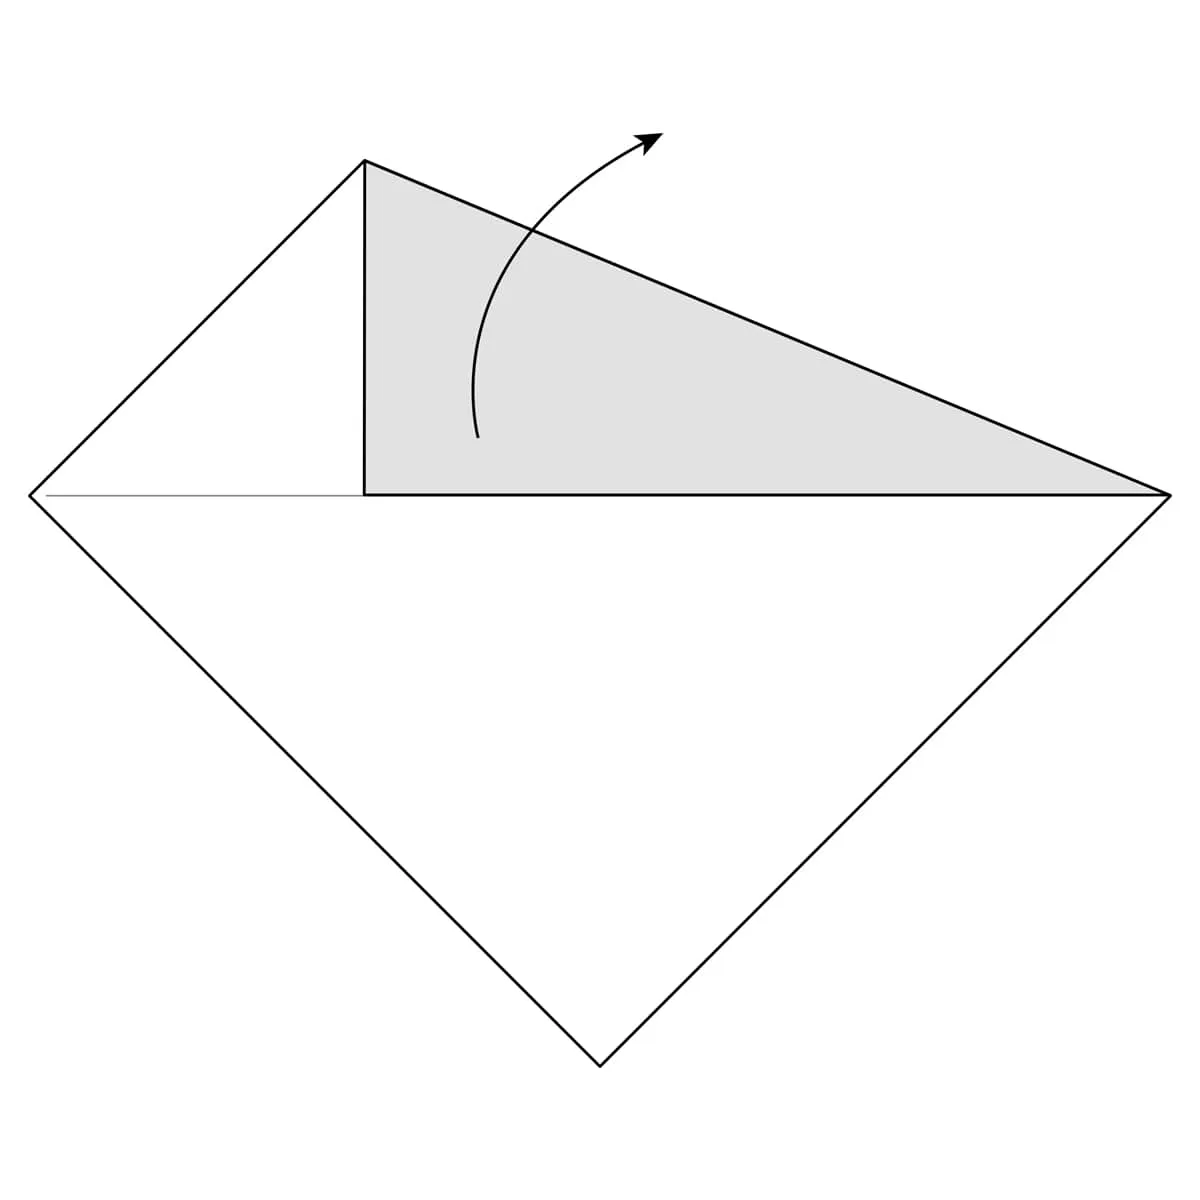
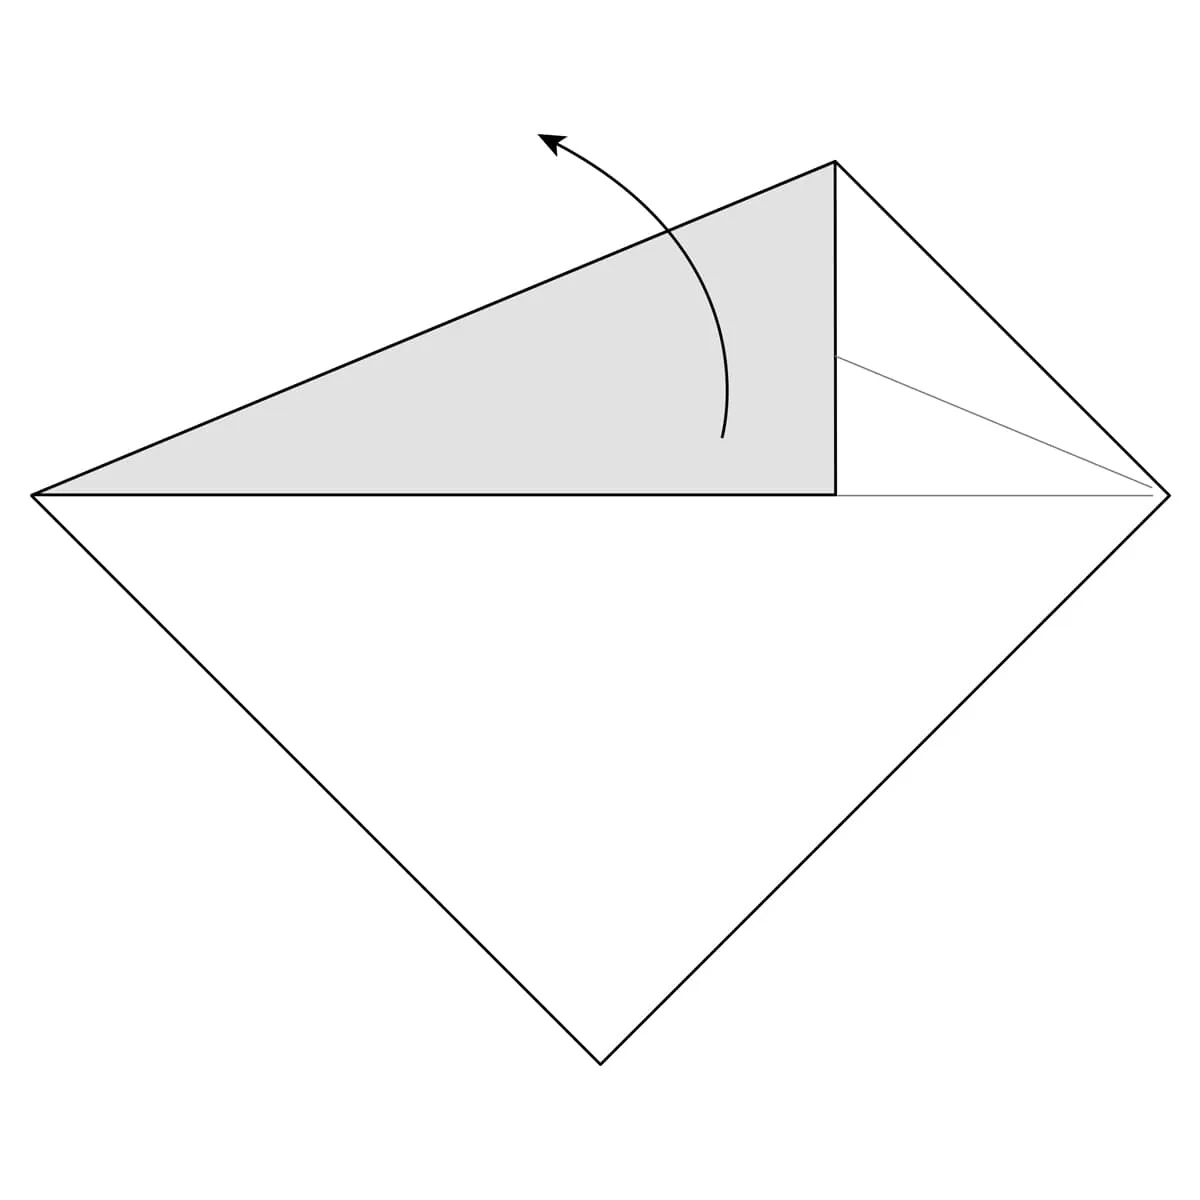
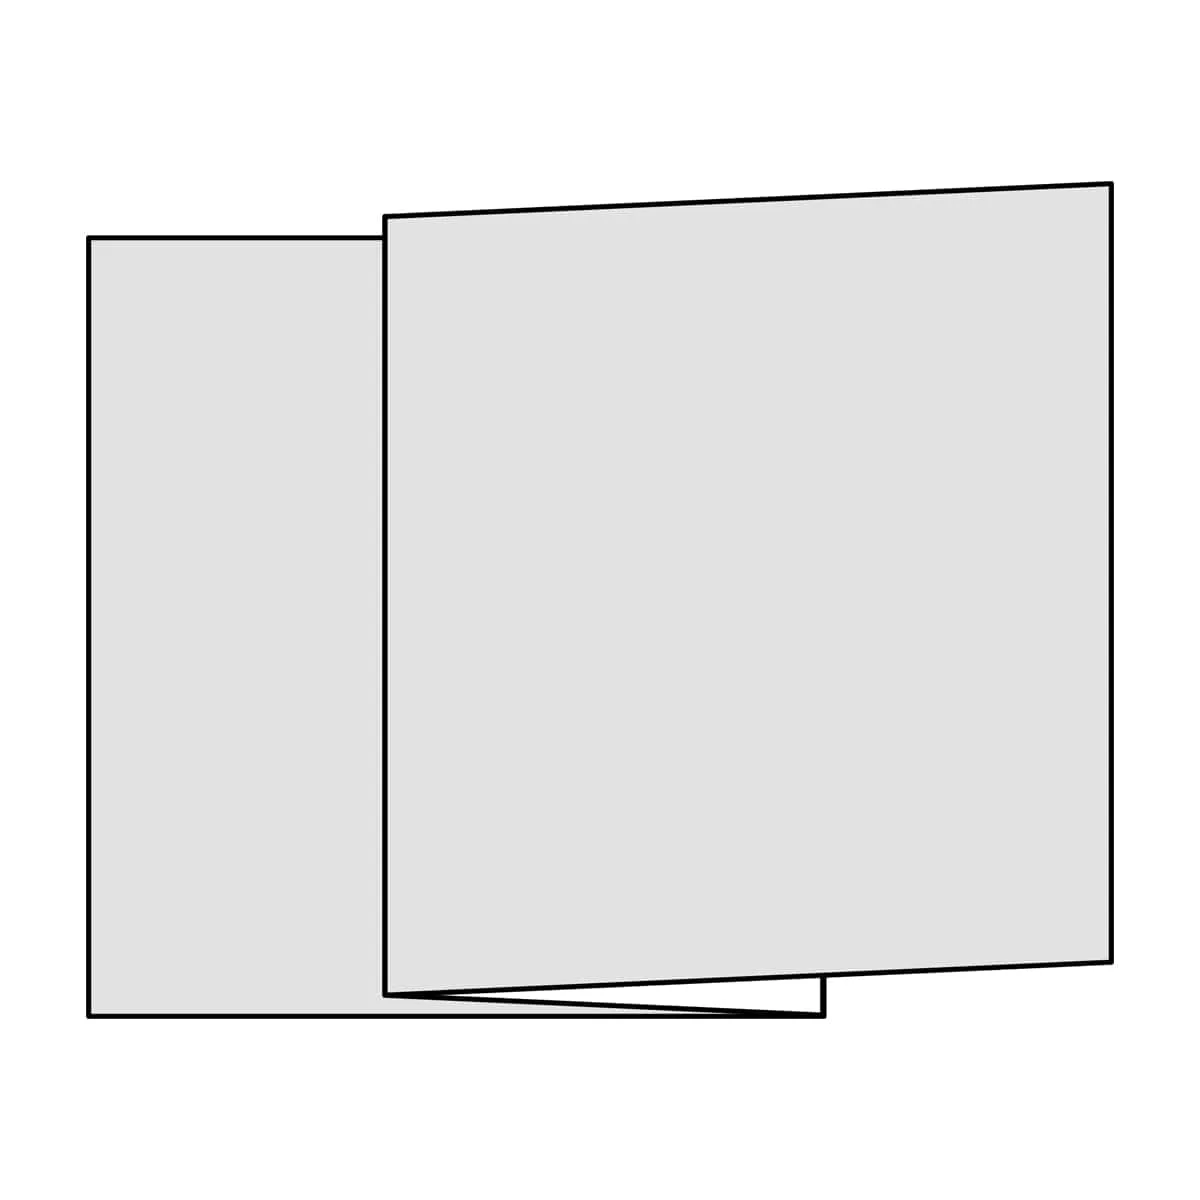
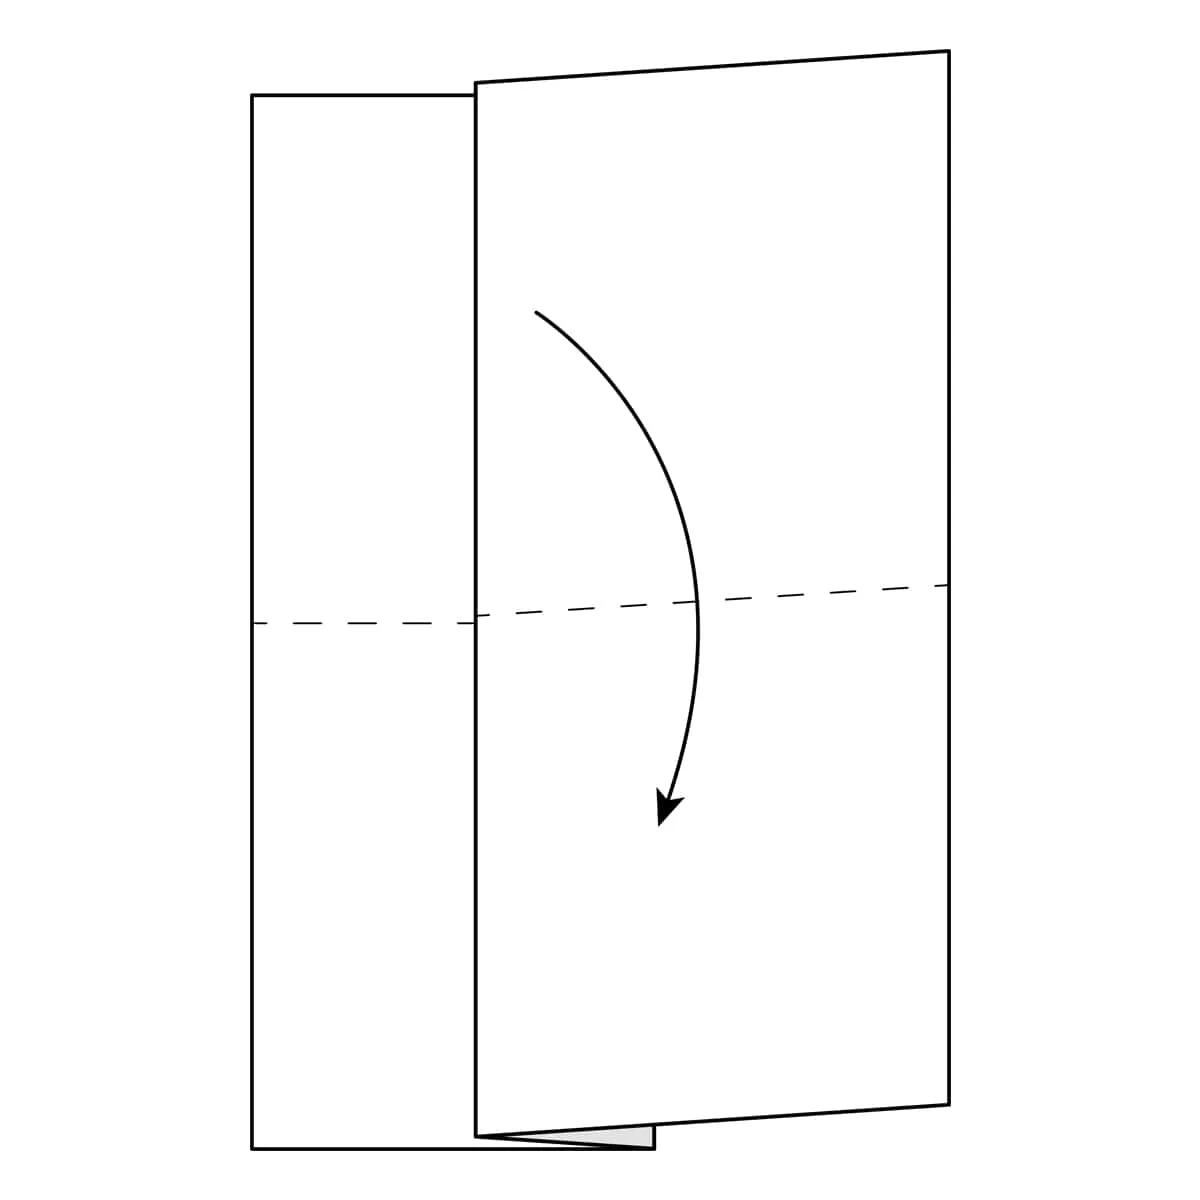
Step 3) Fold the left side of the paper to the center.
.webp)
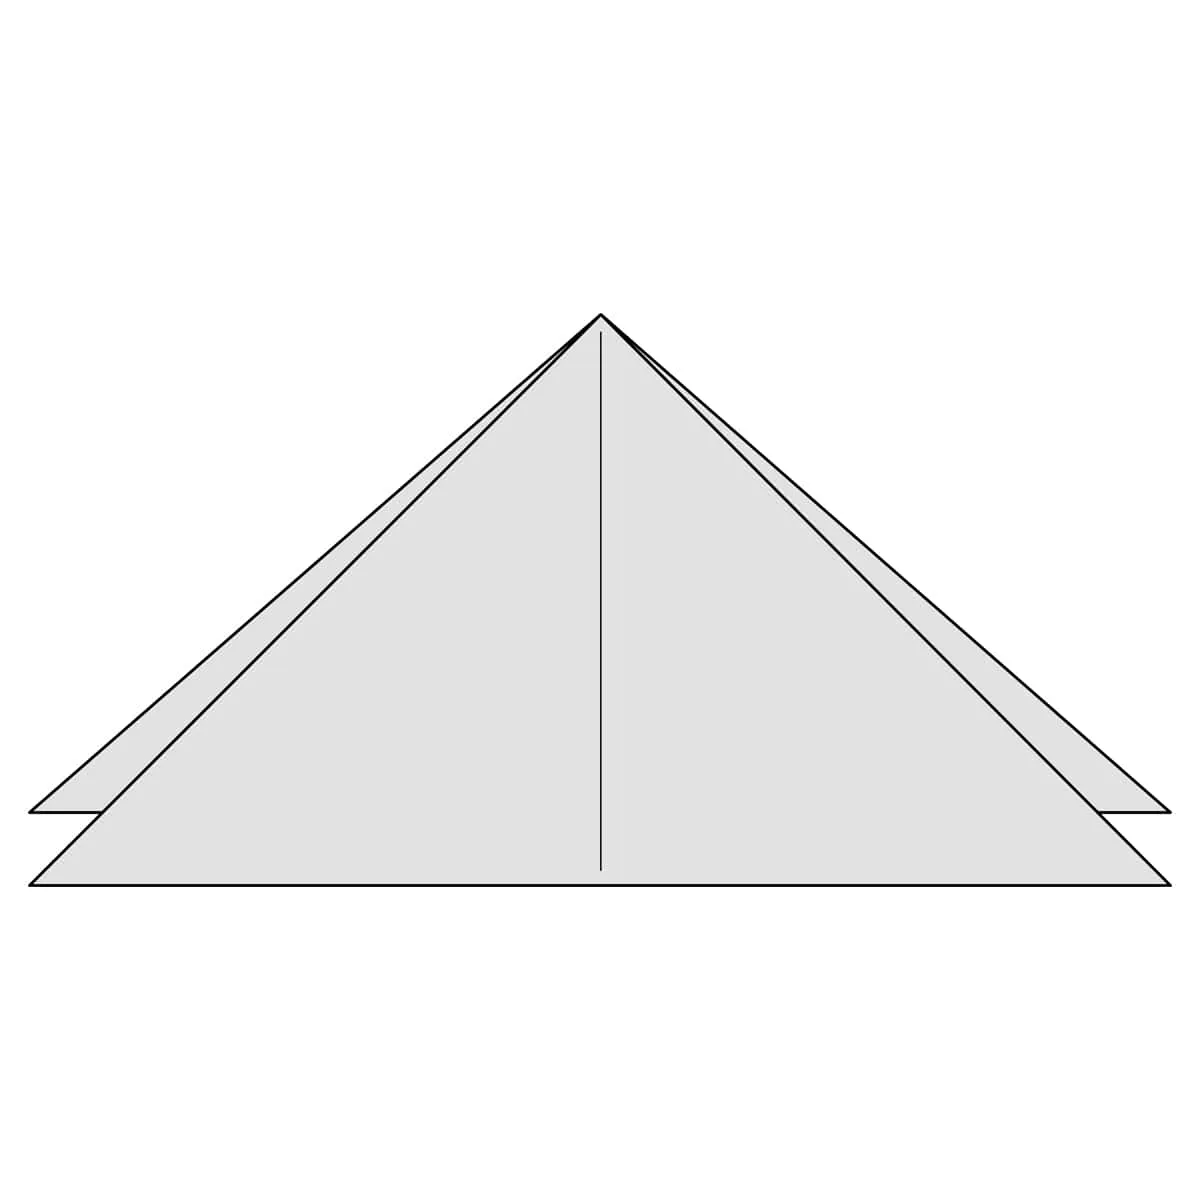
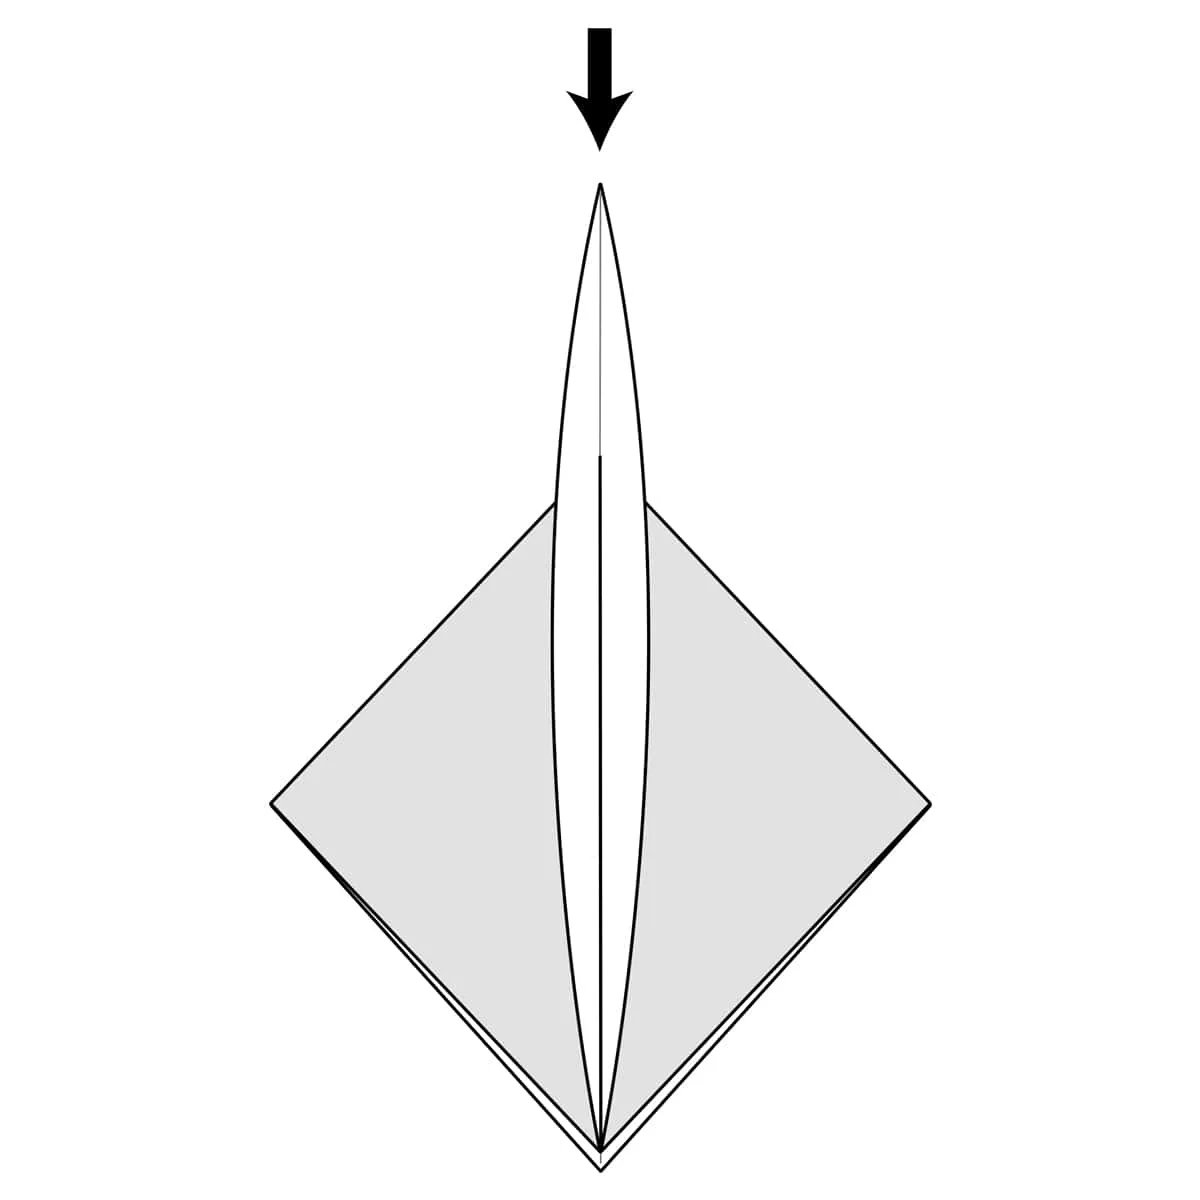
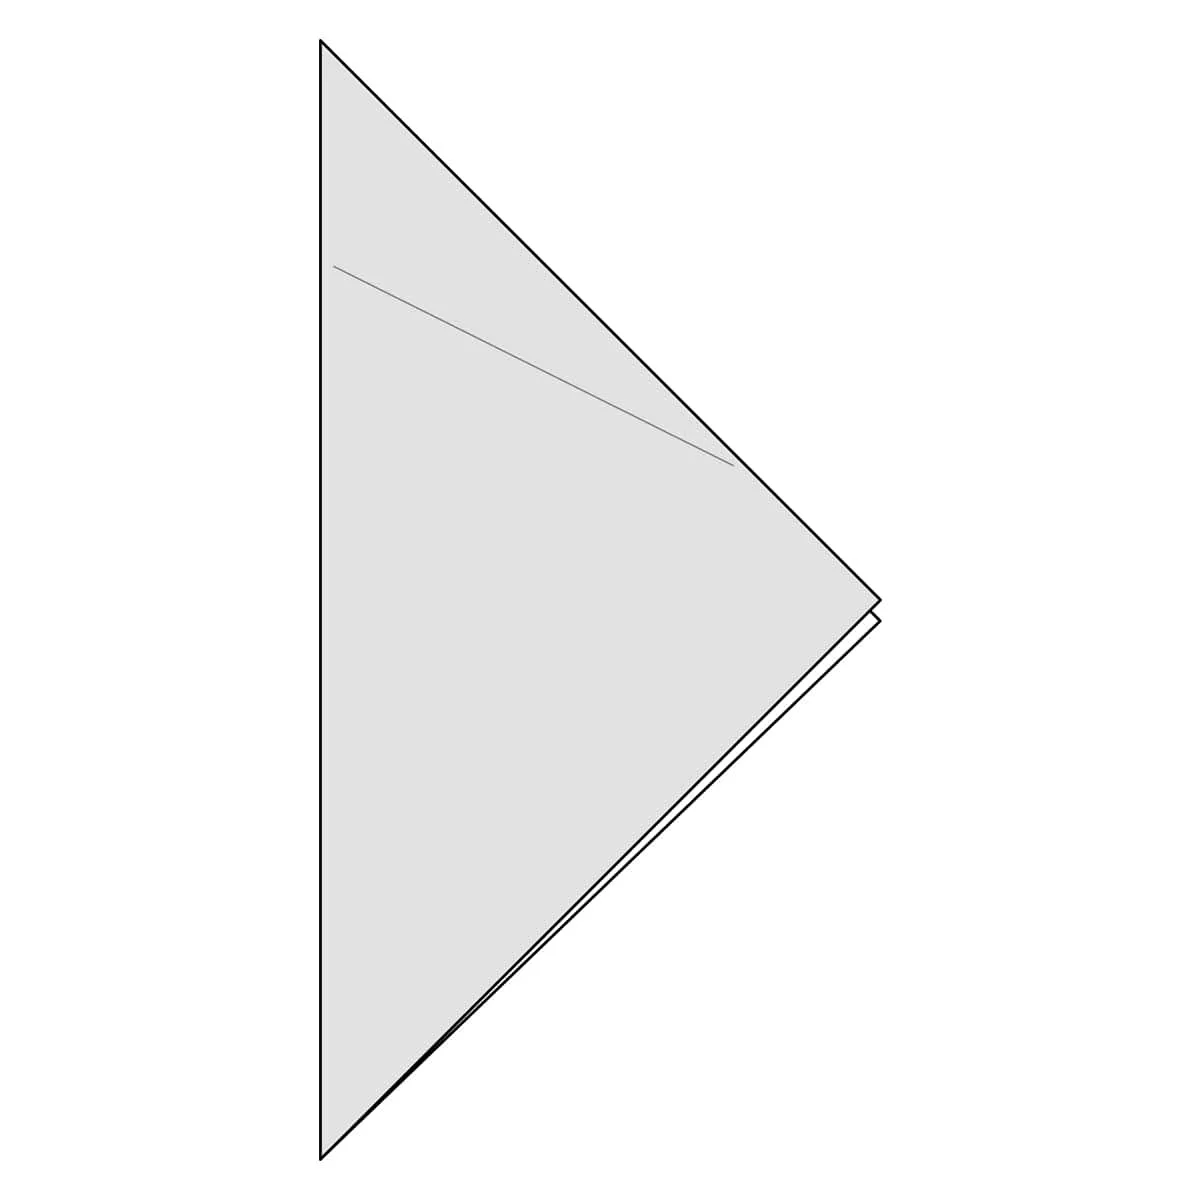
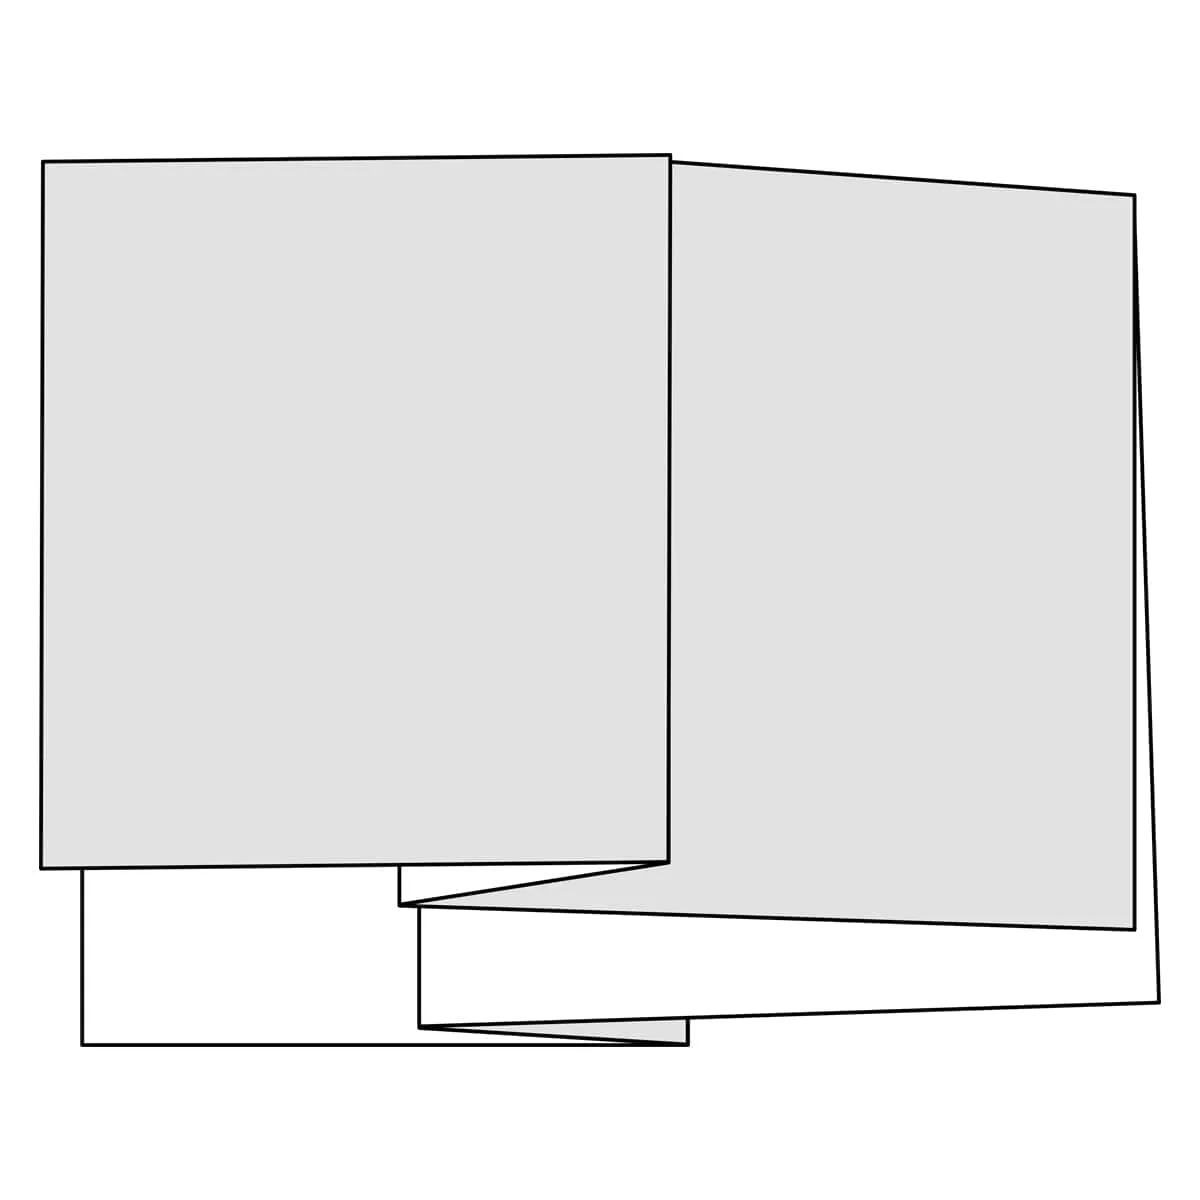
This is the completed Kite Base.
Water Bomb Base
This base is used to fold the traditional origami Water Bomb and that's where it gets its name. The base is used to fold lots of other things as well.
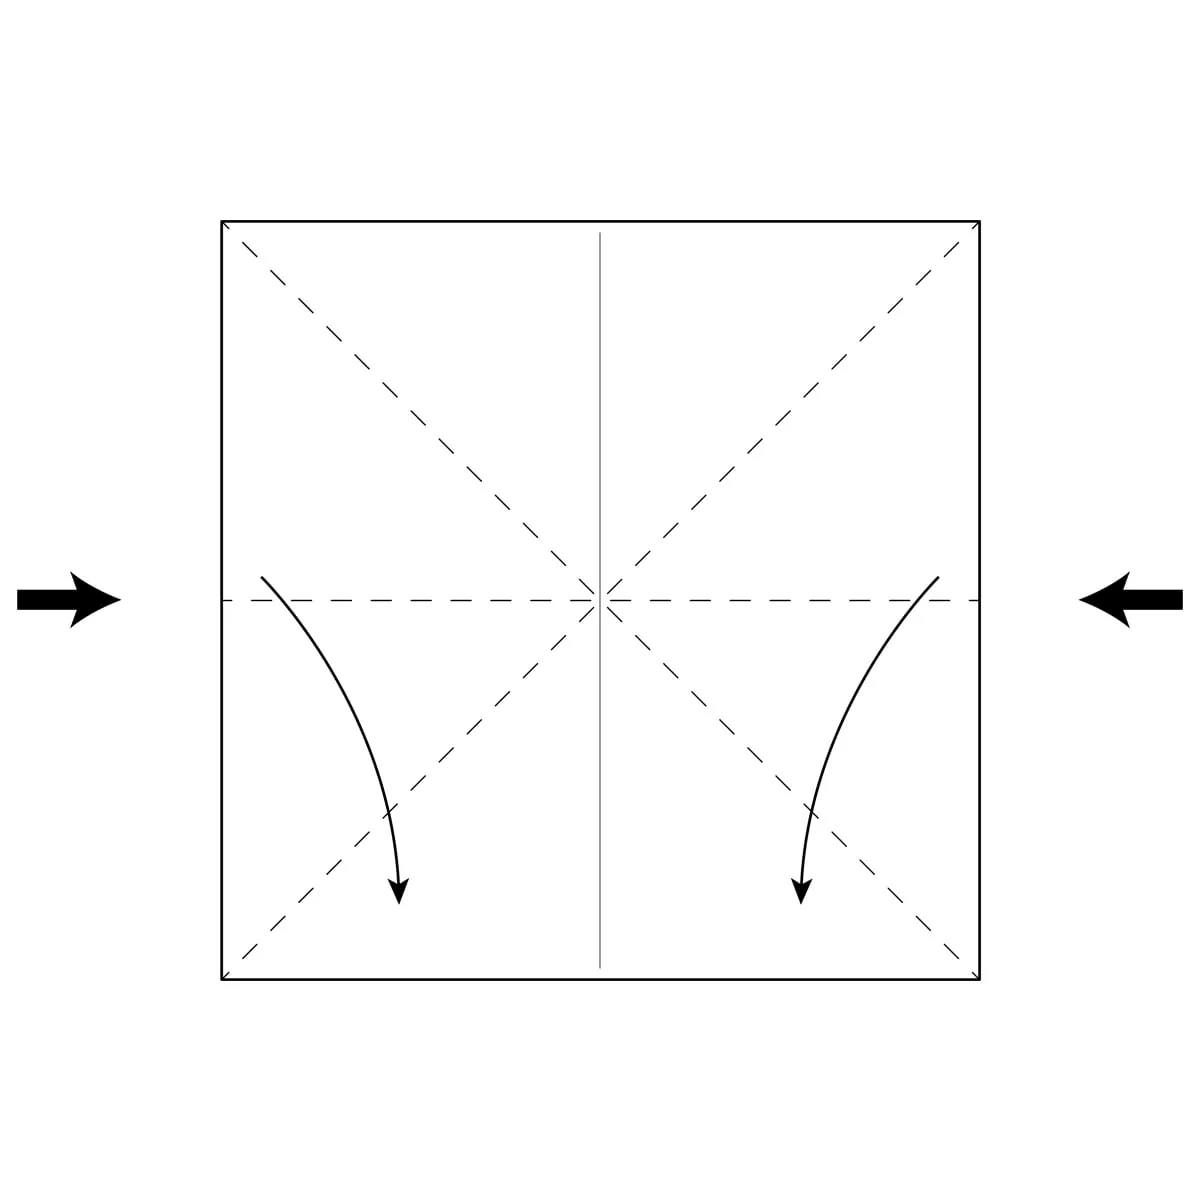
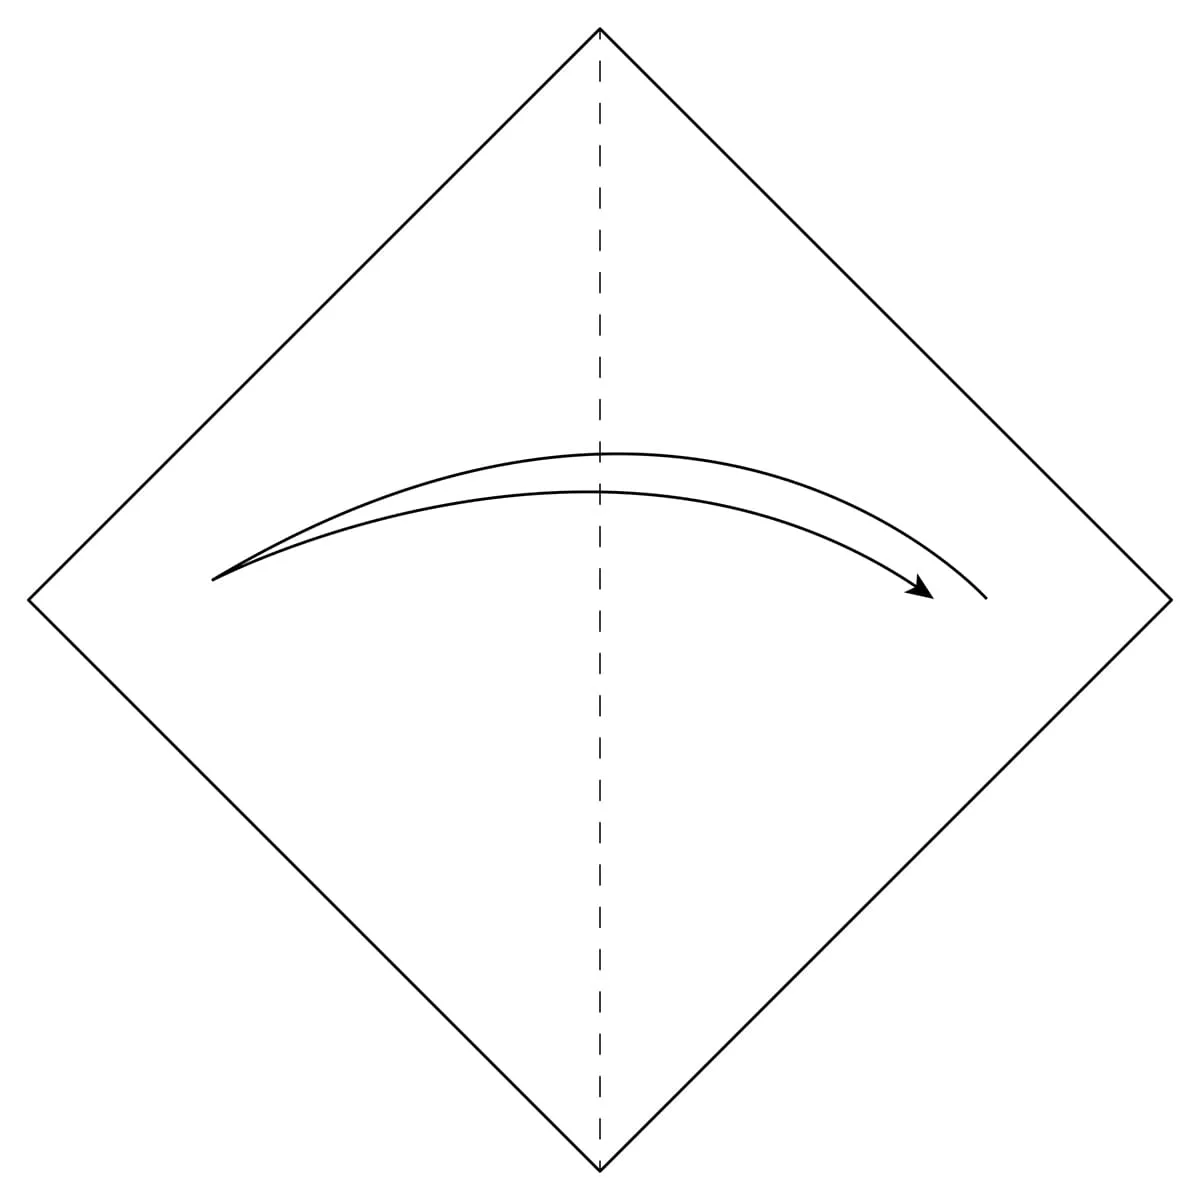
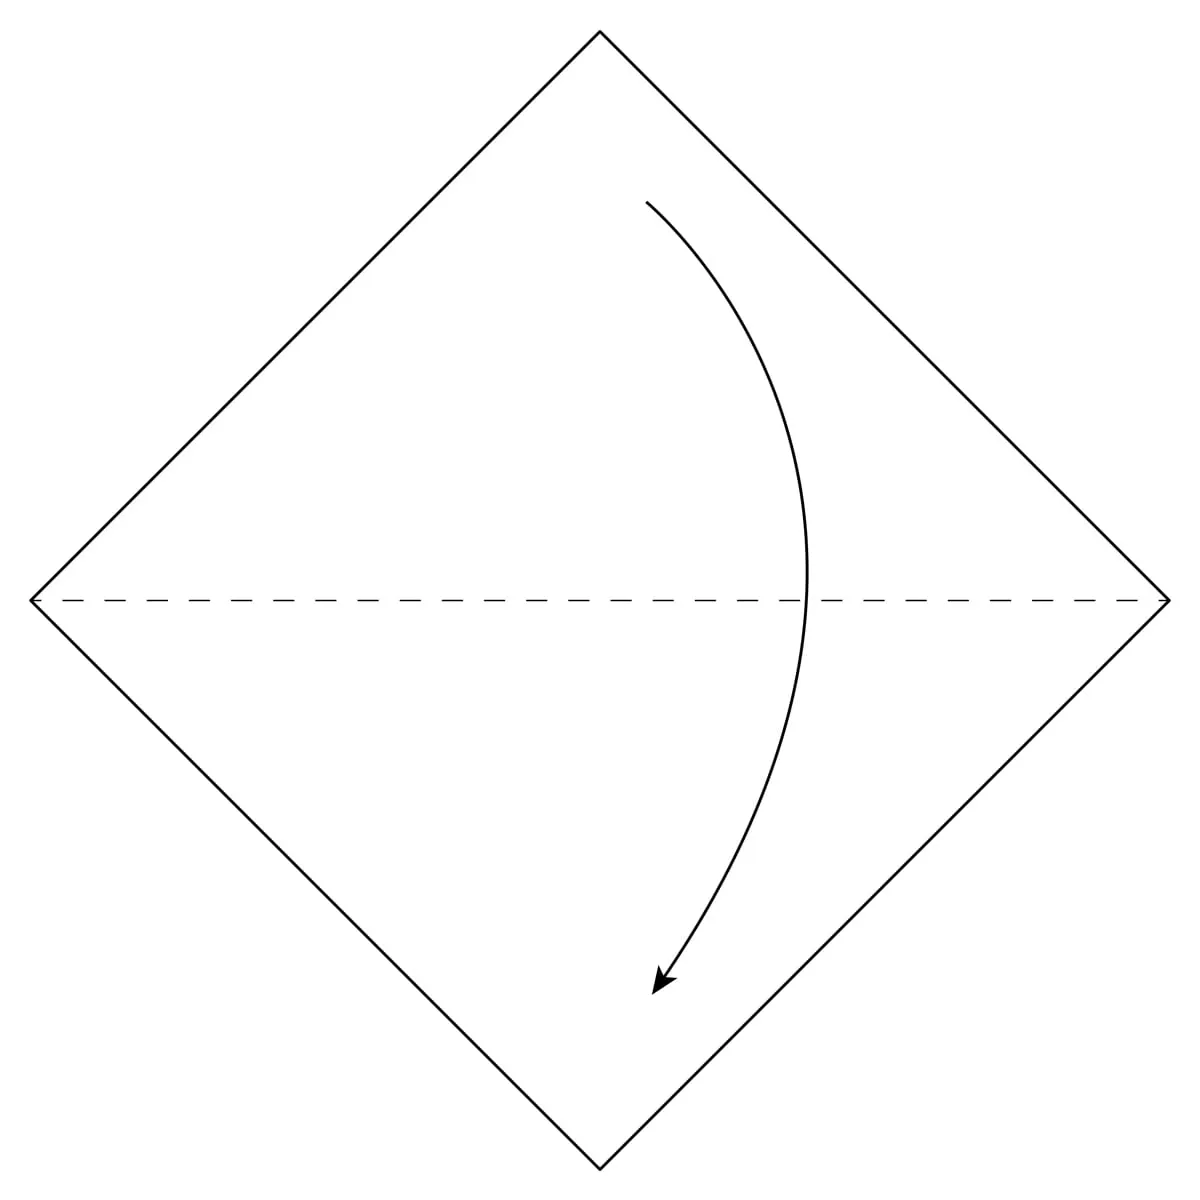
Step 1) Start with a square piece of paper with the. Fold it in half along the dotted line. Crease this well, then unfold.
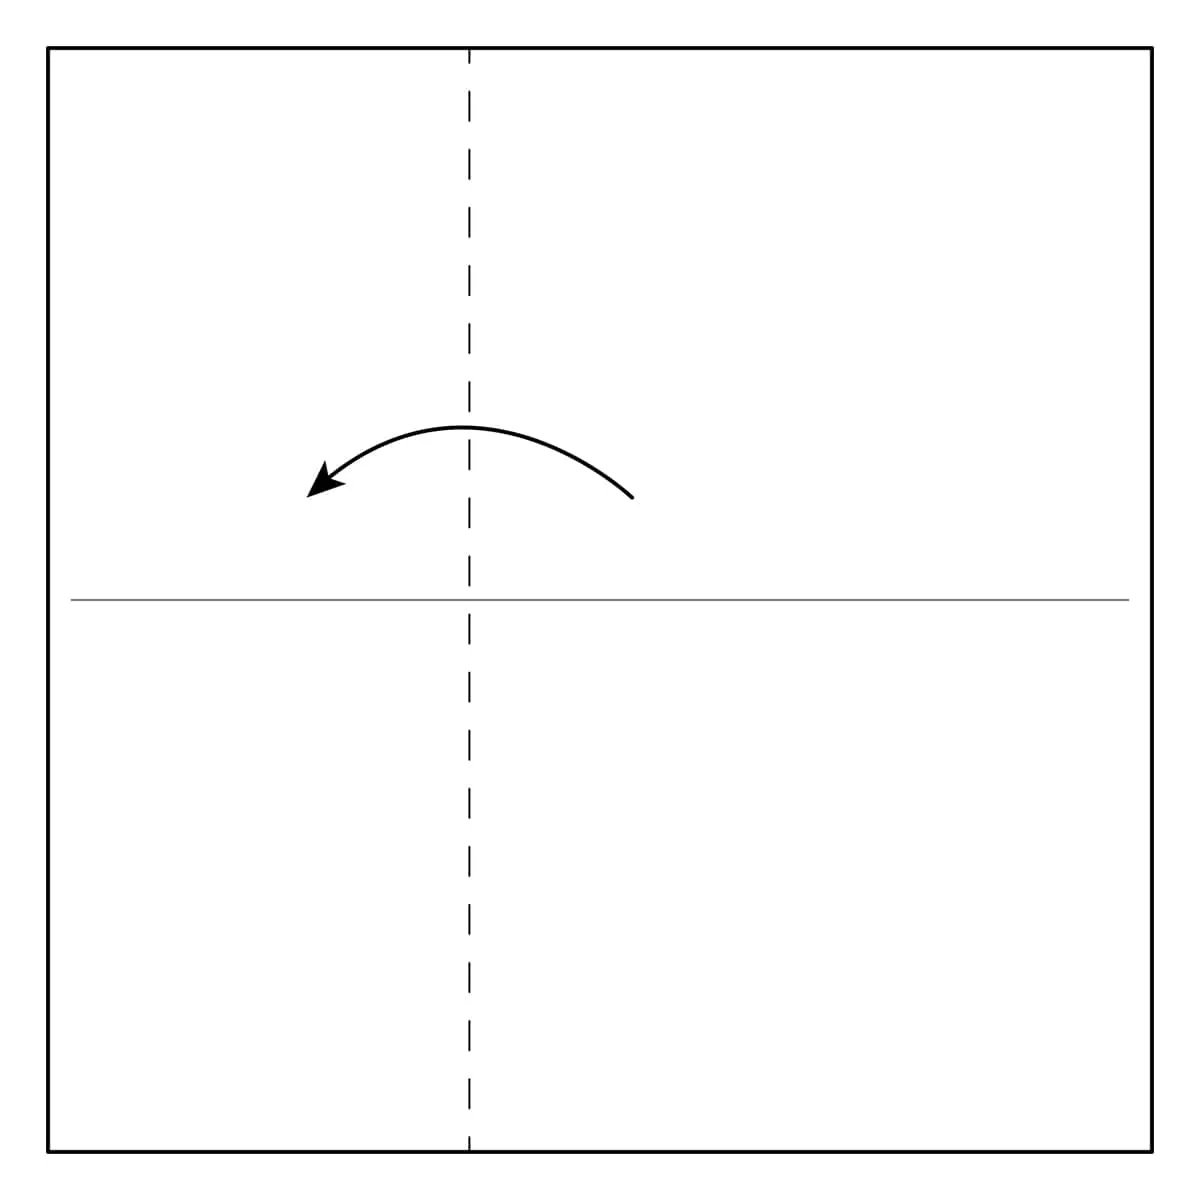
Step 2) Fold the paper in half the other way along the dotted line. Crease this fold well, then unfold it.
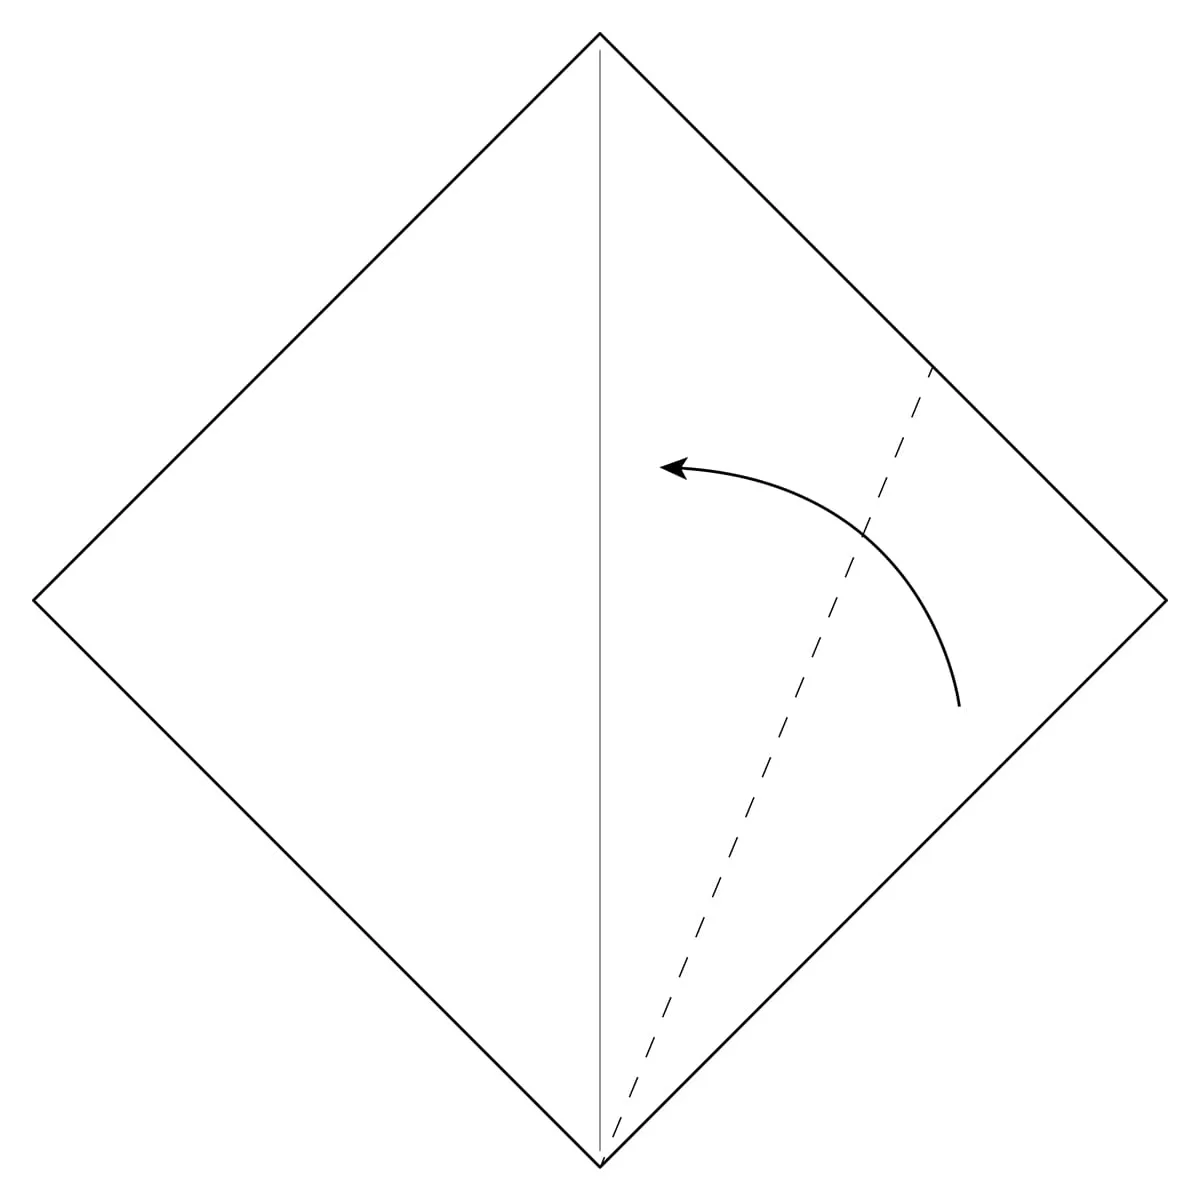
Step 3) Turn the paper over.
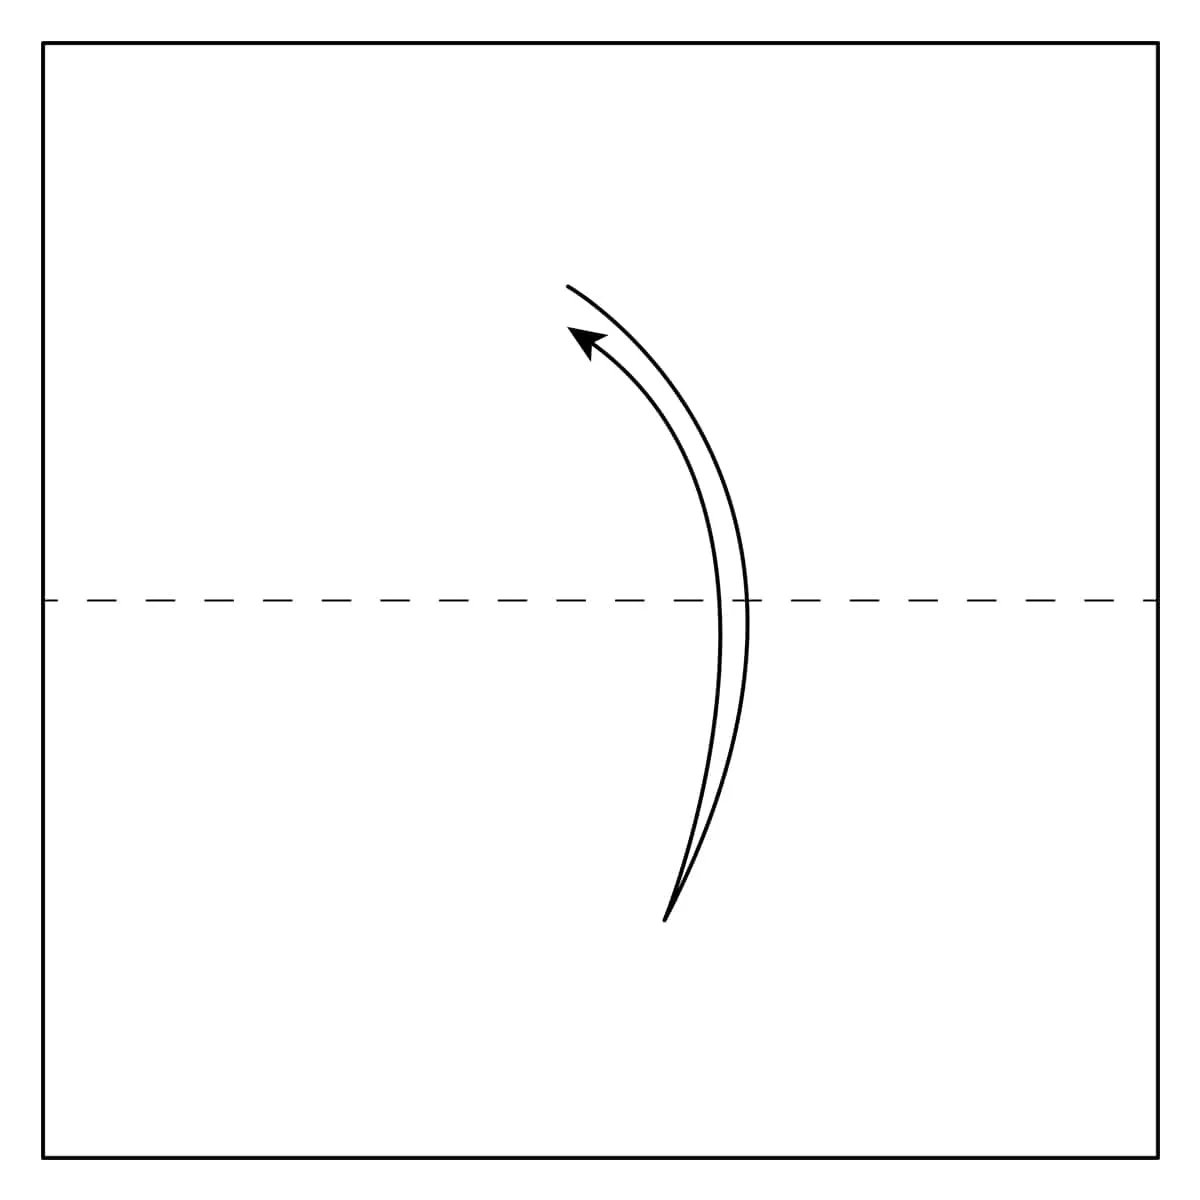
Step 4) Fold the paper in half (diagonally along the dotted line). Crease this fold well, then unfold it.
Step 5) Fold the paper in half (diagonally, the other way along the dotted line). Crease this fold well, then unfold it.
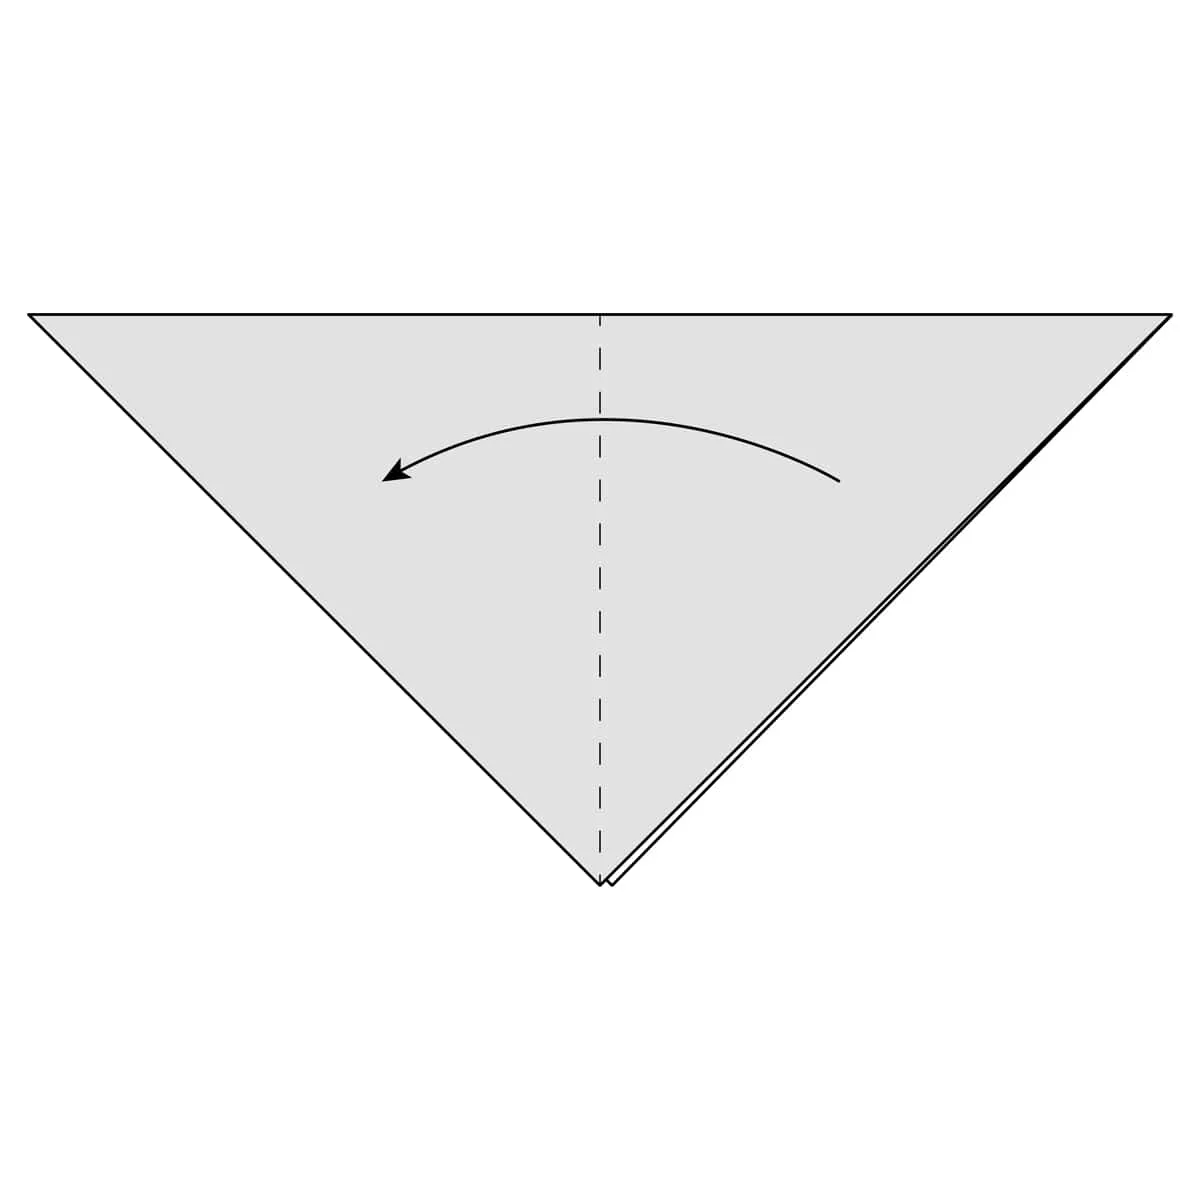
Step 6) Fold the paper together, following the two diagonal creases and the horizontal crease that you already made.
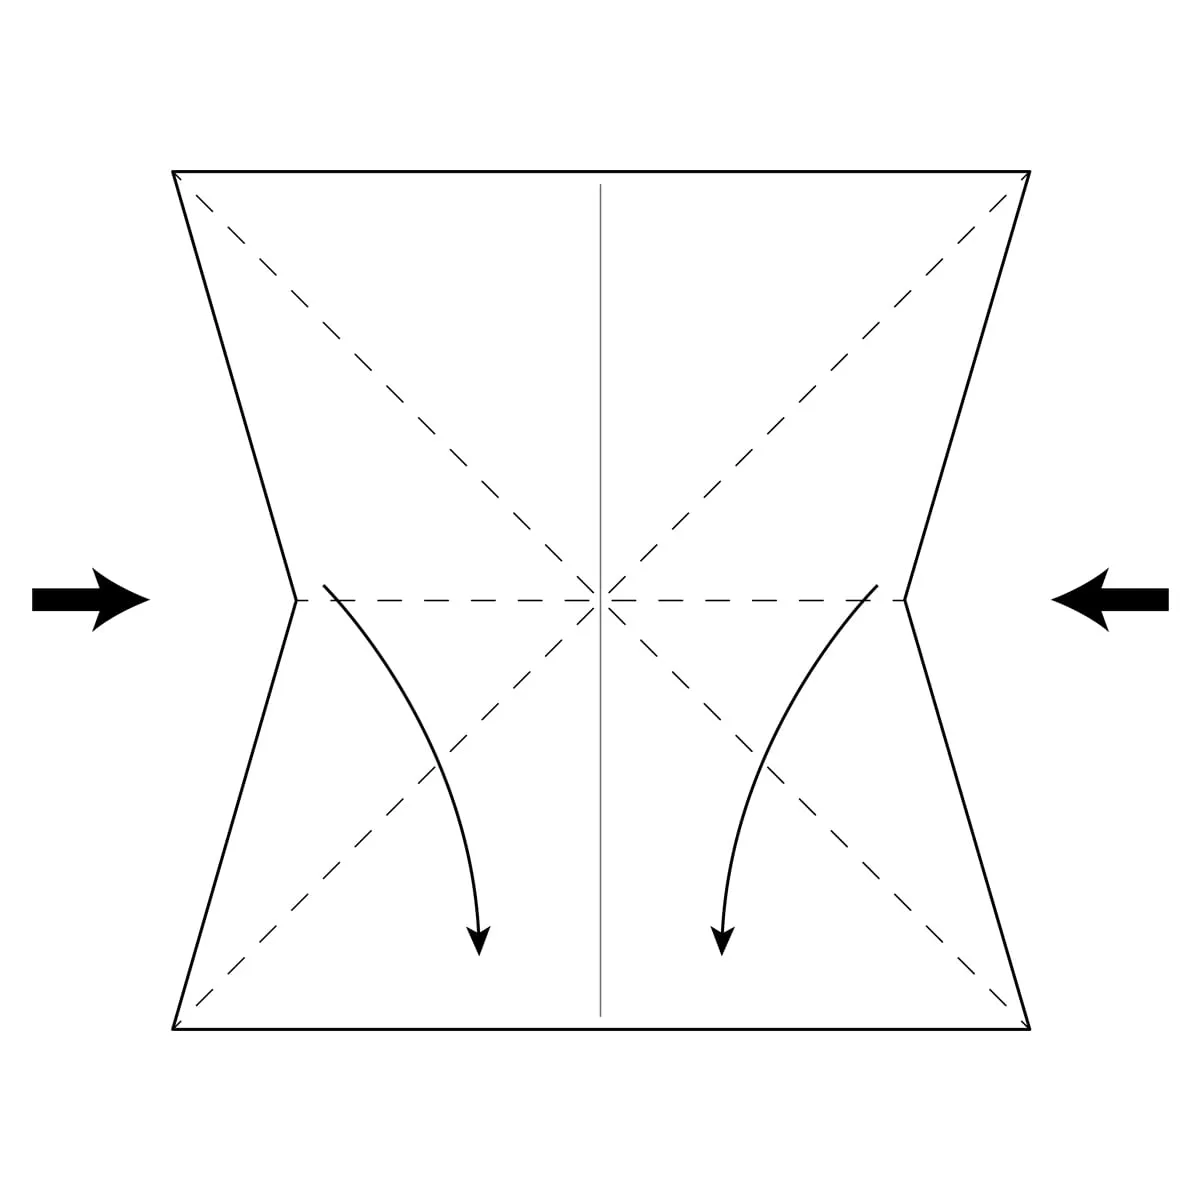
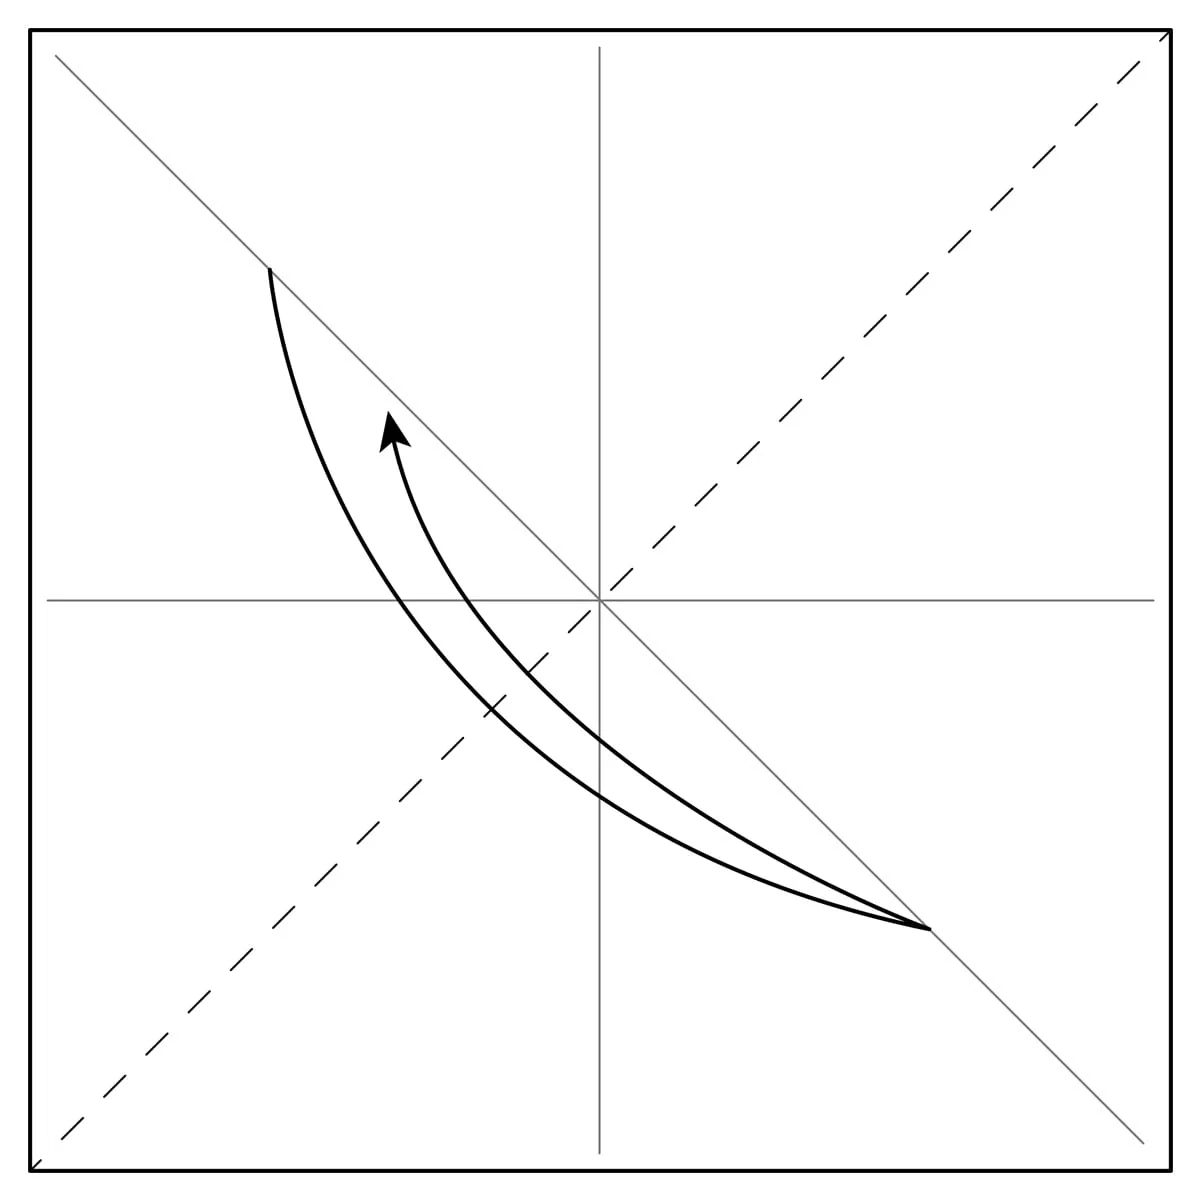
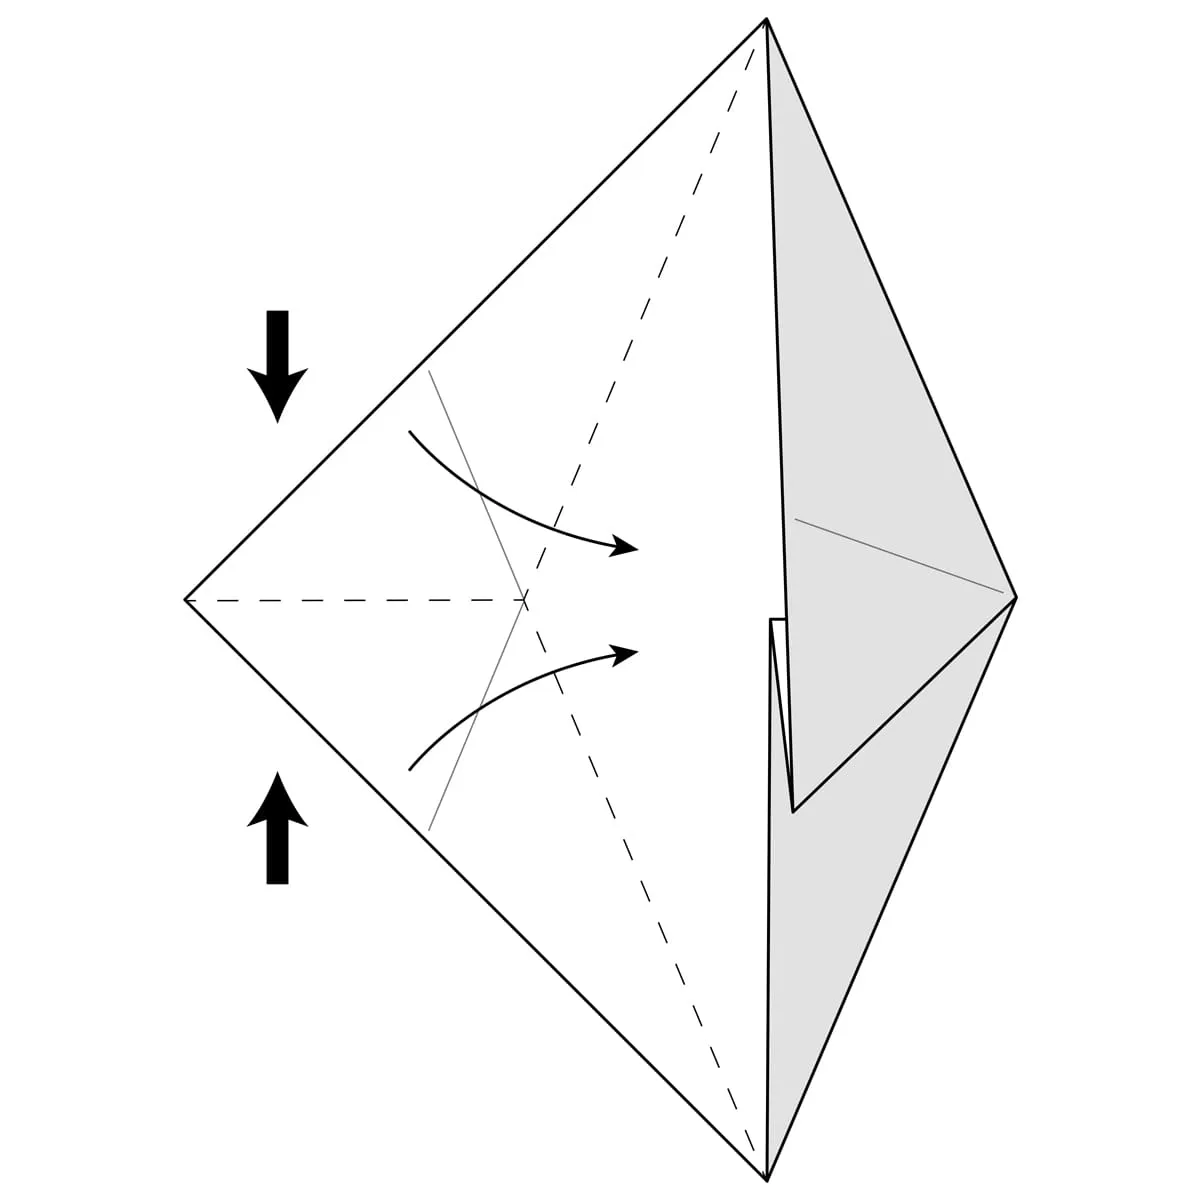
Step 7) Push in the sides and fold the paper in half (horizontally), following the creases you already made.
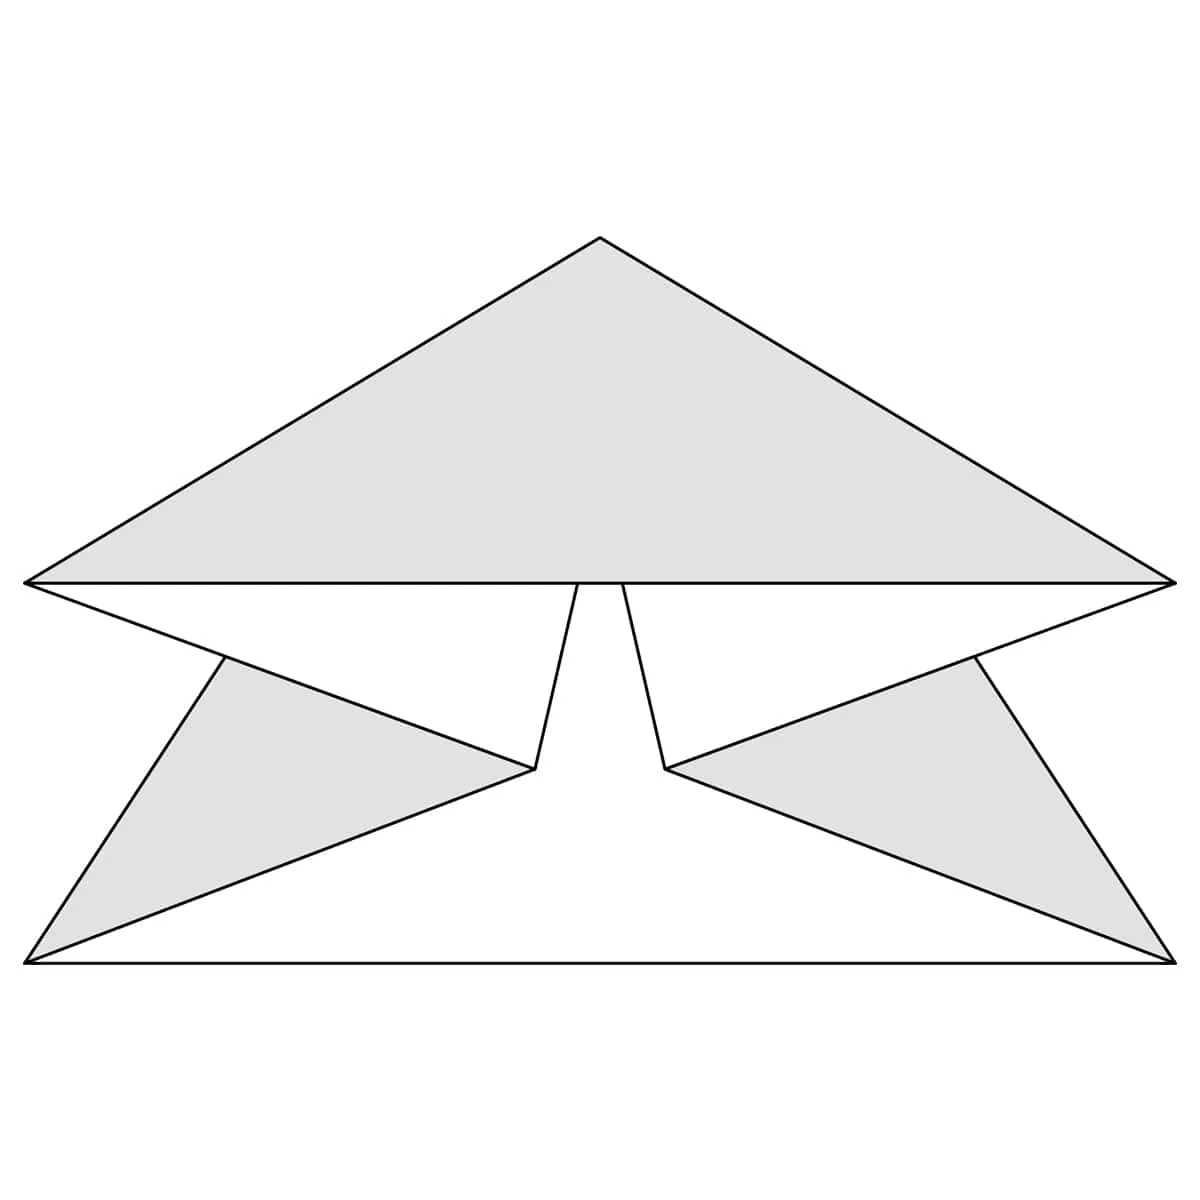
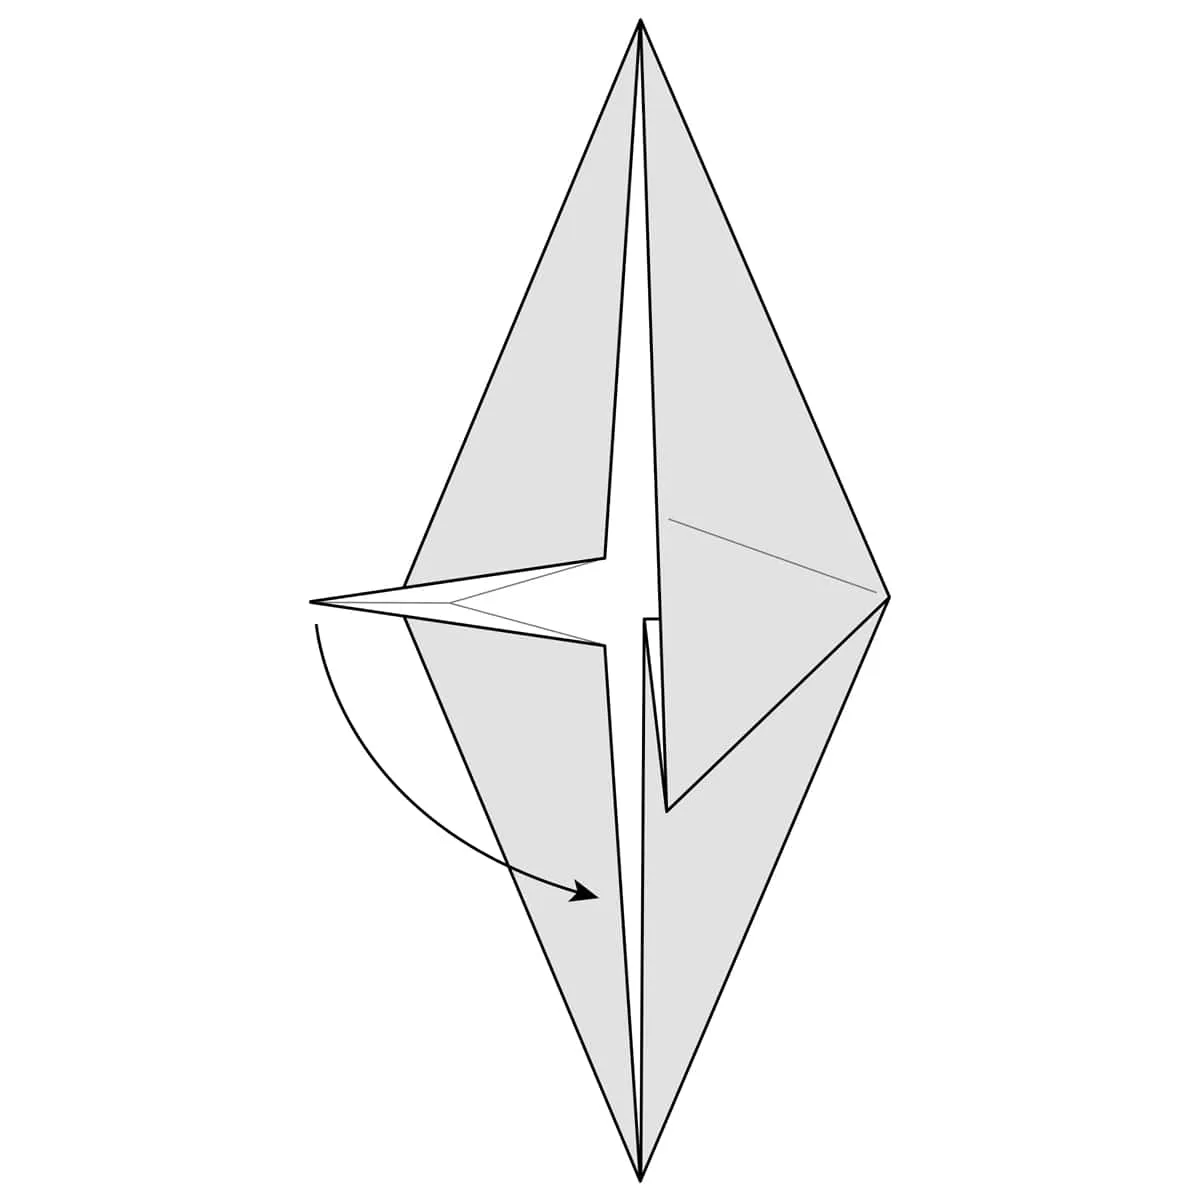
Step 8) The model should come together along the existing creases to make a shape that looks like this. Press everything along the existing creases, to make it flat.
The completed Water Bomb Base.
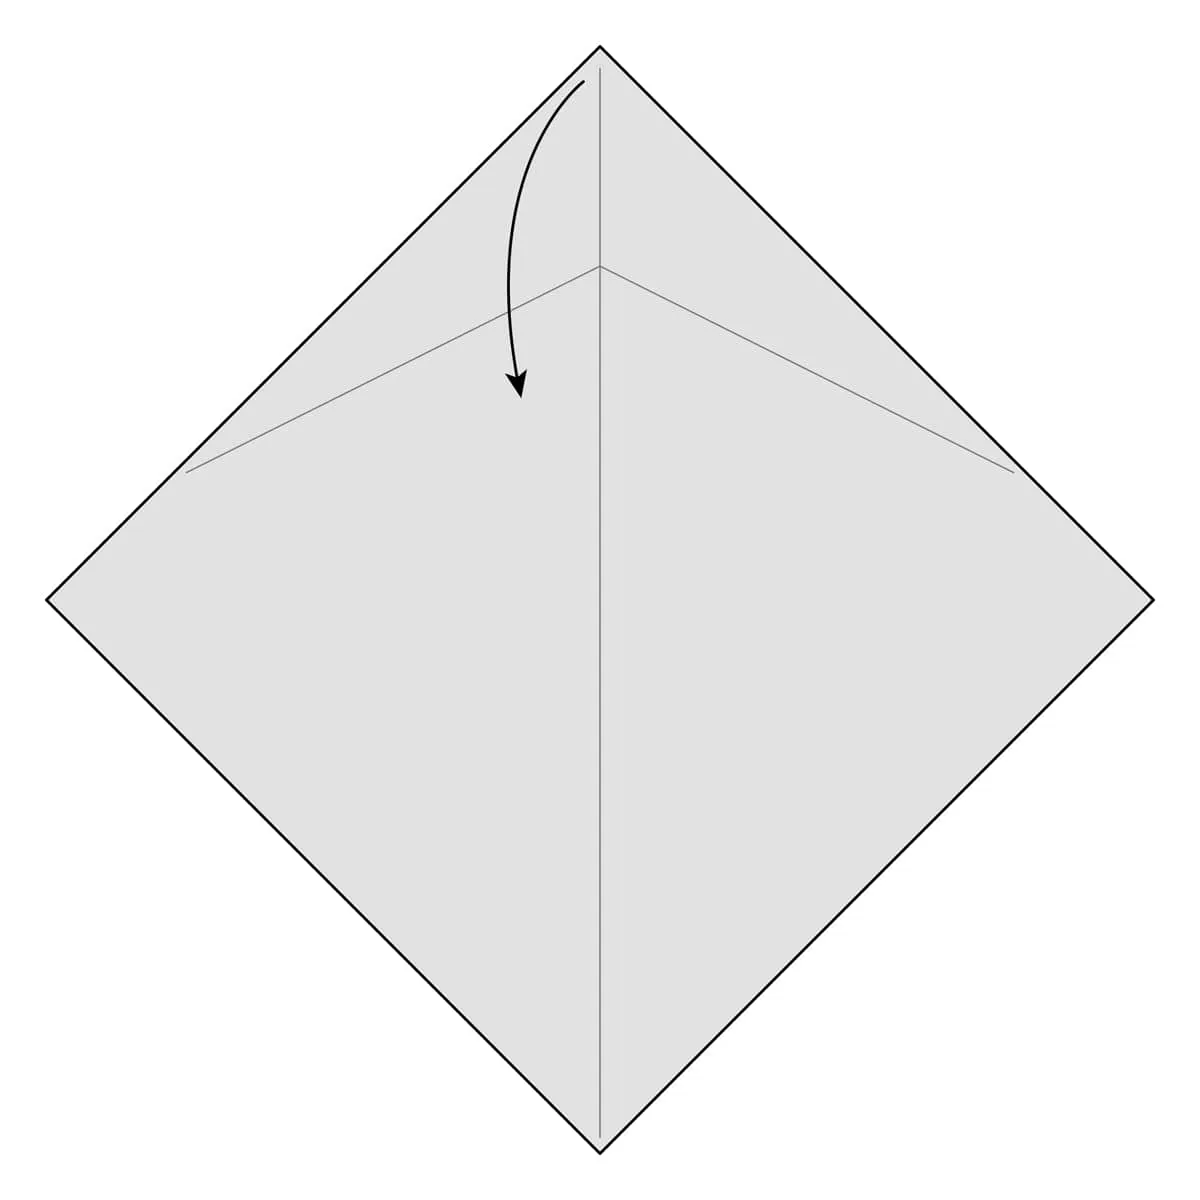
Fish Base
This base is used to fold a traditional origami fish which is where its name comes from.
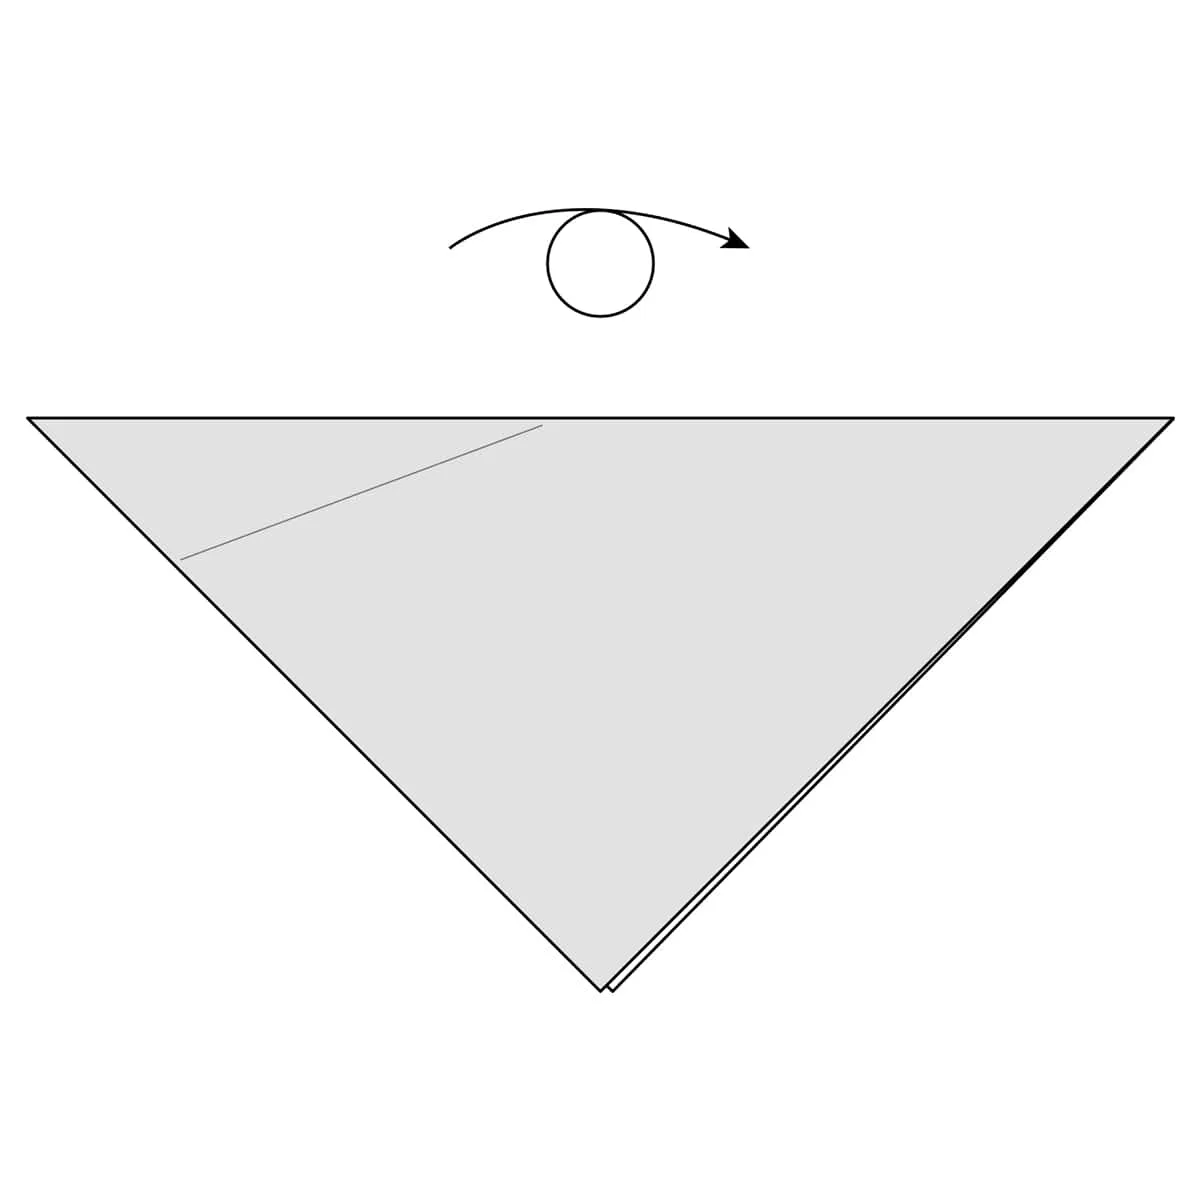
Step 1) Start with a square sheet of paper. Fold it in half along the dotted line and then unfold it.
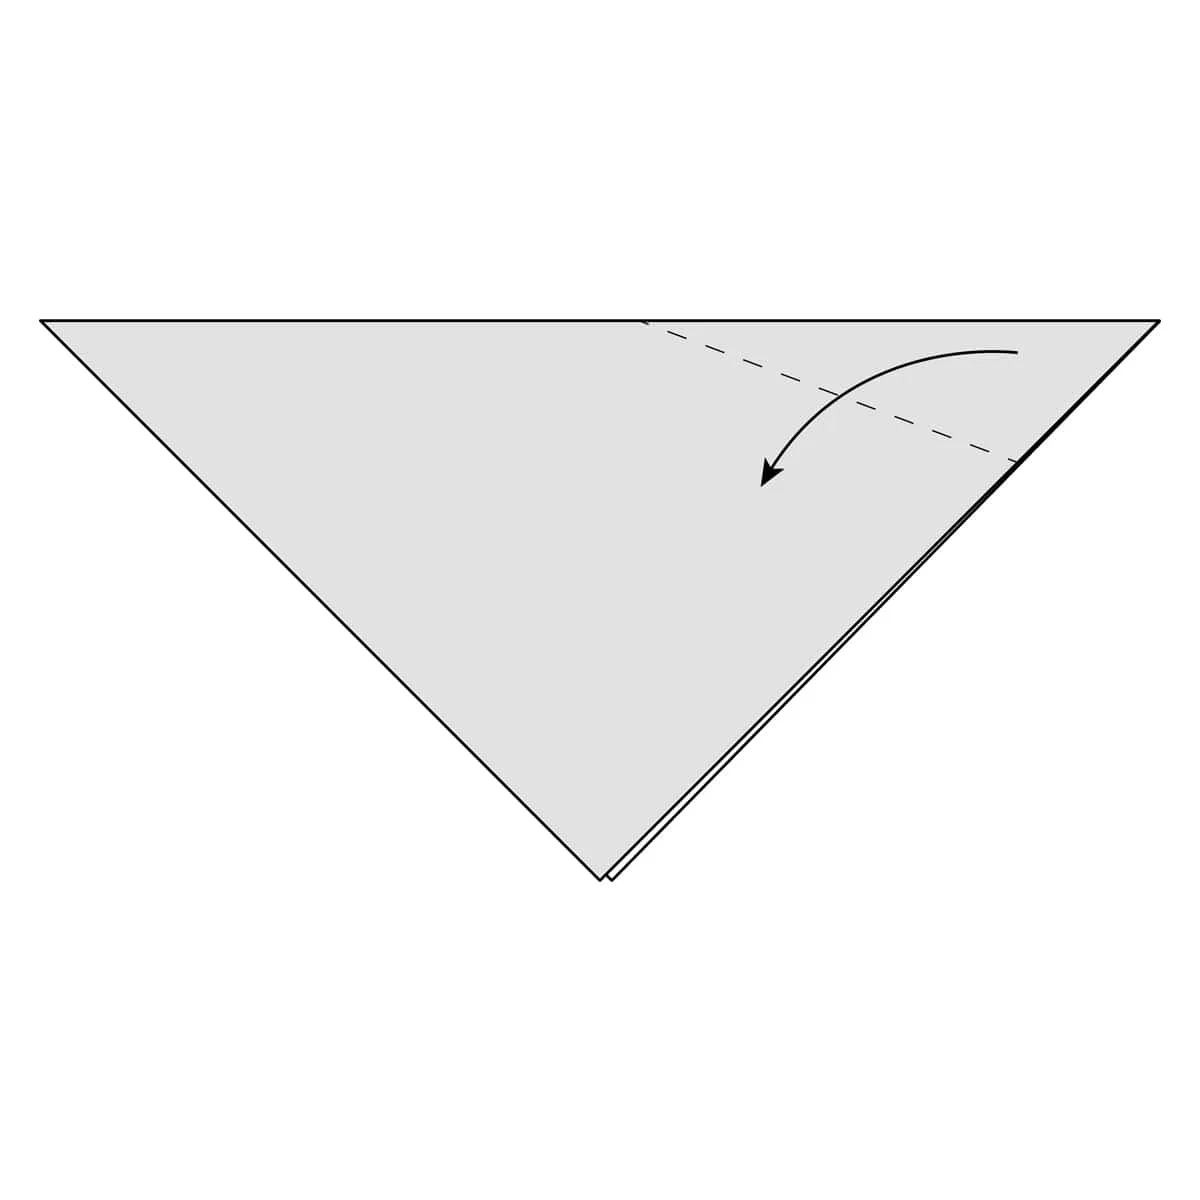
Step 2) Fold the bottom right part of the paper to the center.
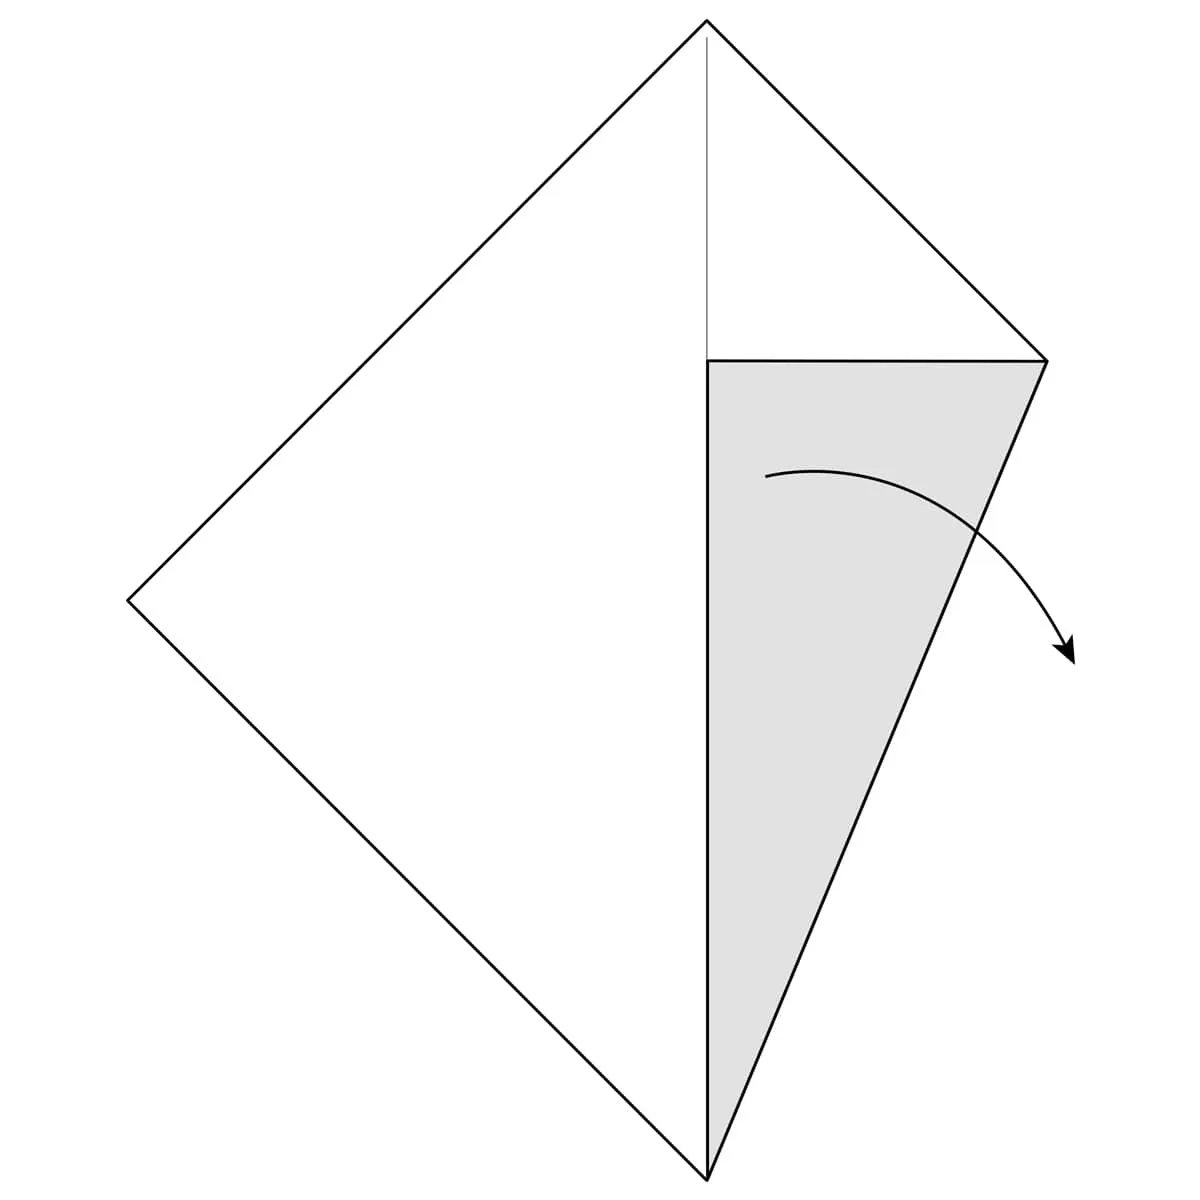
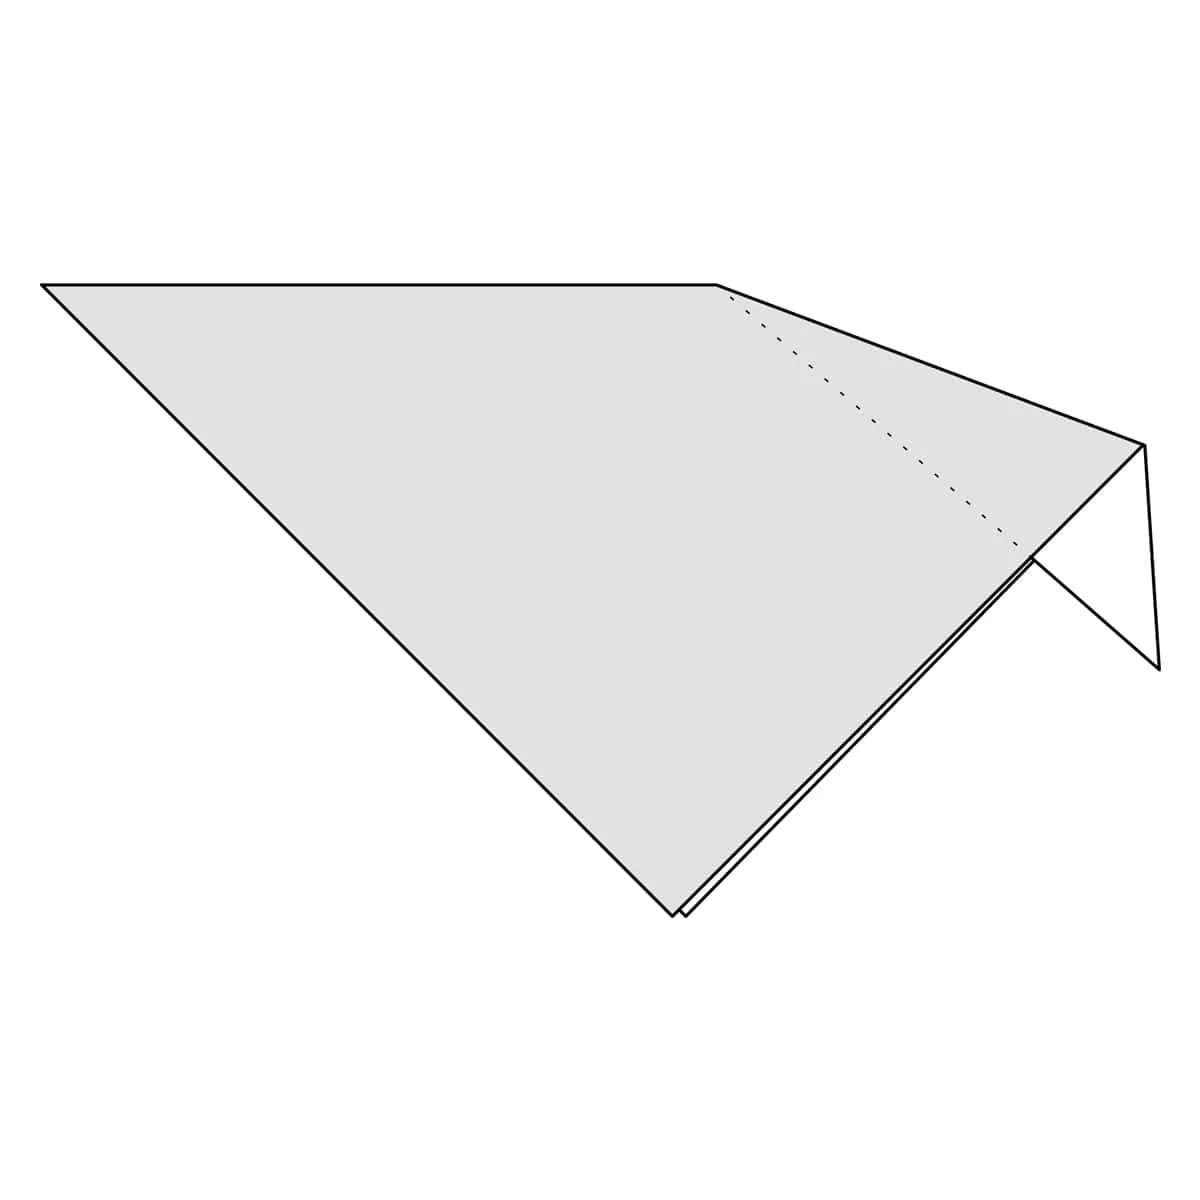
Step 3) Crease this fold well and then unfold it.
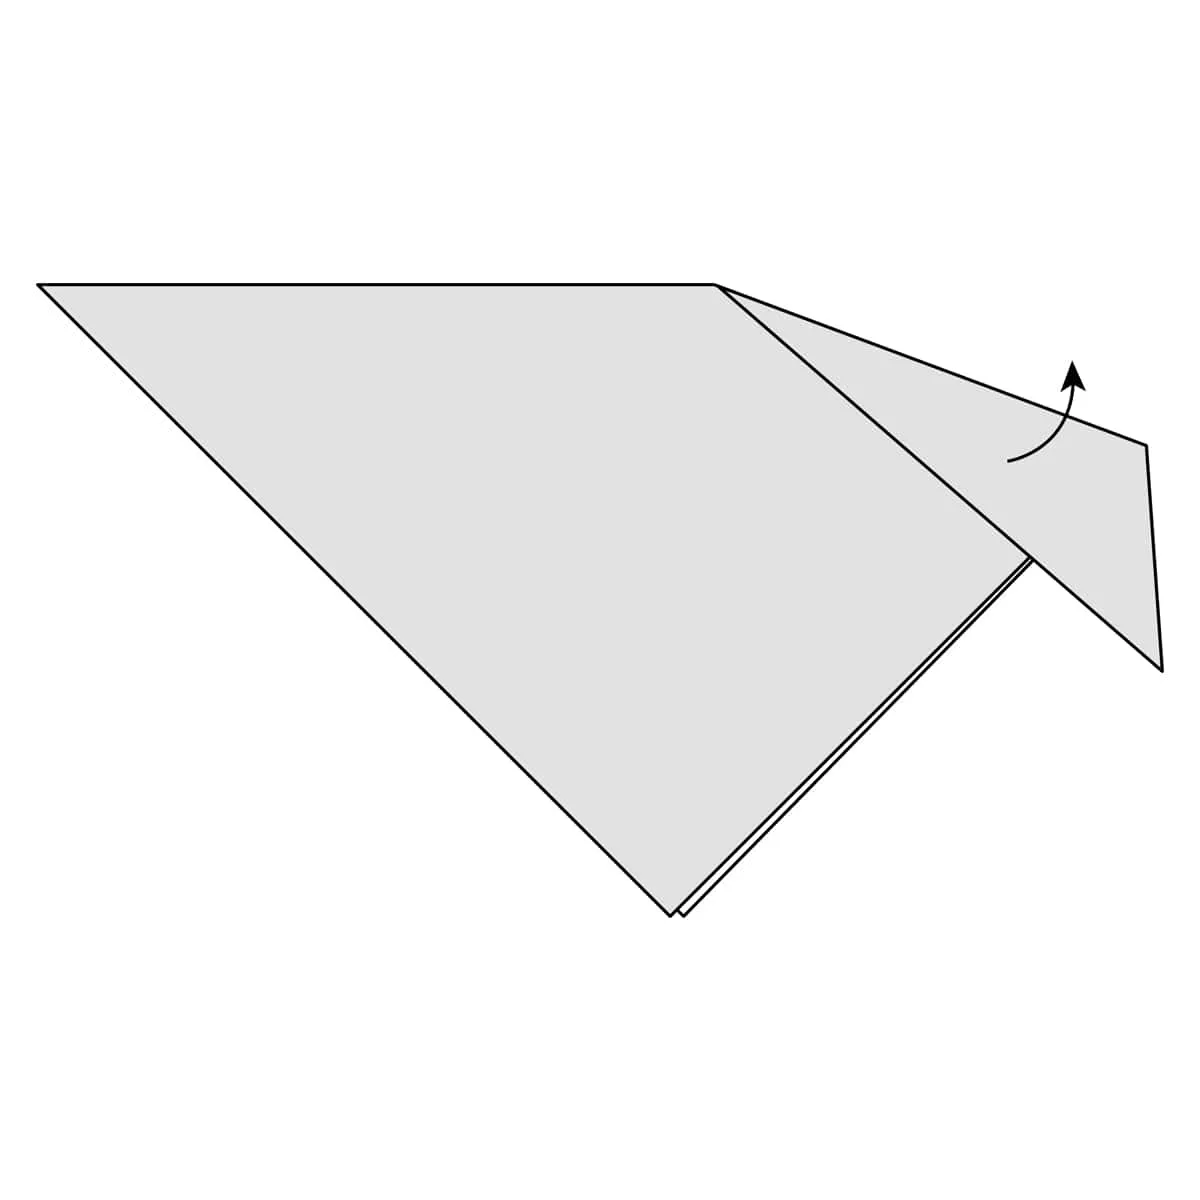
Step 4) Fold the top right part of the paper to the center.
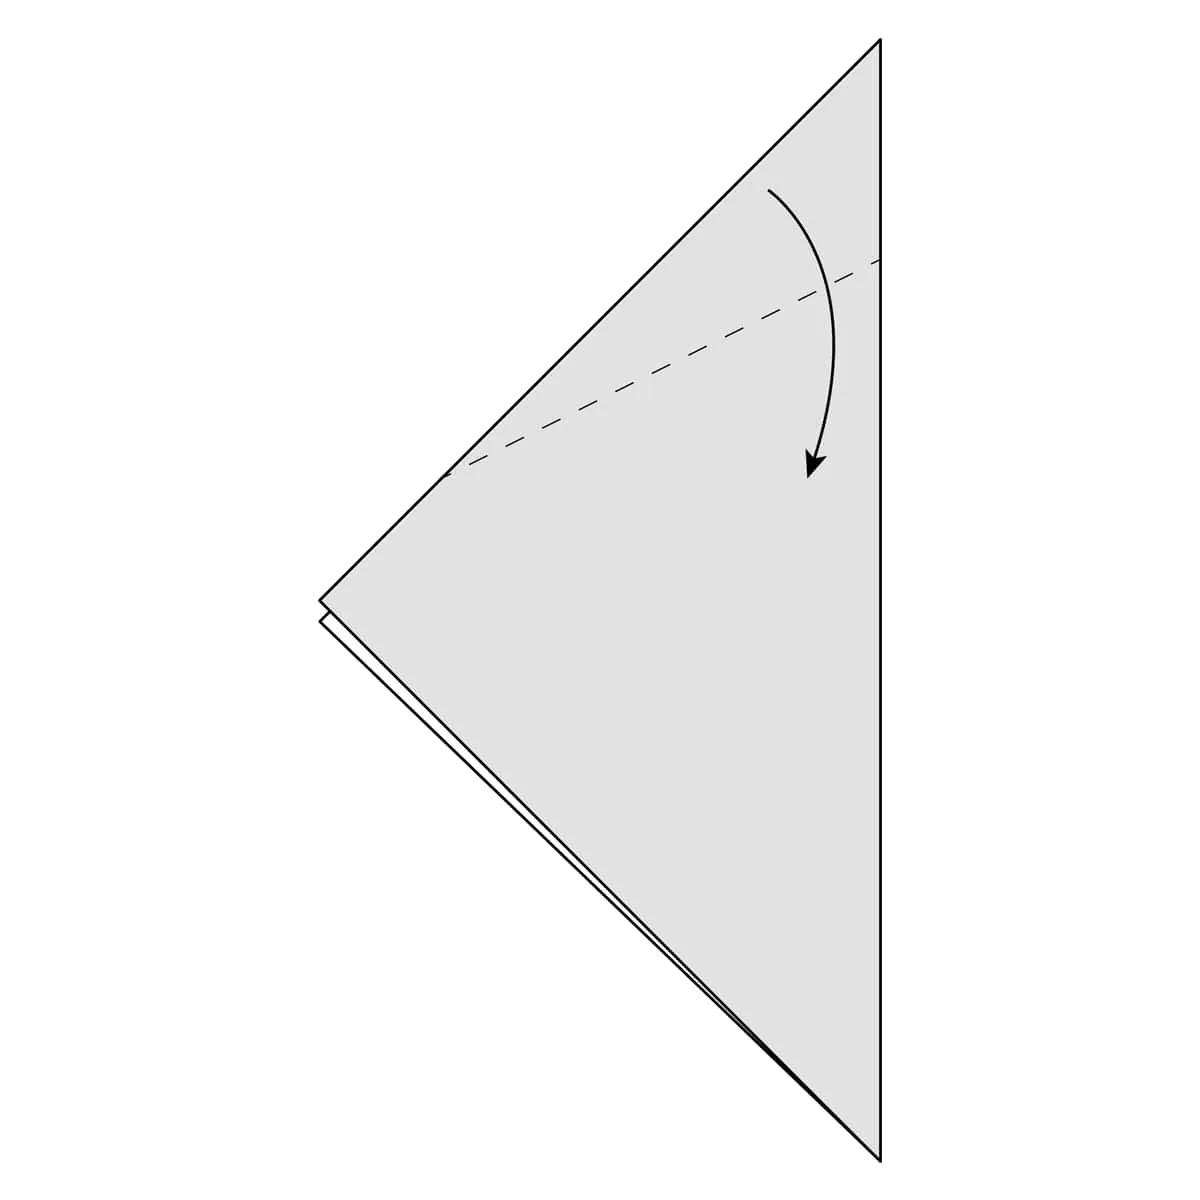
Step 5) Crease this fold well and then unfold it.
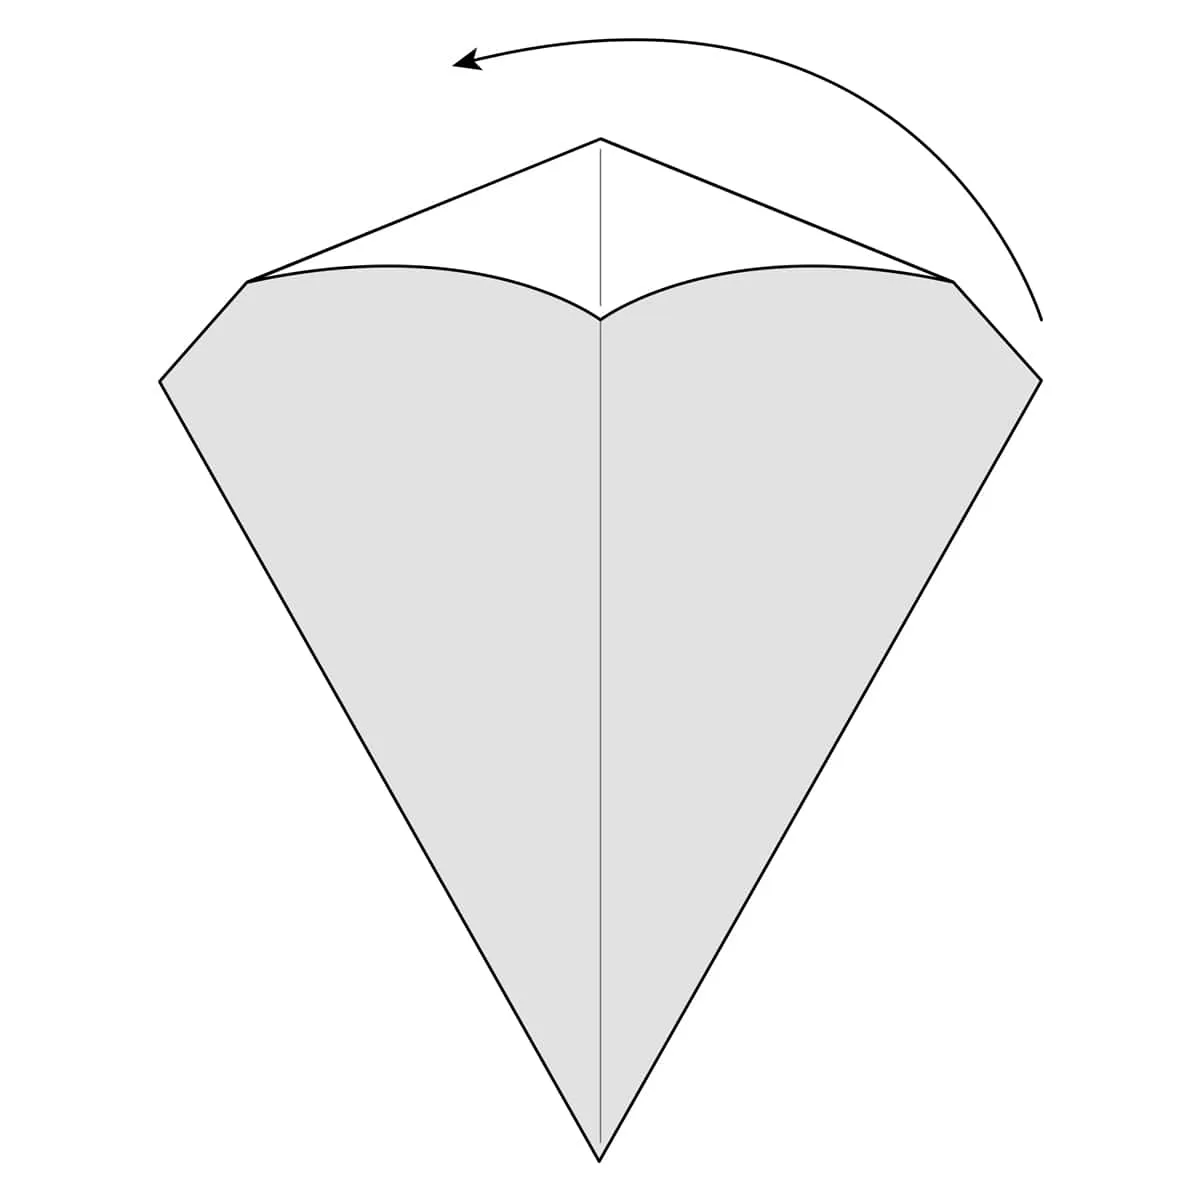
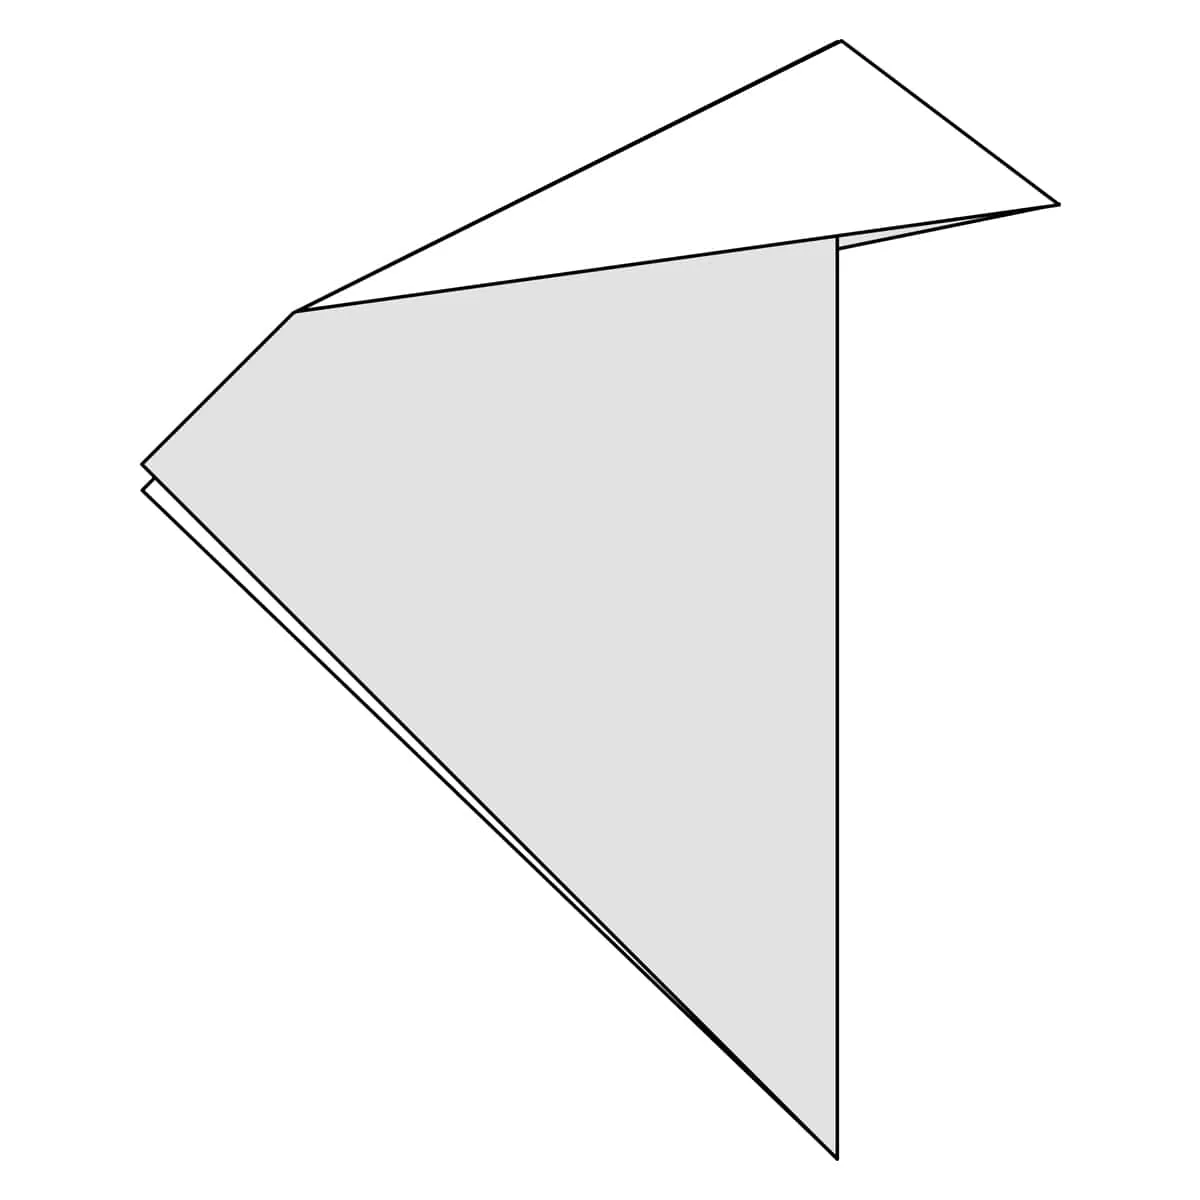
Step 7) Fold the flap of paper to the bottom and fold everything (make it flat).
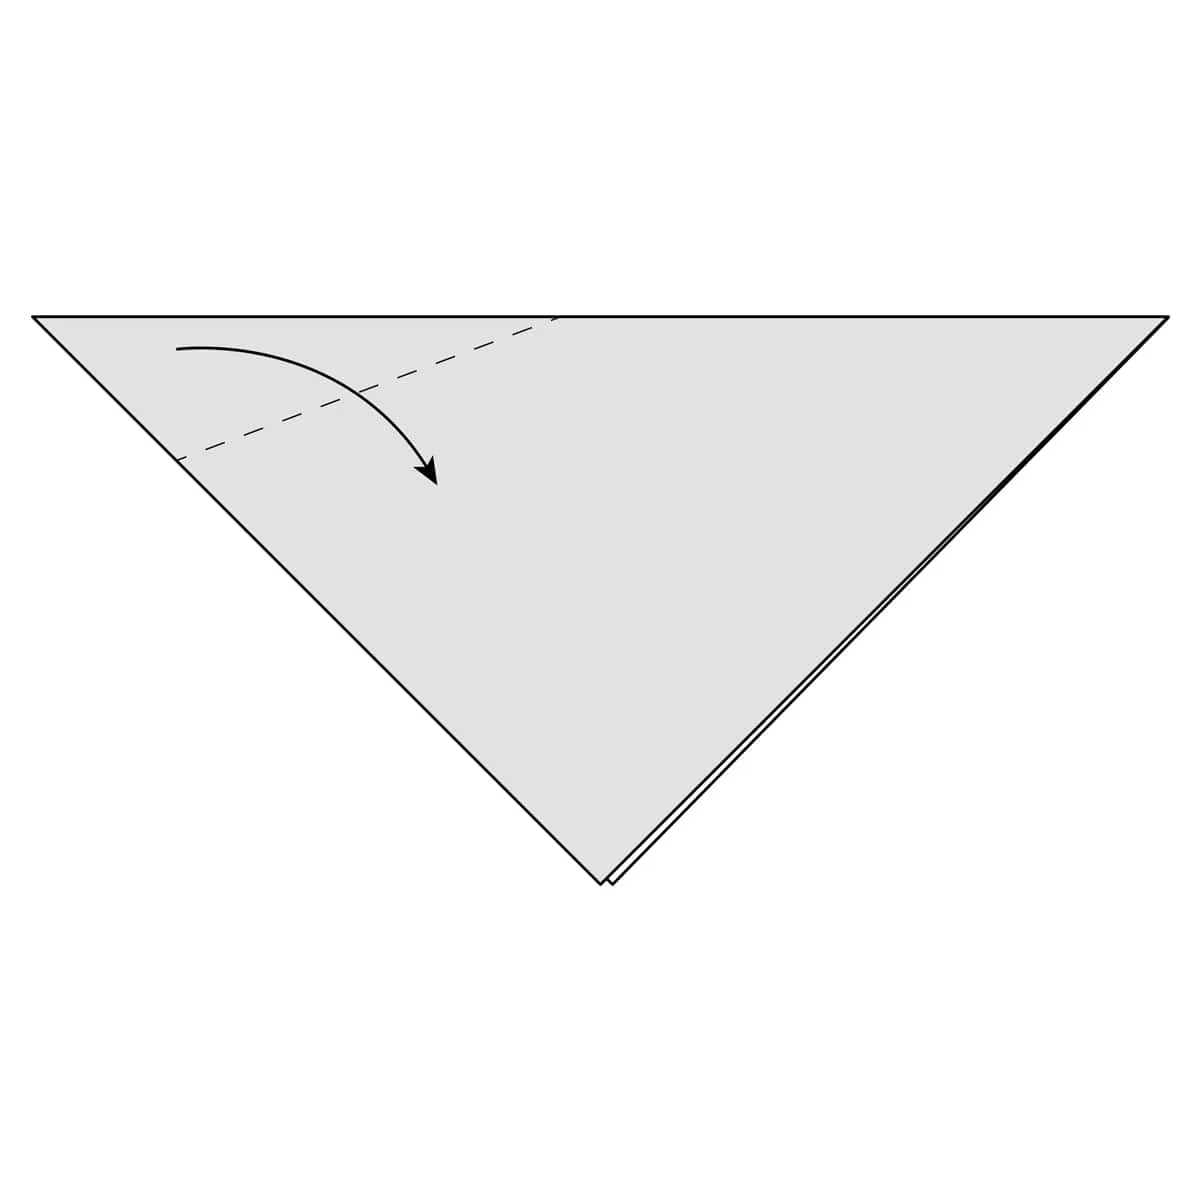
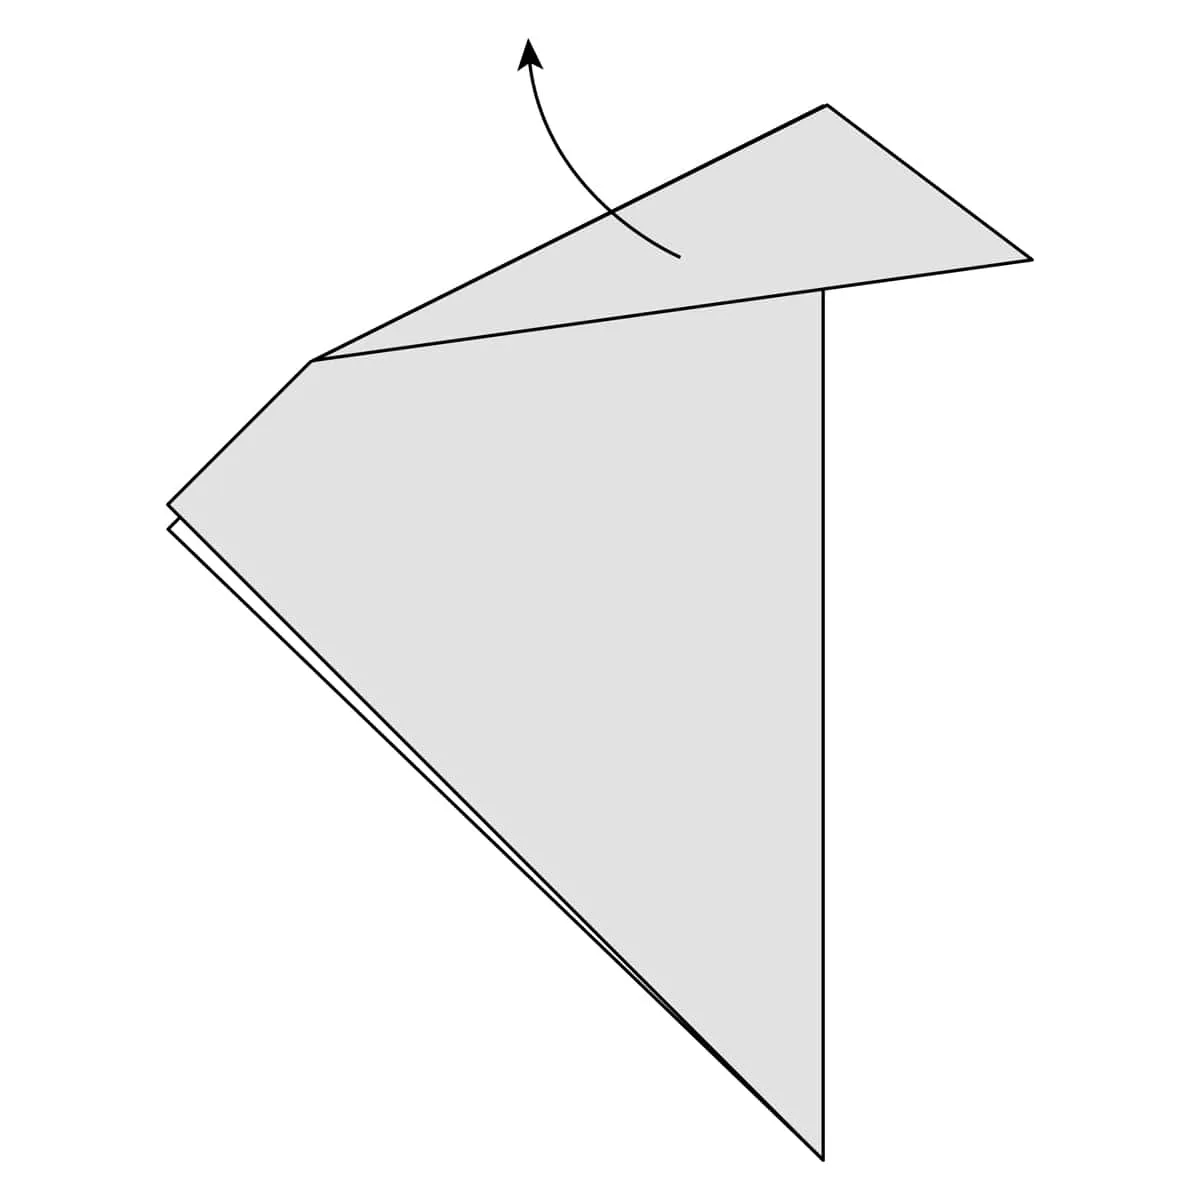
Step 8) Fold the bottom left part of the paper to the center.
Step 9) Crease this fold well and then unfold it.
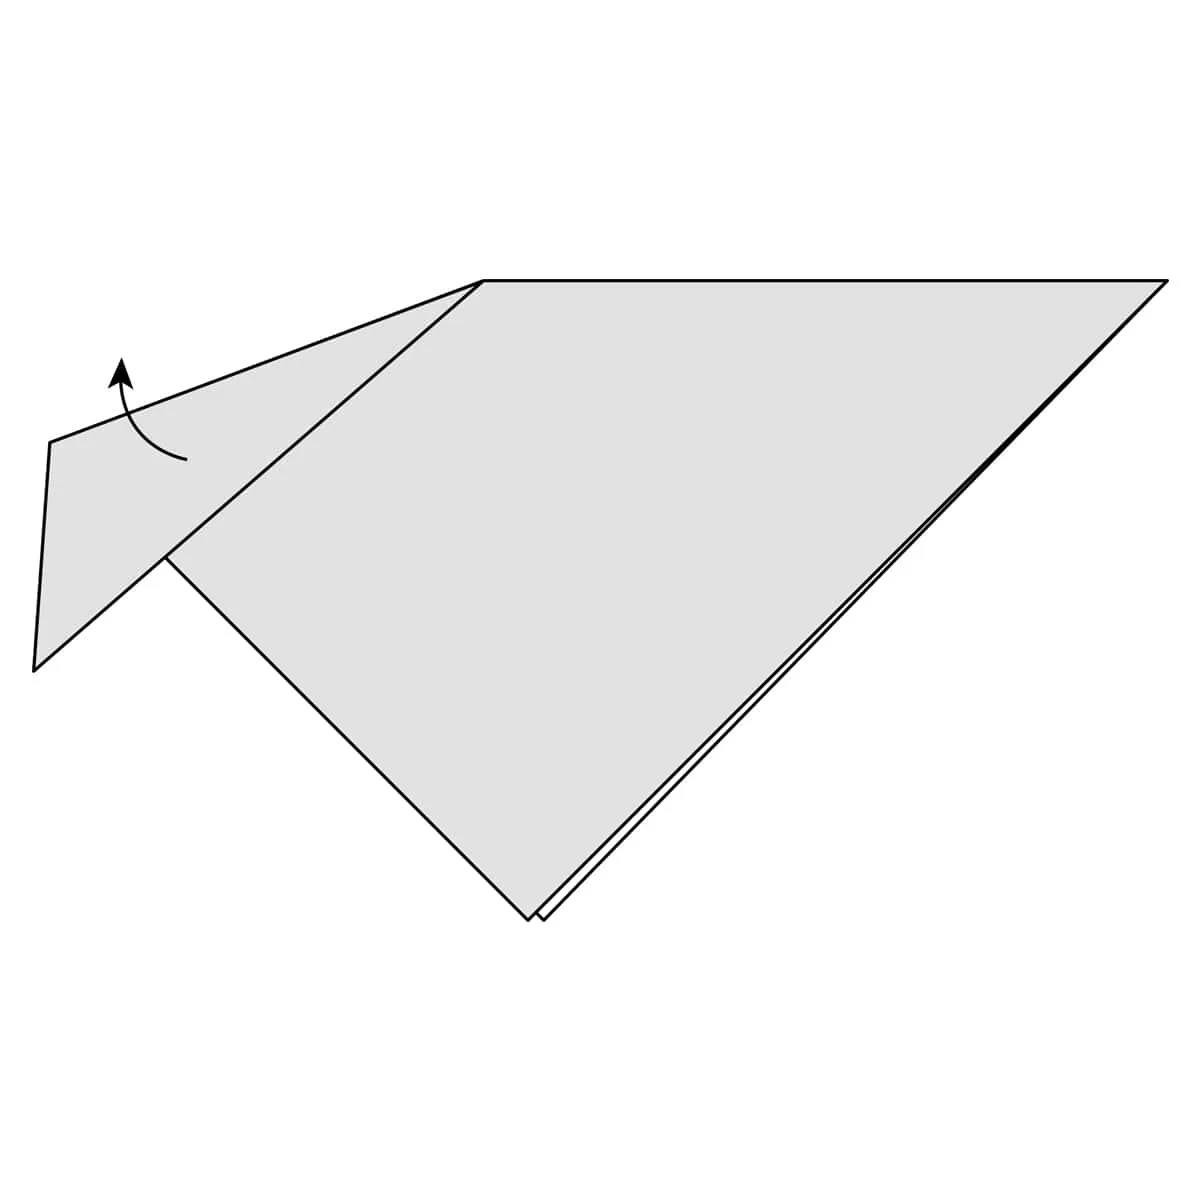
Step 10) Fold the top left part of the paper to the center.
Step 11) Crease this fold well, then unfold it.
Step 13) Fold the flap of paper to the bottom and fold everything (make it flat).

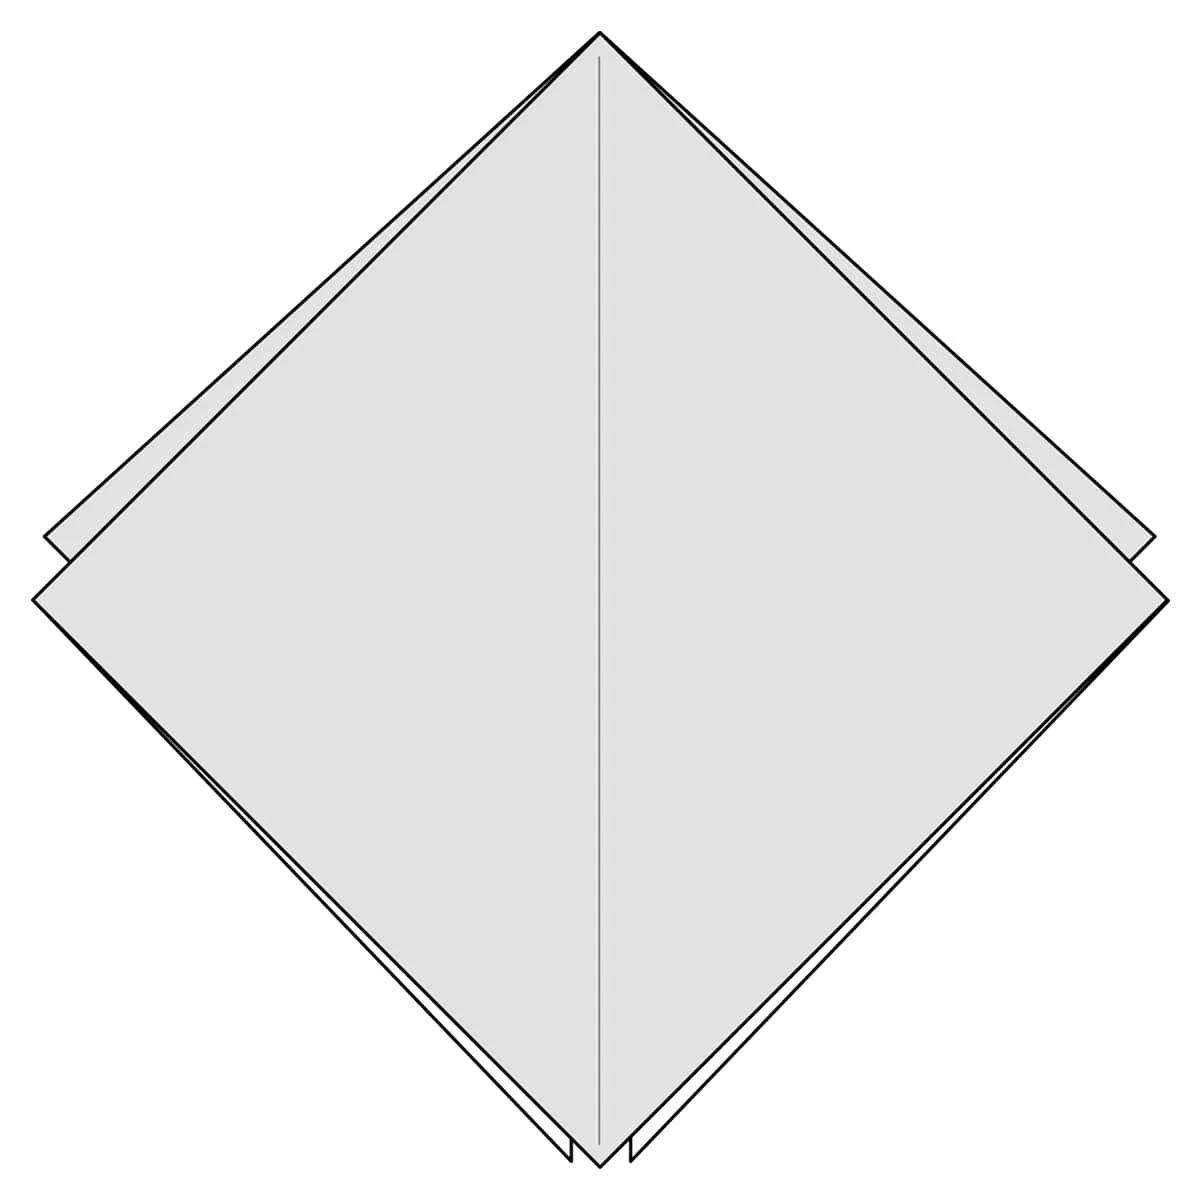
This is the completed Fish Base.
Square or Preliminary Base
This is the most common bases in origami and is used in many different models.
Step 1) Start with a square sheet of paper. Fold it in half along the dotted line.
Step 2) Fold the paper in half again (along the dotted line).

Step 3) Bring the top flap of paper up.
Step 4) Squash Fold this flap of paper down. Make sure to keep both sides symmetrical. You should end up with a diamond shape.
Step 5) Turn the model over.
Step 6) Lift the top left flap of the paper up to the middle.
Step 7) Squash Fold this flap of paper, down. Make sure both sides are symmetrical. You should end up with a diamond shape matching the one on the other side.
Step 8) This is the completed Square or Preliminary Base.
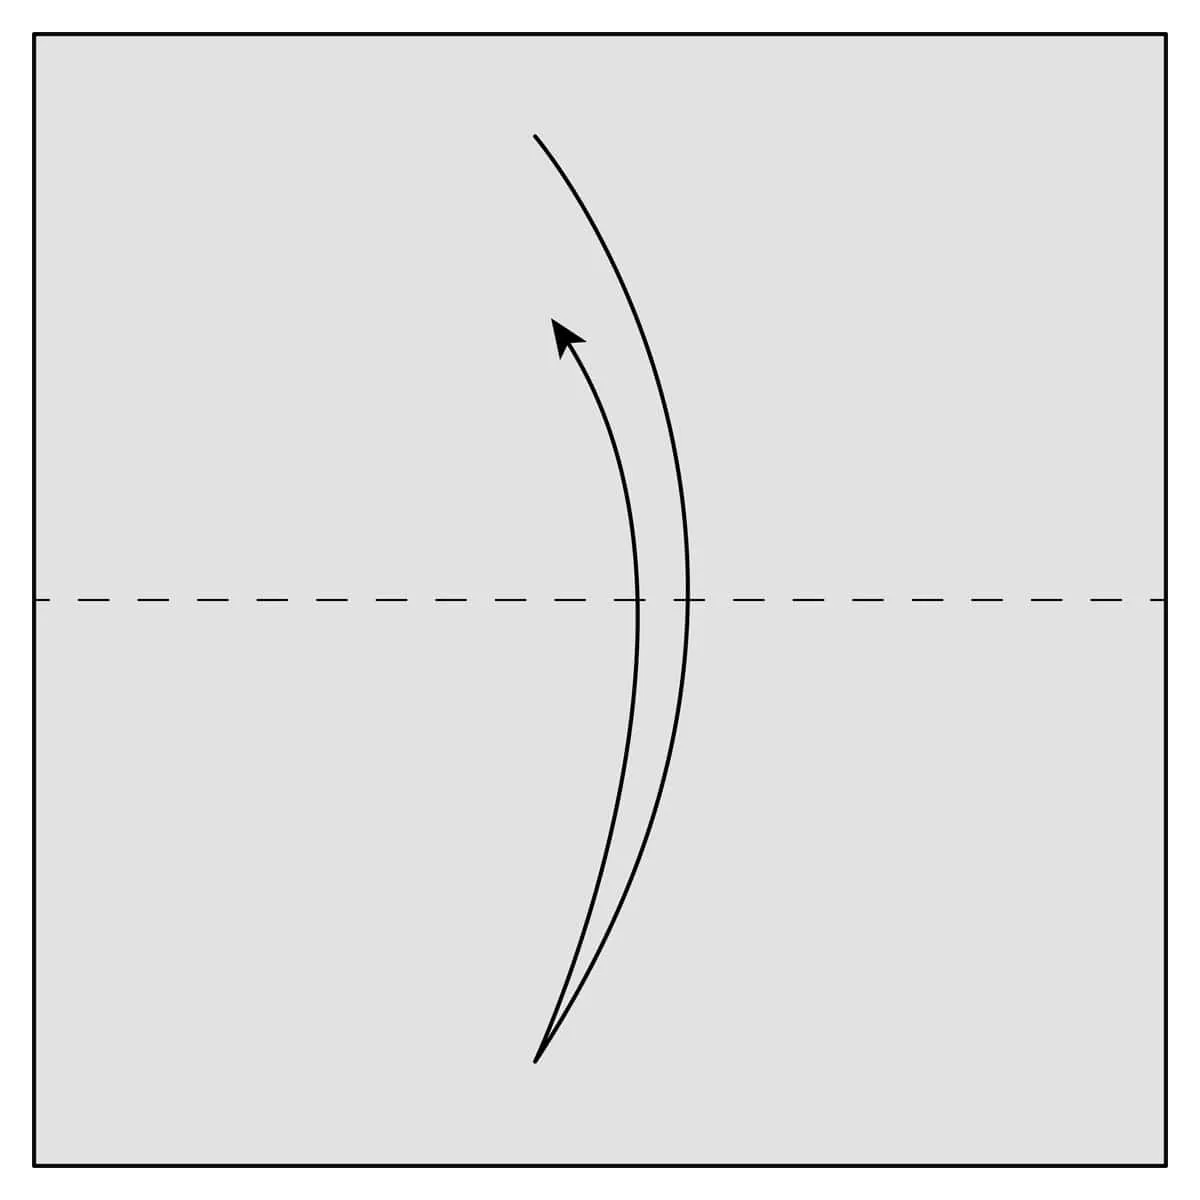
Mountain Fold
With a Mountain Fold, the crease bends the paper down and resembles a mountain.
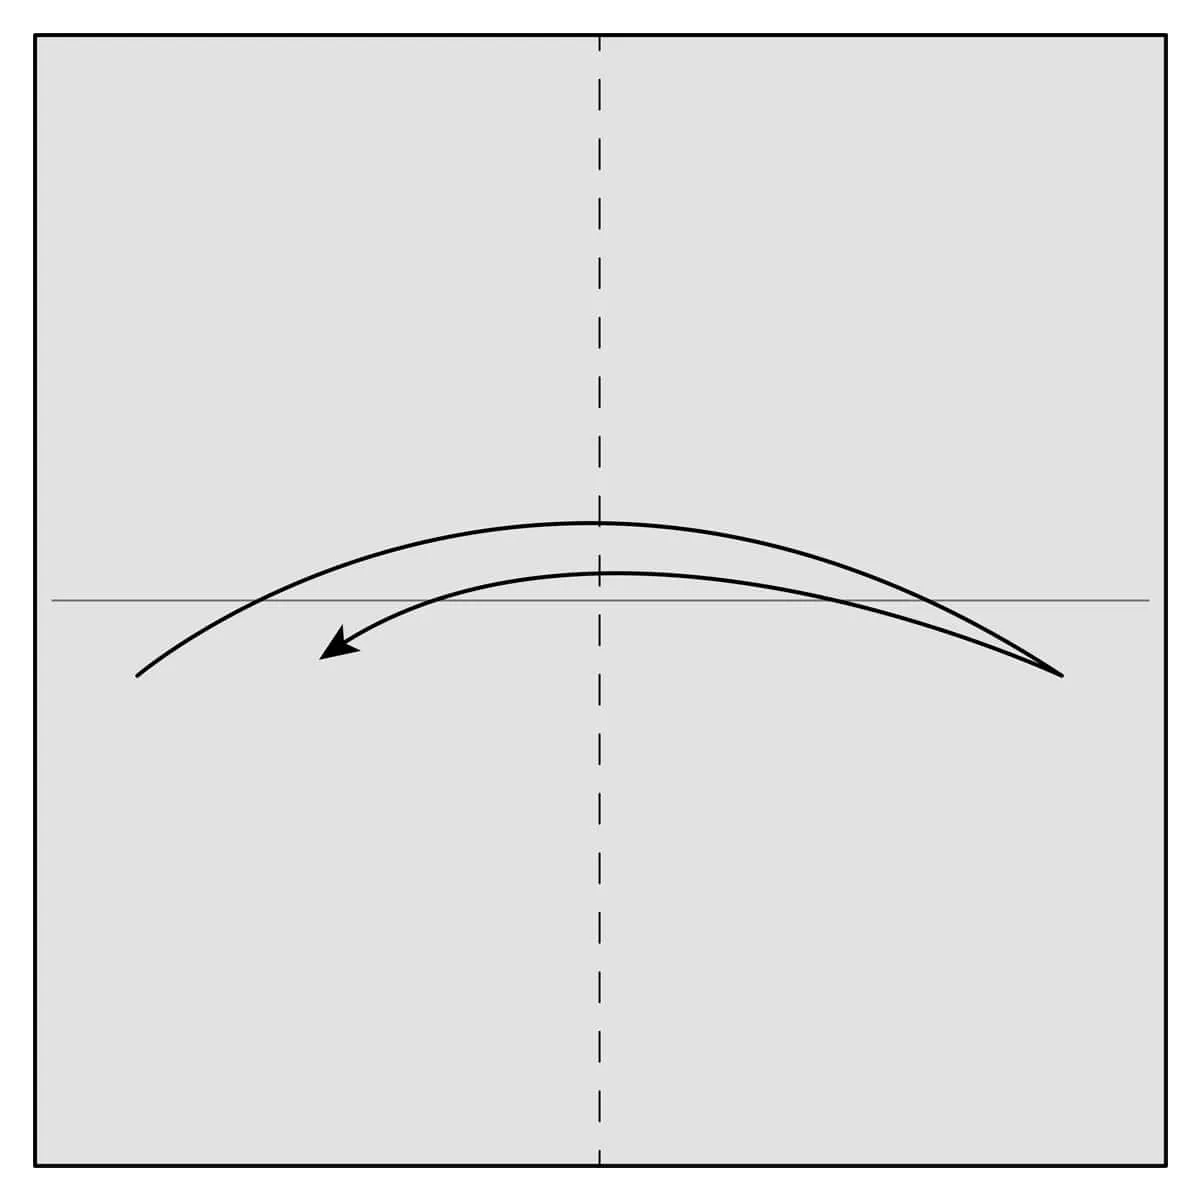
Valley Fold
With a Valley Fold, the crease bends the paper up and resembles a valley.
Inside Reverse Fold
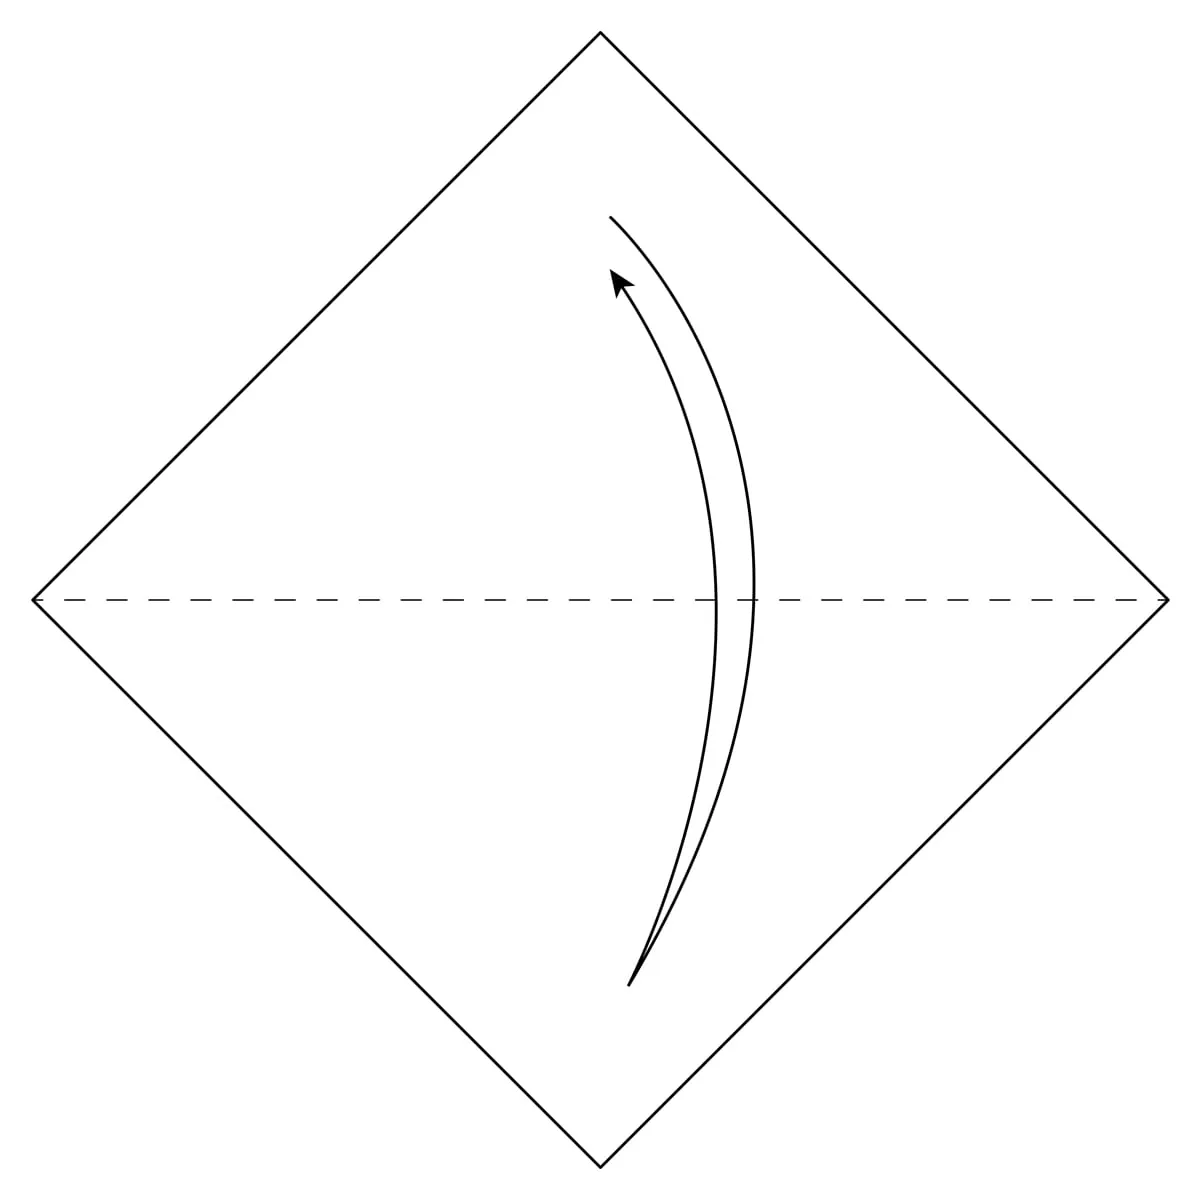
Step 1) Start with a square of paper and fold it in half (diagonally). This isn’t actually part of the Inside Reverse Fold but it’ll give you a shape that you can use, to make the Inside Reverse Fold.
Step 2) Fold along the dotted line. This is where you’re going to make the inside reverse fold. Your fold doesn’t have to match the exact position of the line, so don’t worry if it doesn’t measure up exactly.
Step 3) Crease this fold well, then unfold it.

Step 4) Turn the paper over.
Step 5) Make a fold along the dotted line. This will be the opposite side of the fold you made earlier.
Step 6) Crease this fold well, then unfold it.
Step 7) Turn the paper over again, so it’s back the way it was before.

Step 8) Push the paper inside, following the two folds you made before.

Step 9) Push the paper inside the model (all the way) and flatten the creases you already made.
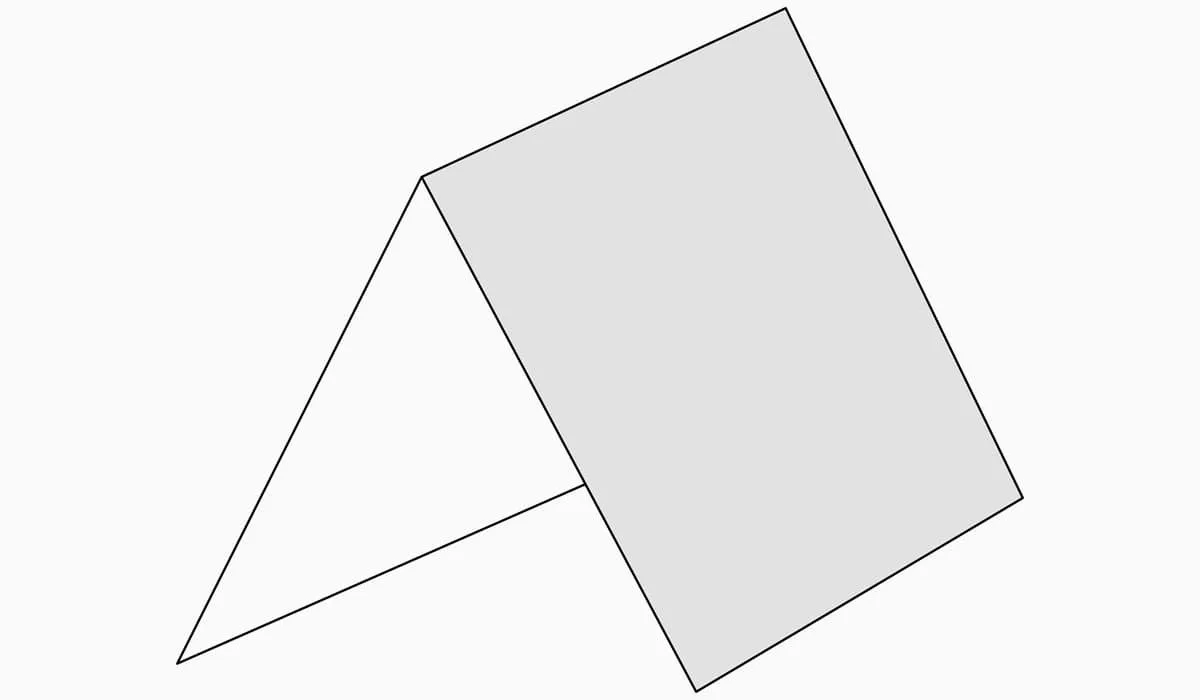
This is the completed Inside Reverse Fold.
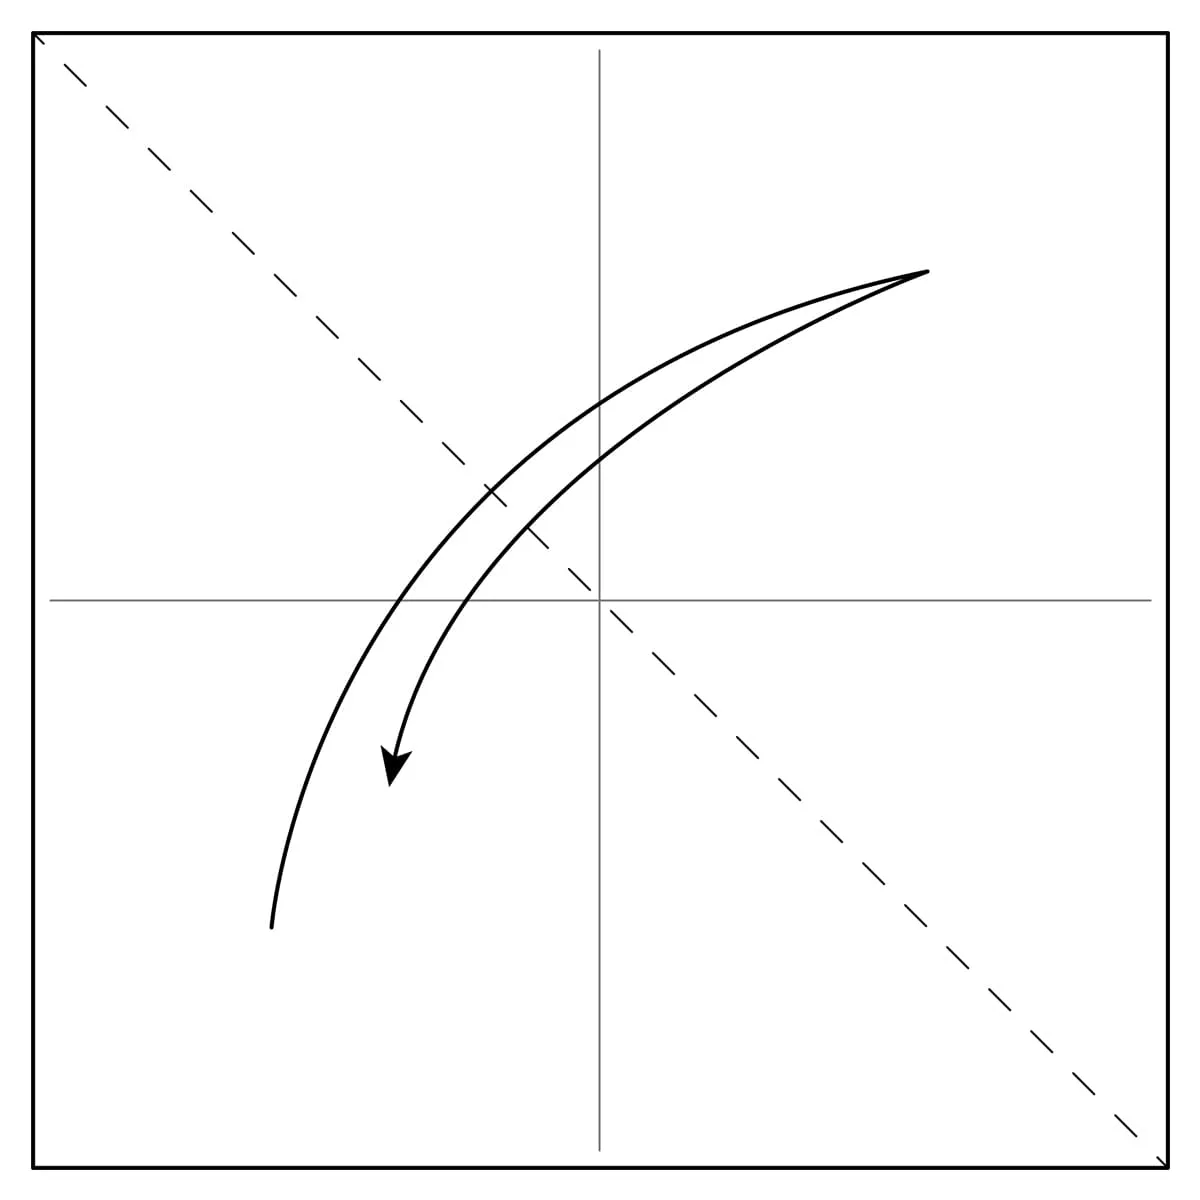
Outside Reverse Fold

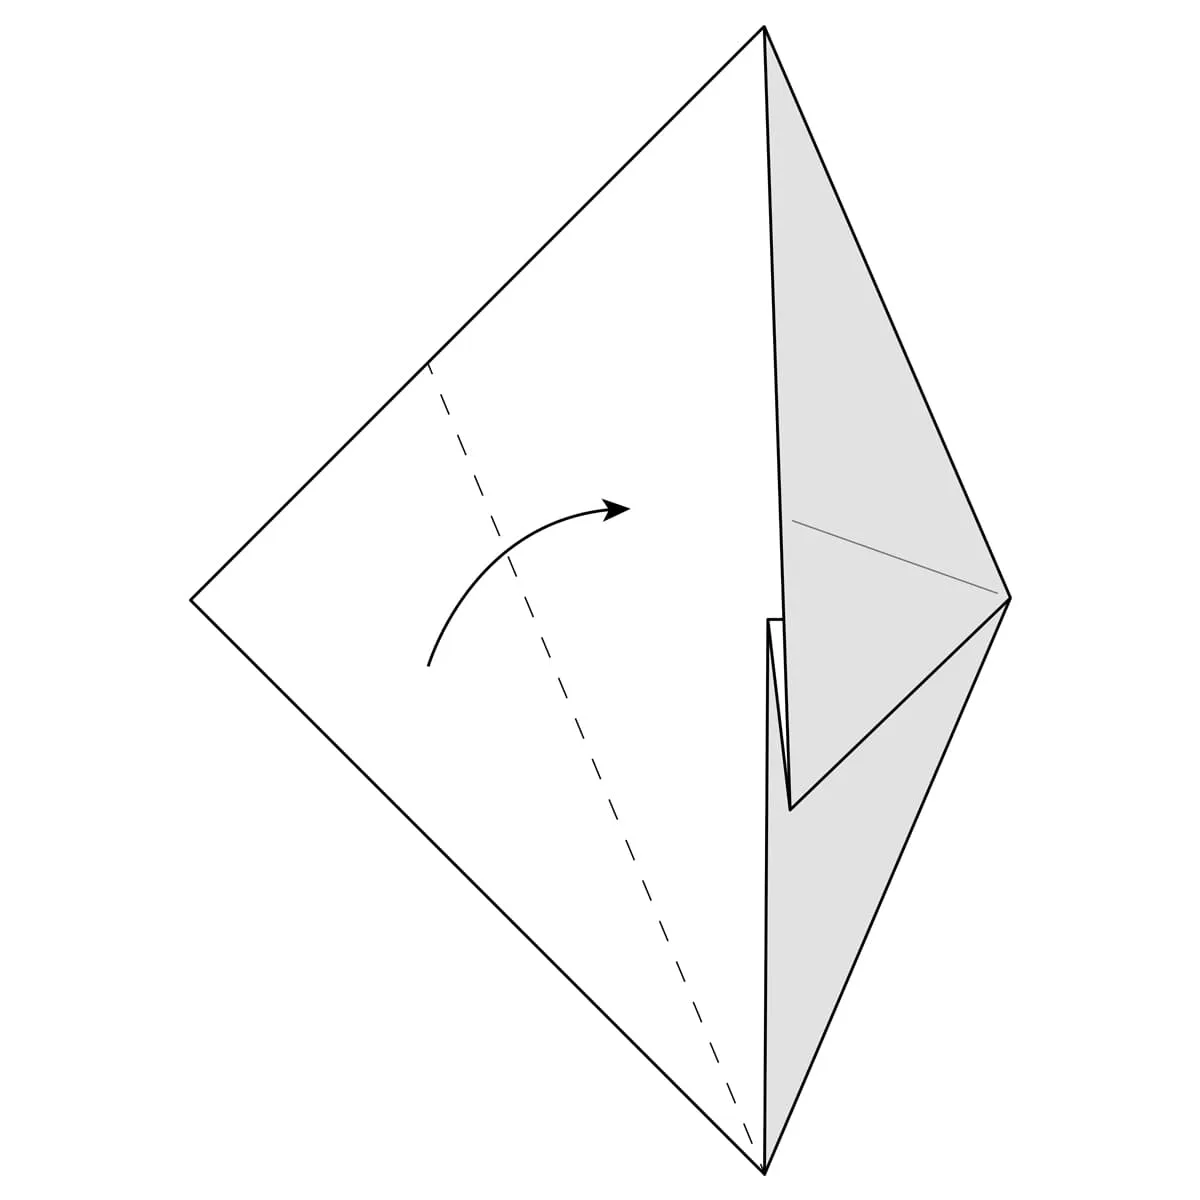
Step 1) Start with a square of paper and fold it in half diagonally. This isn’t part of the Outside Reverse Fold, but it will give you shape you can use to make the fold.
Step 2) Fold the paper along the dotted line. This will be where you will make the Outside Reverse Fold. Your fold doesn’t have to line up exactly where the line is so don’t worry about making it perfect.
Step 3) Crease this fold well, then unfold it.
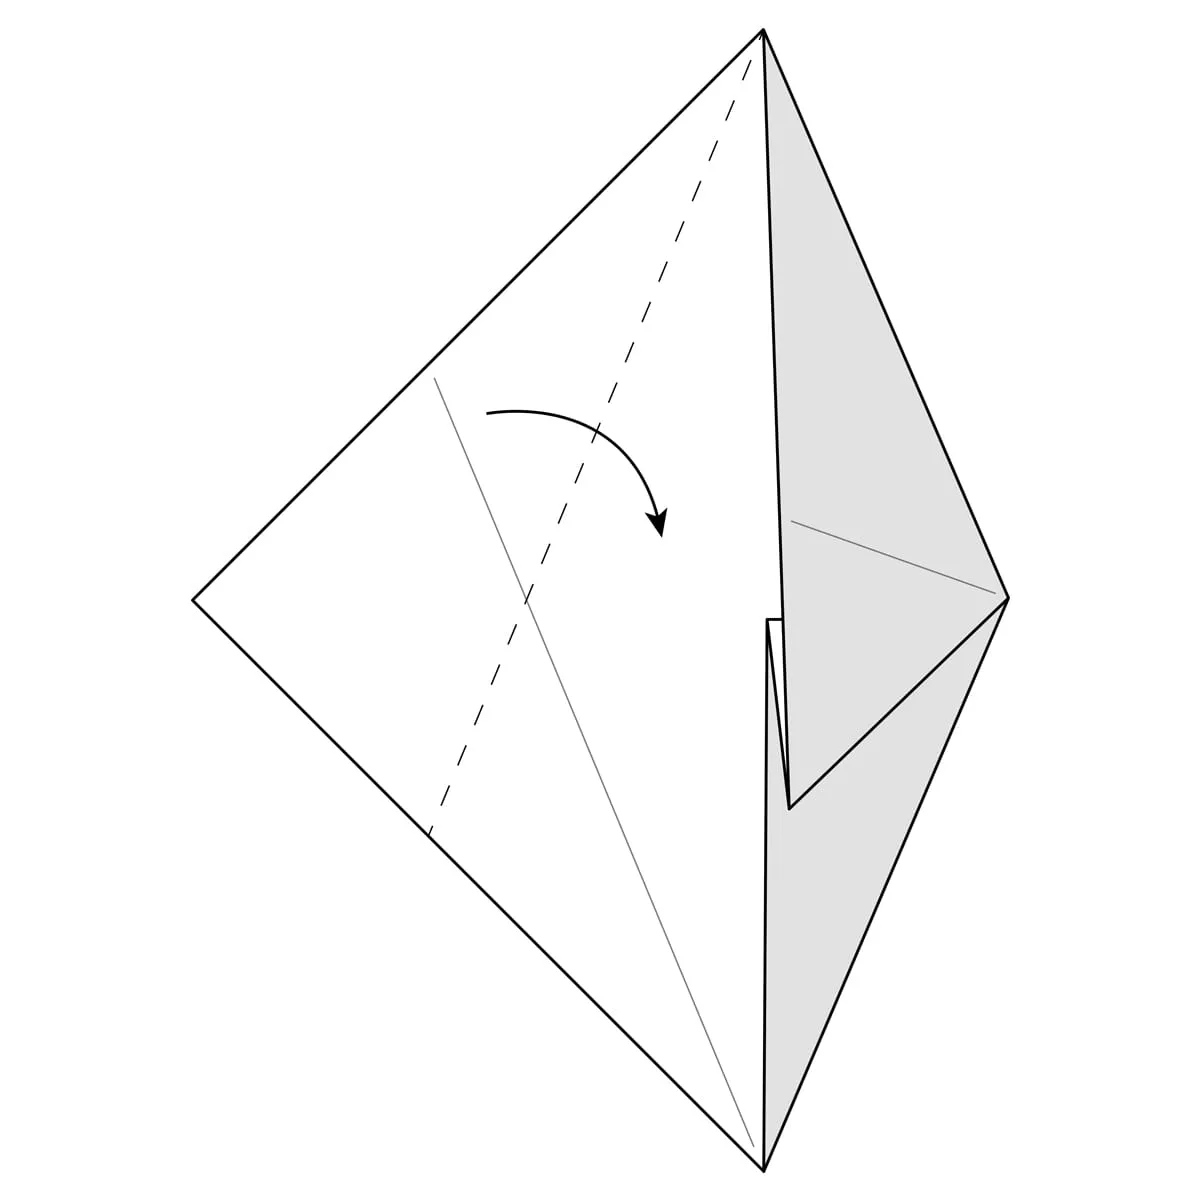
Step 4) Turn the paper over.
Step 5) Make a fold along the dotted line. This will be the opposite side of the fold you made earlier.
Step 6) Crease this fold well, then unfold it.
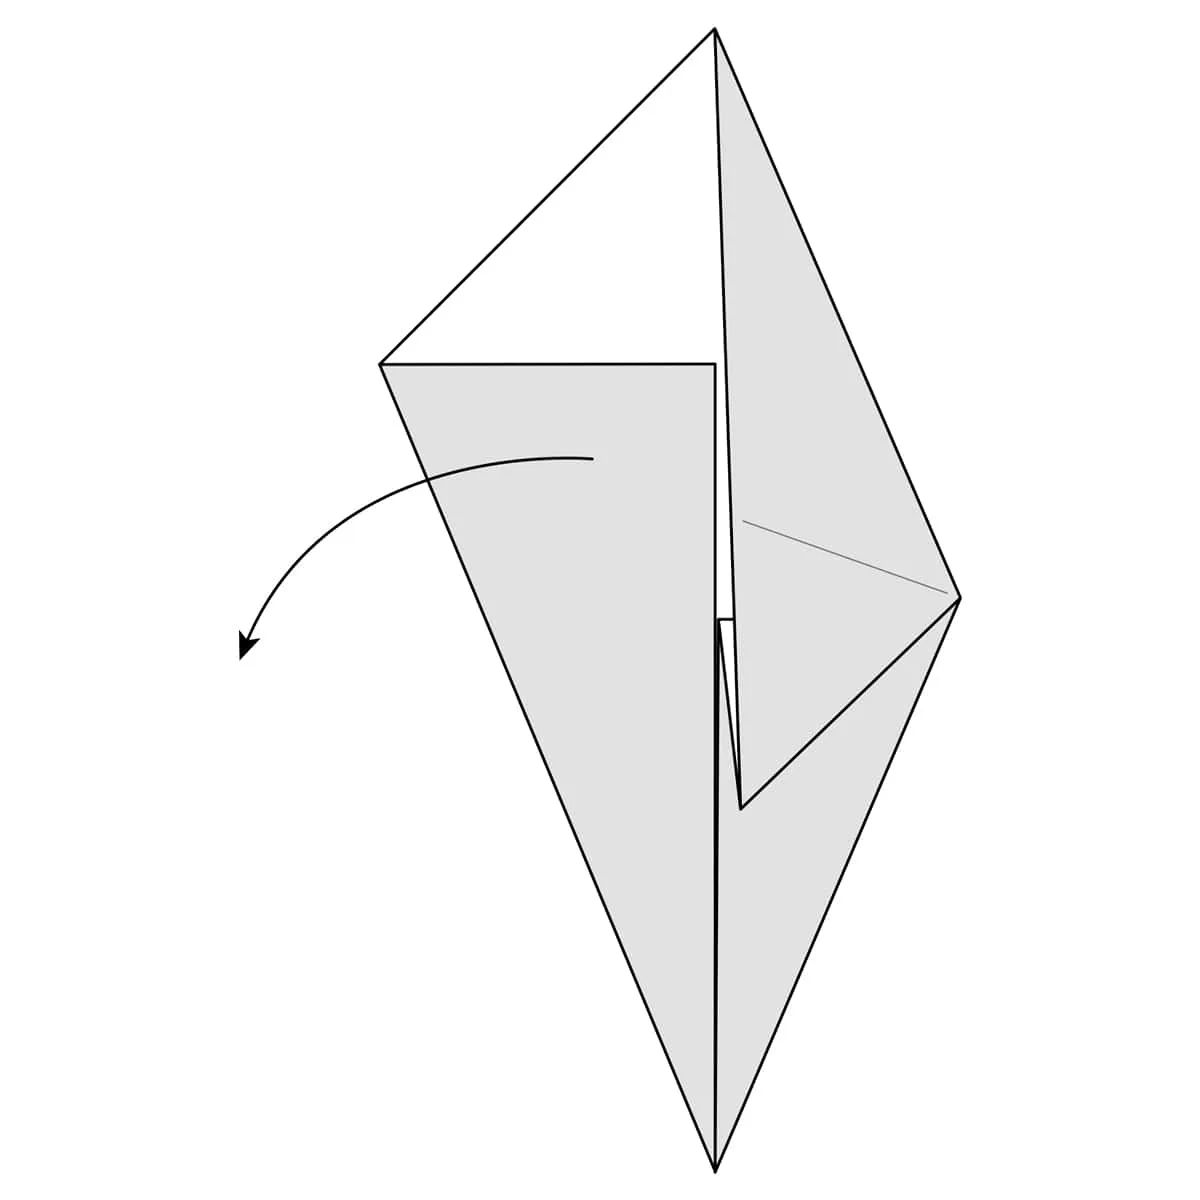
Step 7) Fold the paper outside, along the creases you already made. To make it a bit easier, you can open it up.
Step 8) Fold the paper down, along the creases you already made.
Step 9) As you fold the paper down, close the paper up again (along the crease you made in step 1). The paper you folded down should flatten nicely on the outside.
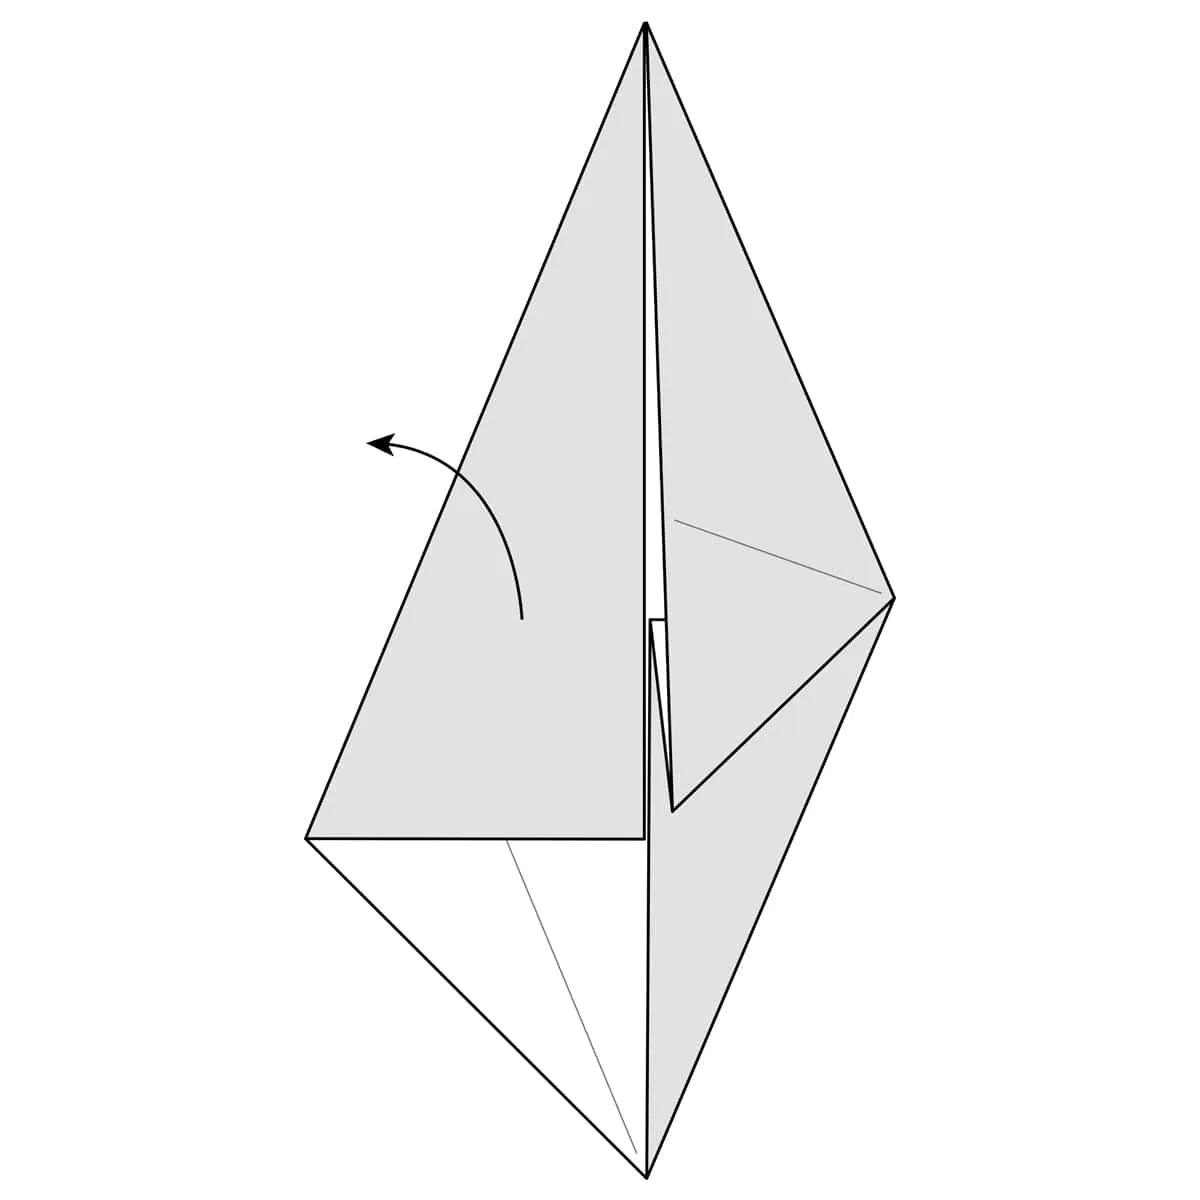
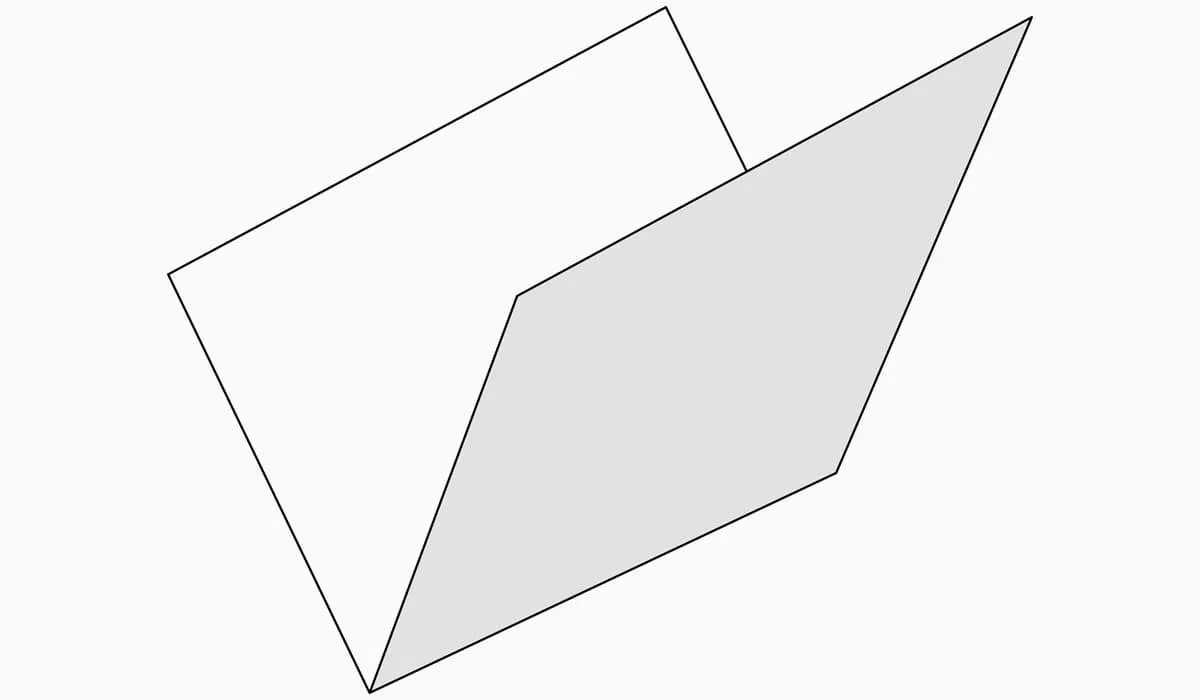
This is the completed Outside Reverse Fold.
Rabbit Ear Fold
This fold results in a flap of paper that resembles a rabbit's ear.
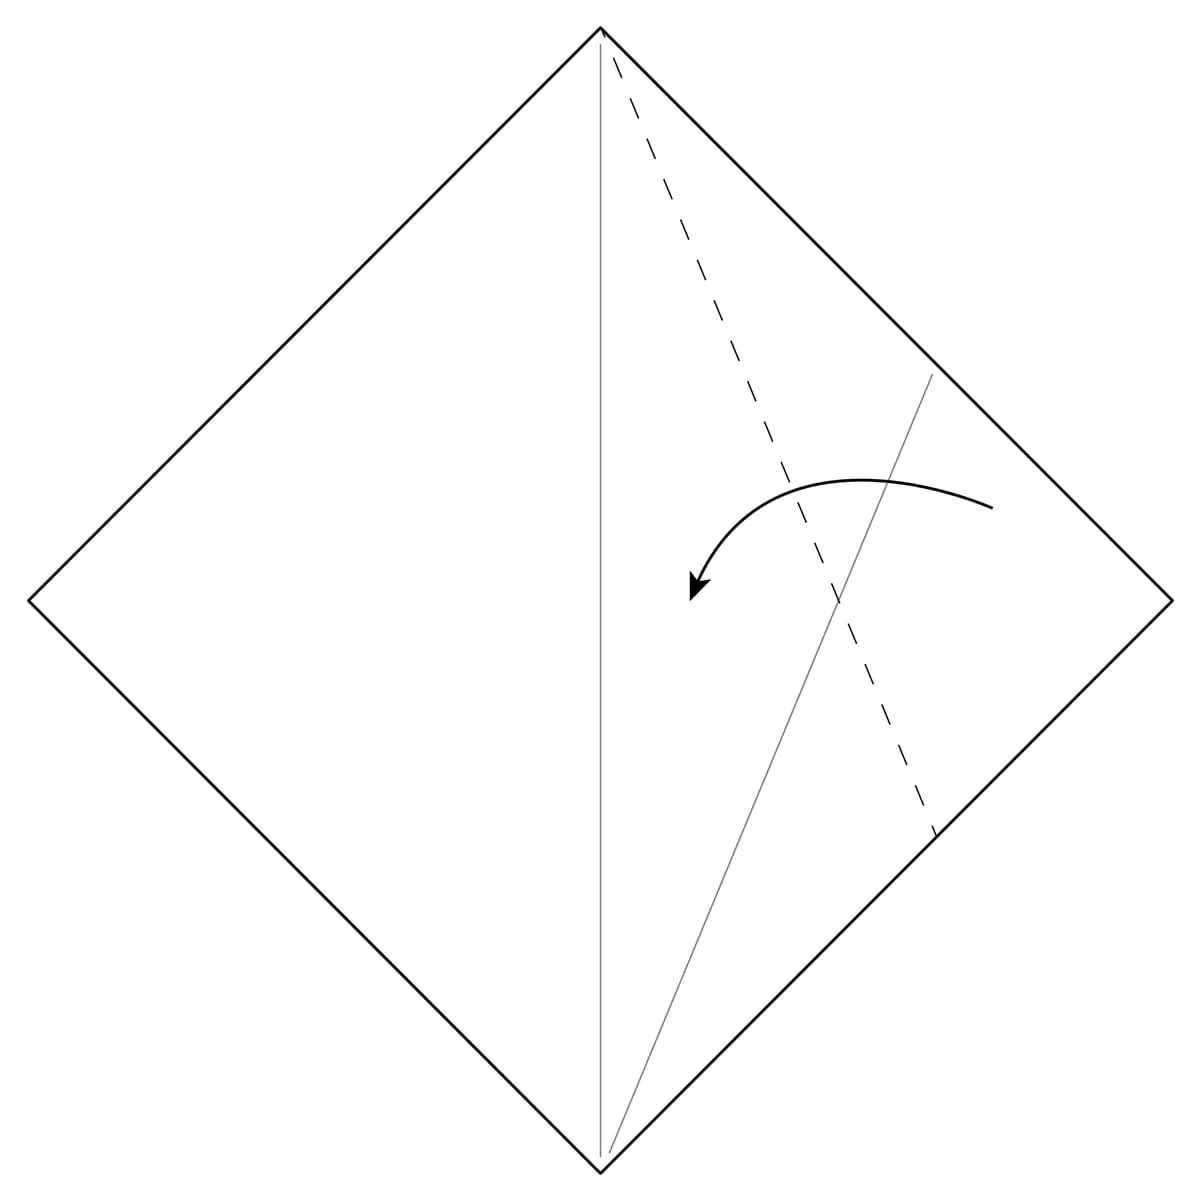
Step 1) Start with a square piece of paper. Fold the paper in half along the dotted line, then unfold it. You will use this line as a guide in later steps.
Step 2) Fold the paper along the dotted line. It should line up with the crease you made in Step 1.
Step 3) Crease this fold well, then unfold it.
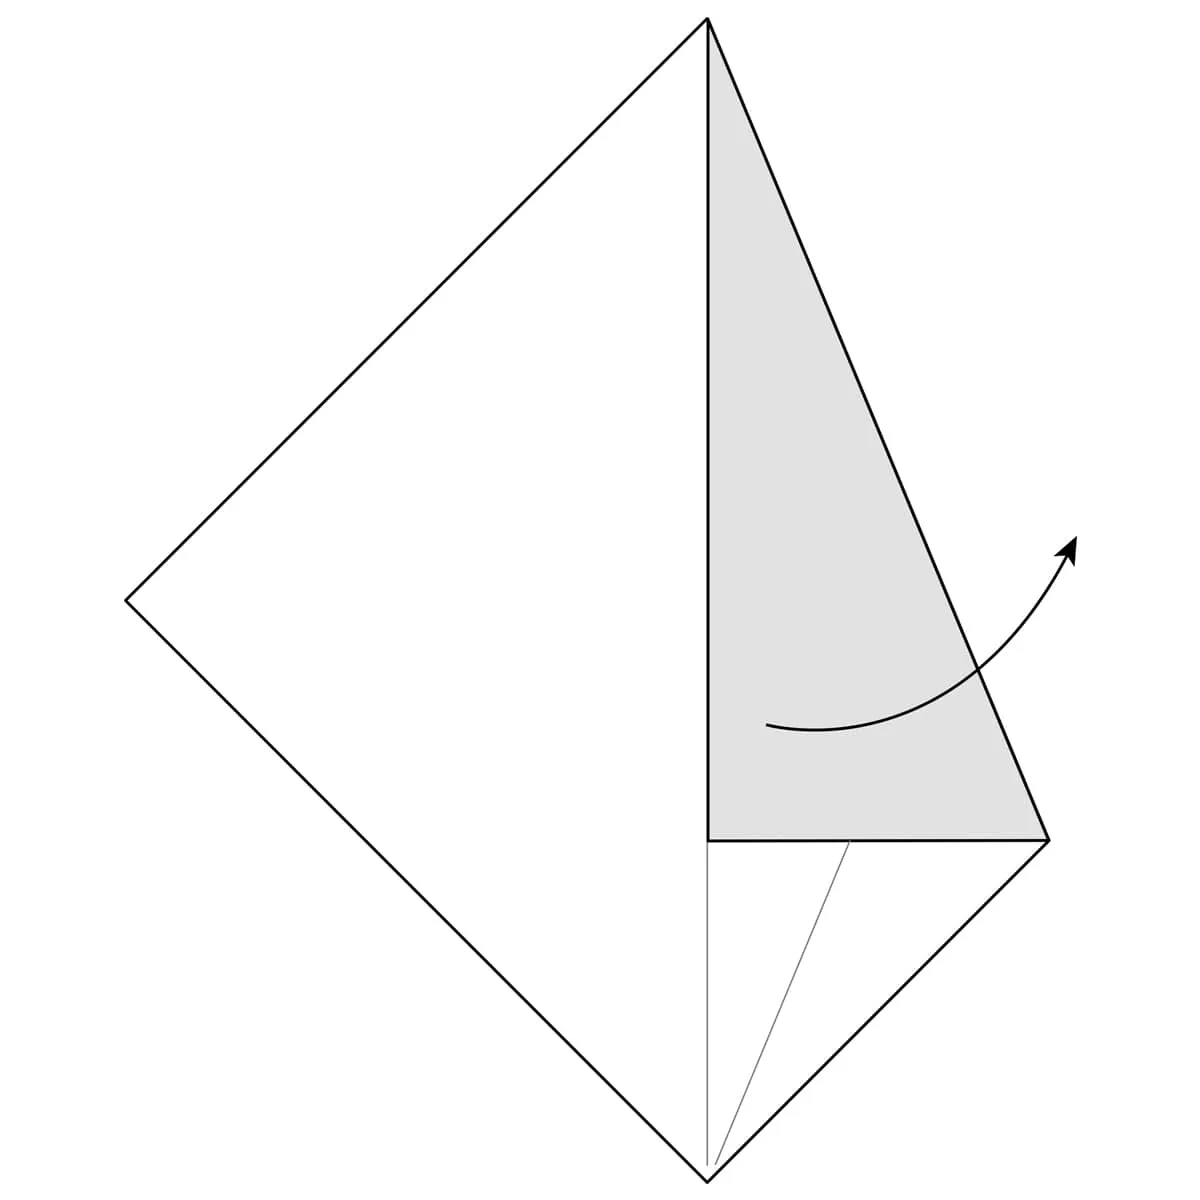
Step 4) Fold the paper on the other side (along the dotted line). It should also line up with the crease you made in Step 1.
Step 5) Crease this well, then unfold it.
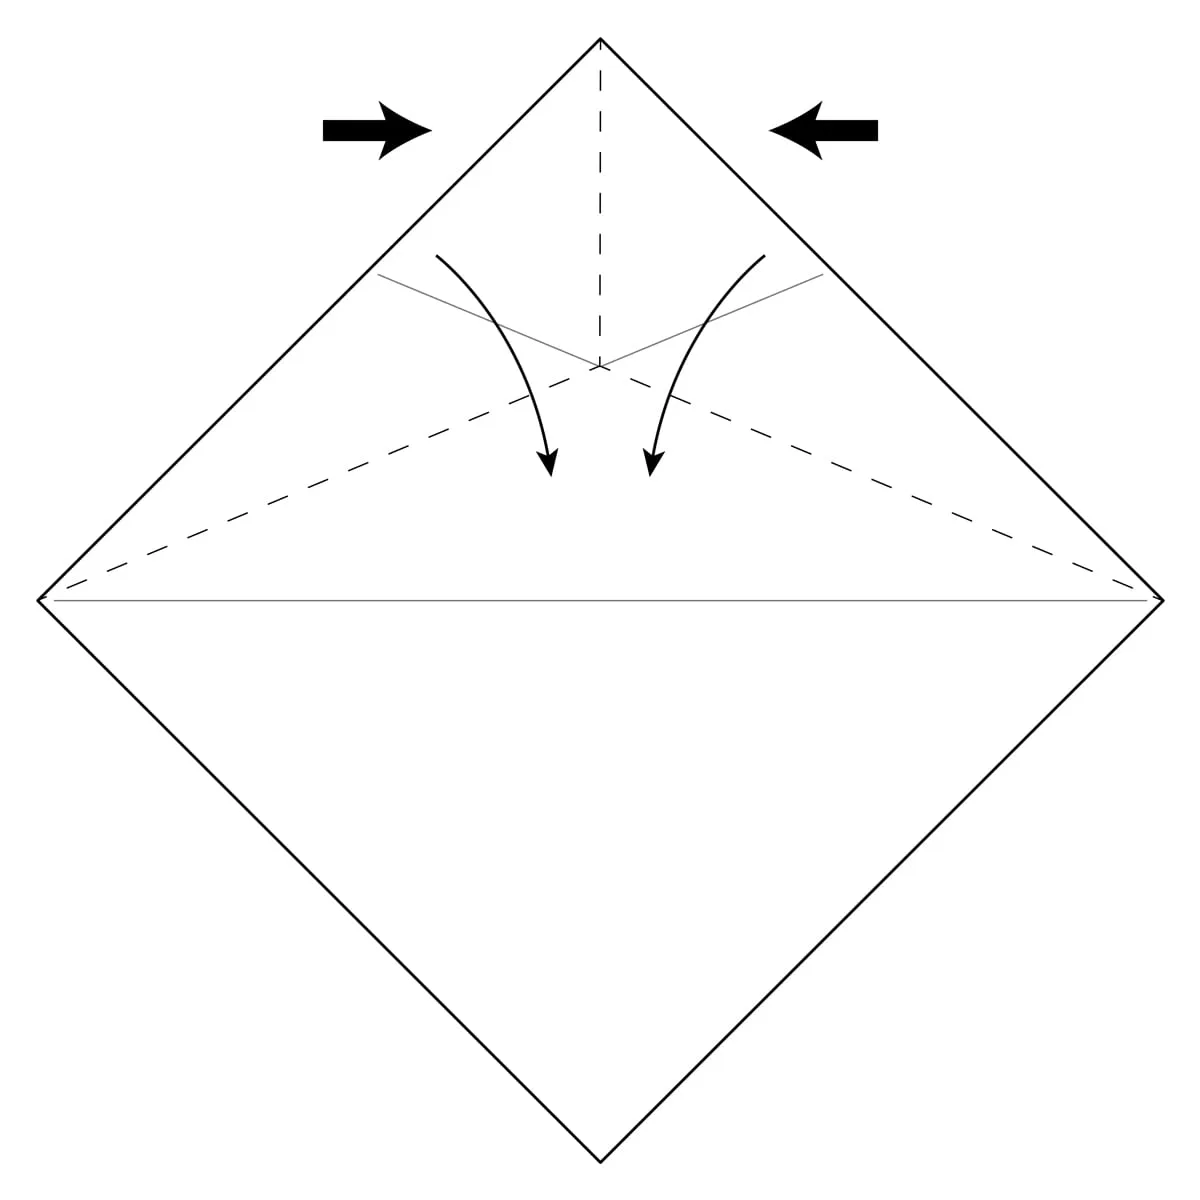
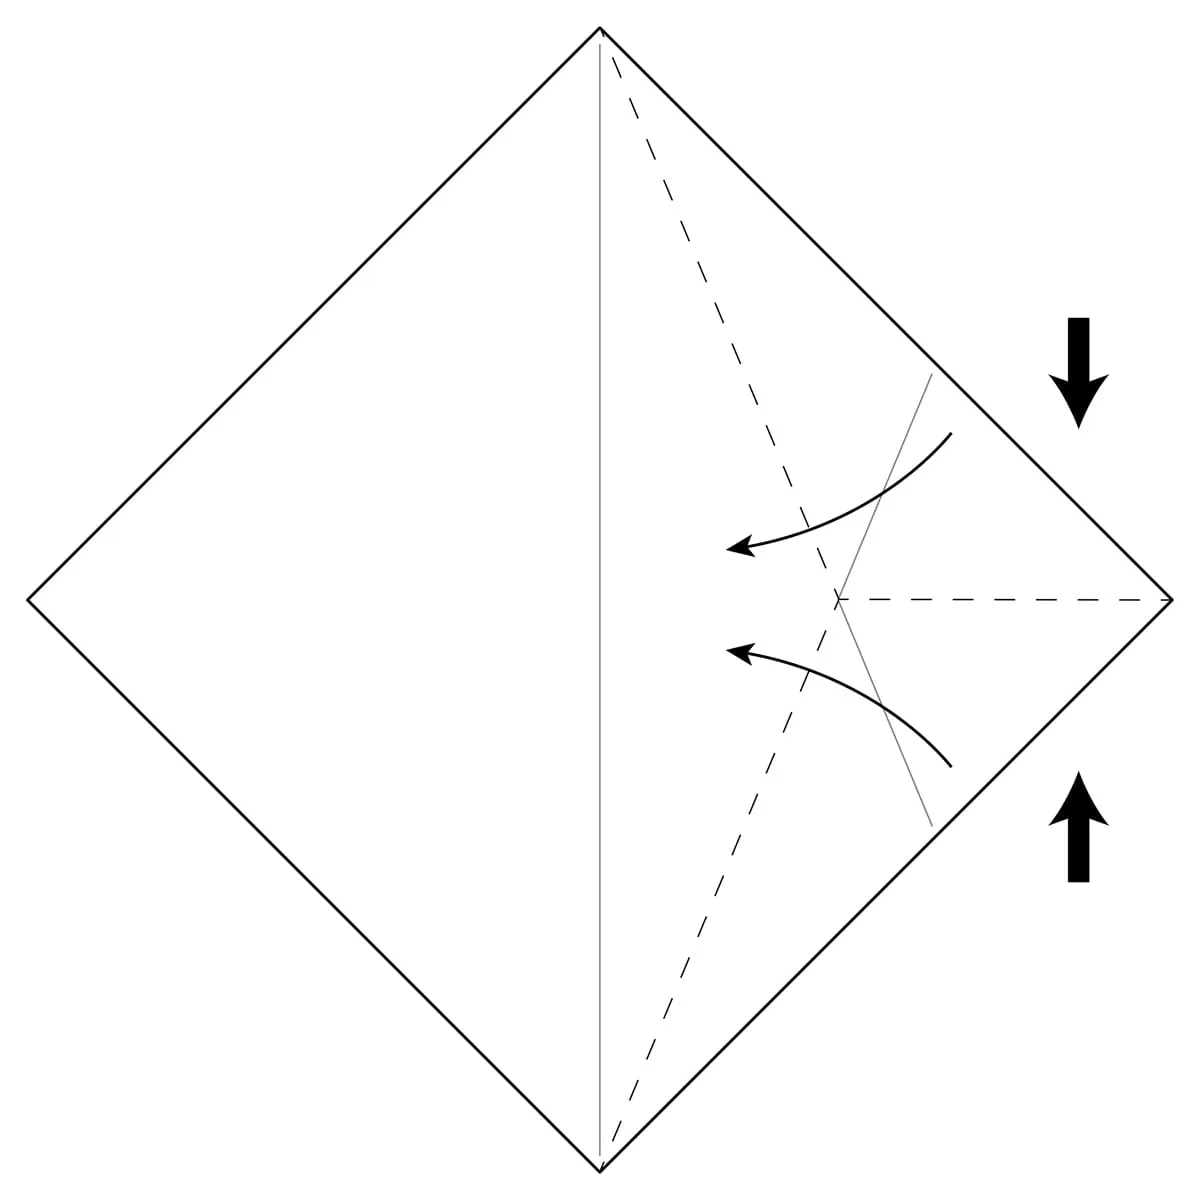
Step 6) Fold both sides of the paper along the dotted lines back to the center, following the two creases you just made. The paper will bunch up in the middle and you will make a new crease along that small vertical dotted line.
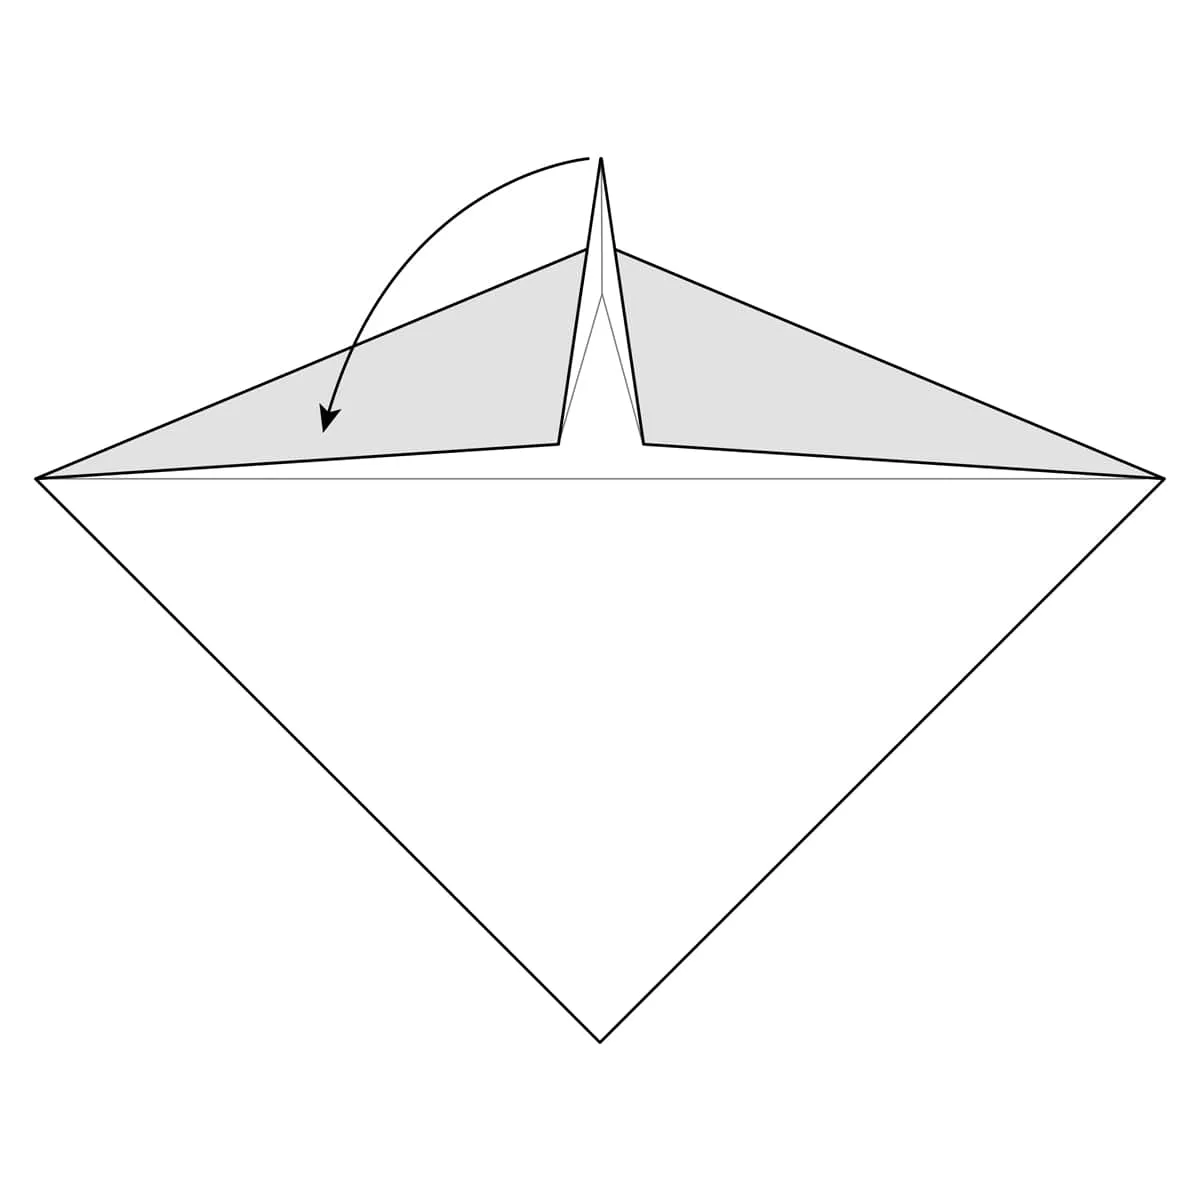
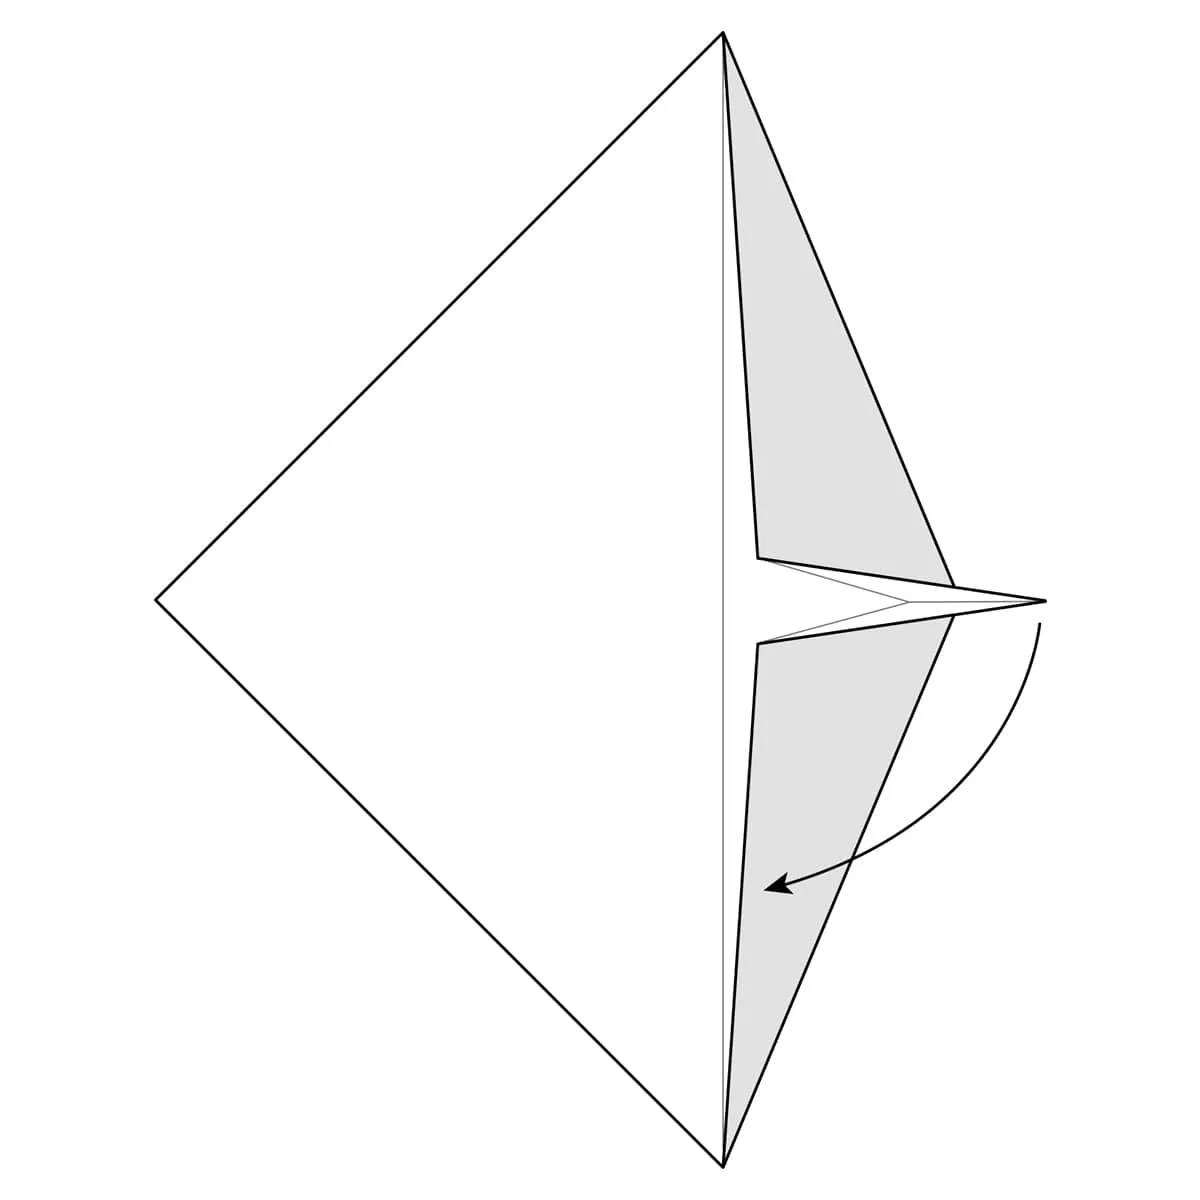
Step 7) After Step 6, you should have a triangle shaped flap of paper. Fold this down to the side. It doesn’t matter which side you fold this flap down to.
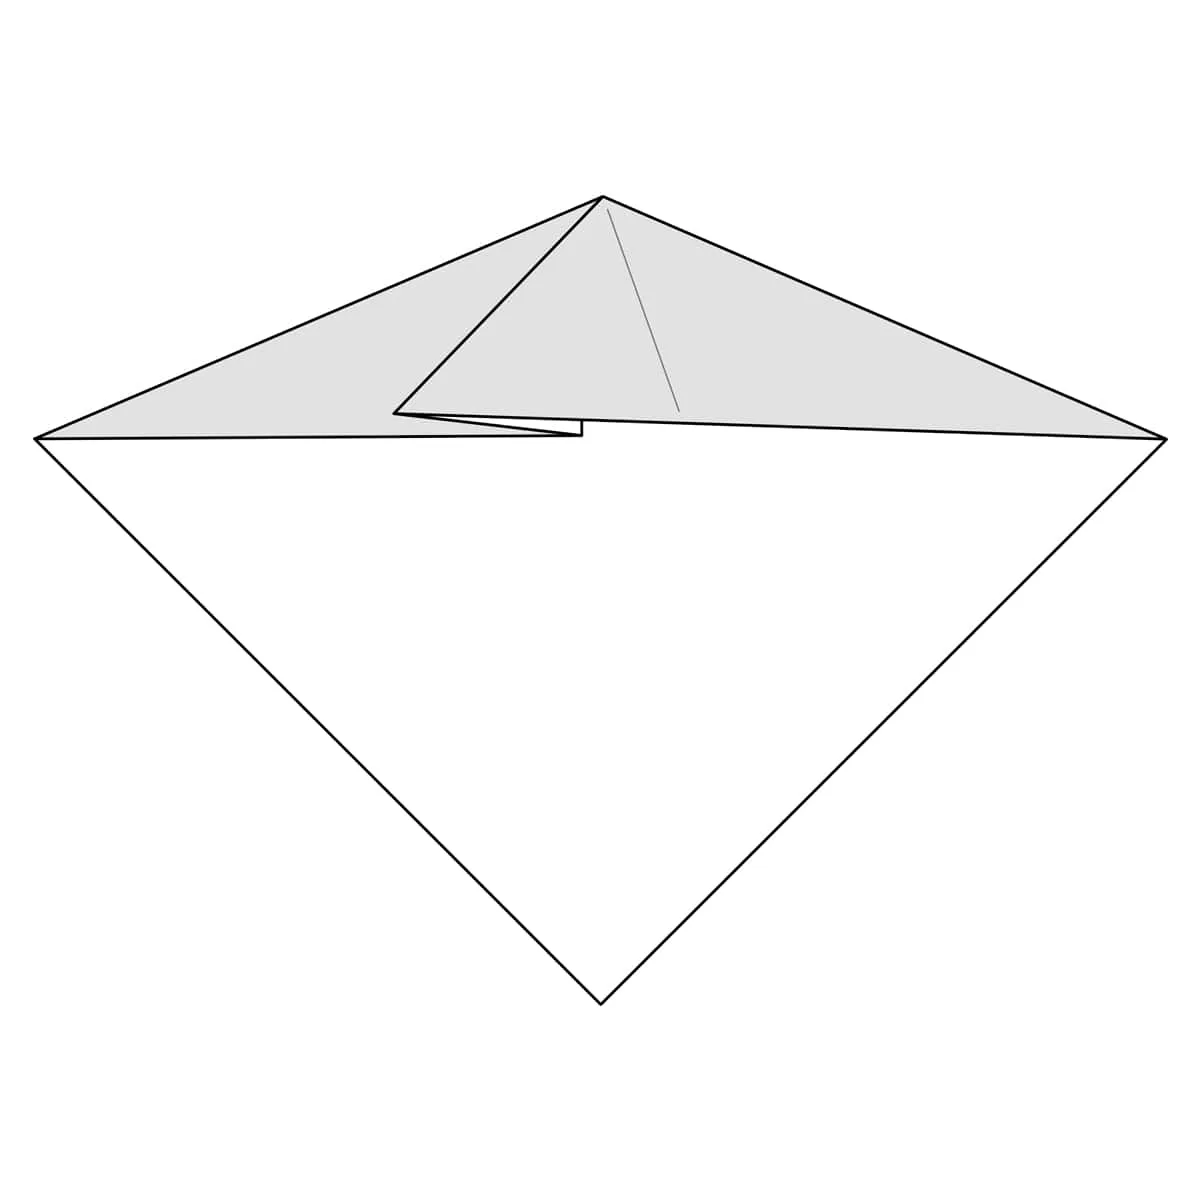
This is the completed Rabbit Ear Fold.
Pleat
This is a very basic fold. This example uses a rectangle sheet of paper but you can easily make this fold with a square or any other shape.
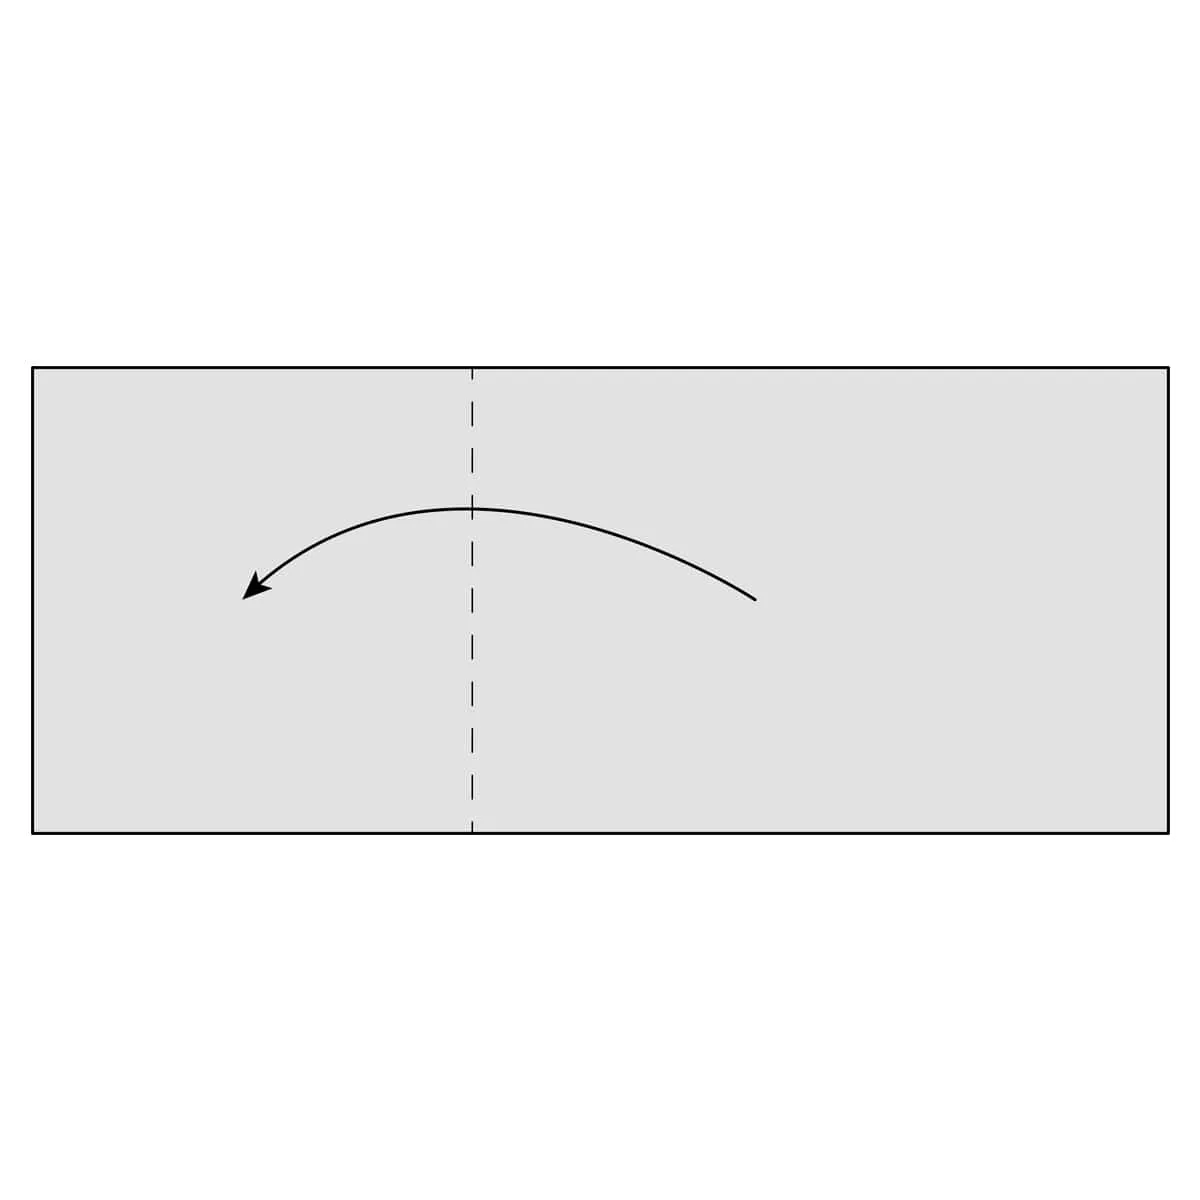
Step 1) Fold the paper to the side along the dotted line.
Step 2) Fold the paper back (the other way), along the dotted line. Note: this new fold is a little bit to the left of the first fold you made.
Step 3) This is the completed Pleat.
Crimp
This is like a Pleat, but made on the outside of the paper.
Step 1) Start with a square piece of paper. Fold the paper in half along the dotted line, then unfold it.
Step 2) Next, make a Pleat by folding the paper to the left along the dotted line. Your fold doesn’t have to match the one in the diagram exactly. It just needs to be roughly in the same place.
Step 3) Fold the paper back (to the right) along the dotted line. Your fold doesn’t need to be exactly in the same place as the diagram. You now have a Pleat.
Step 4) Fold the paper in half, again (along the crease you made in Step 1).
Step 5) This is the completed crimp.